filmov
tv
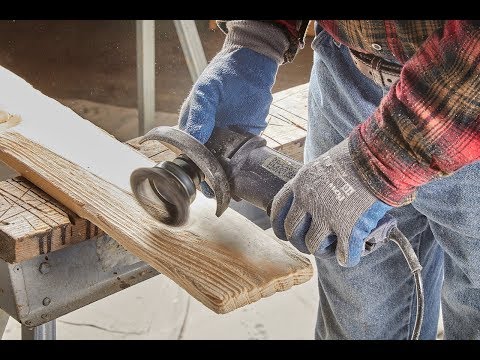
How to Distress New Wood

Показать описание
Watch me, B&O Craftsman as I take a new piece of wood and do two different distressing techniques. Please make sure you subscribe ! Enjoy.
Some of the tools used in this project:
Here is an example of using this technique :
Some of the tools used in this project:
Here is an example of using this technique :
 0:04:56
How to Distress Wood! Make New Wood Look Old!
 0:07:25
How To Make New Wood Look Old & Weathered
 0:09:07
How to Distress New Wood
 0:05:08
How To Make Your Own Barnwood and Age Wood EASY Techniques!
 0:03:03
How to Make Your Own Barn Wood
 0:12:31
The BEST ways to DISTRESS WOOD - My methods for distressing wood fast - DIY Barn wood. NO STEEL WOOL
 0:00:36
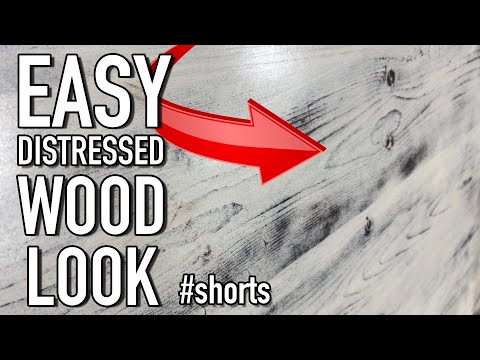
DIY Distressed Wood Look in 5 Easy Steps #shorts
 0:04:25
How to distress wood to make it look like an aged weathered barn beam farmhouse fireplace mantel
 0:06:11
How to Distress Wood - AMAZING Results! #weathered #DIY
 0:00:59
Distressing tips! How I make new wood look old. Full video now up!
 0:04:29
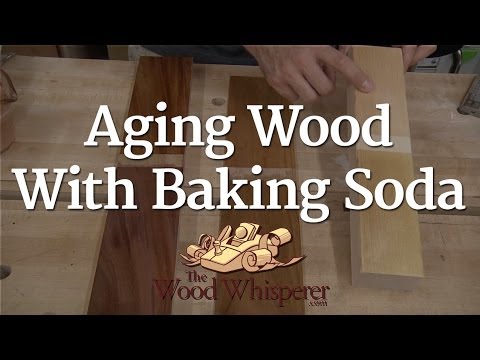
Aging Wood with Baking Soda
 0:08:54
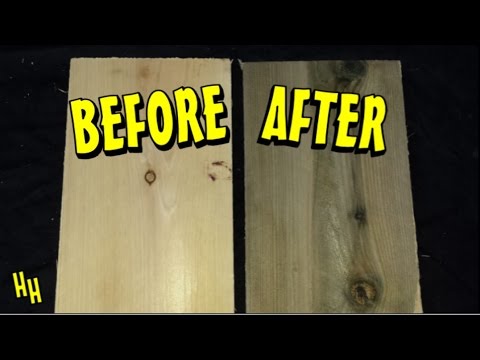
Distressing Wood for an Antique Effect / Make Wood Look Old
 0:12:31
4 Painting Techniques to make NEW wood Look OLD & DISTRESSED
 0:06:02
How to Distress Painted Furniture (2 Easy Techniques)
 0:04:09
EASIEST WAY TO DISTRESS WOOD
 0:14:49
How to distress and authentically handscrape a hardwood floor - make new wood look old
 0:06:33
Hairspray Hack! Make New Wood Look Old
 0:04:40
3 Easy Ways How to Distress Wood and Furniture with Paint
 0:08:16
How to Distress Wood
 0:10:39
DIY: How To Distress Wood -Make Your Own 'Reclaimed Barn Wood' Style Stair Treads
 0:05:21
Giving New Wood Antique Look - Distress & Aging Wood With Painting Steel Wool & Vinegar Stai...
 0:05:43
How to distress new wood and layer stain
 0:04:27
How To distress new wood for a reclaimed wood look for your industrial or rustic project
 0:02:19
3 Ways to Distress Wood | Distressing Wood for a Weathered Look
Комментарии