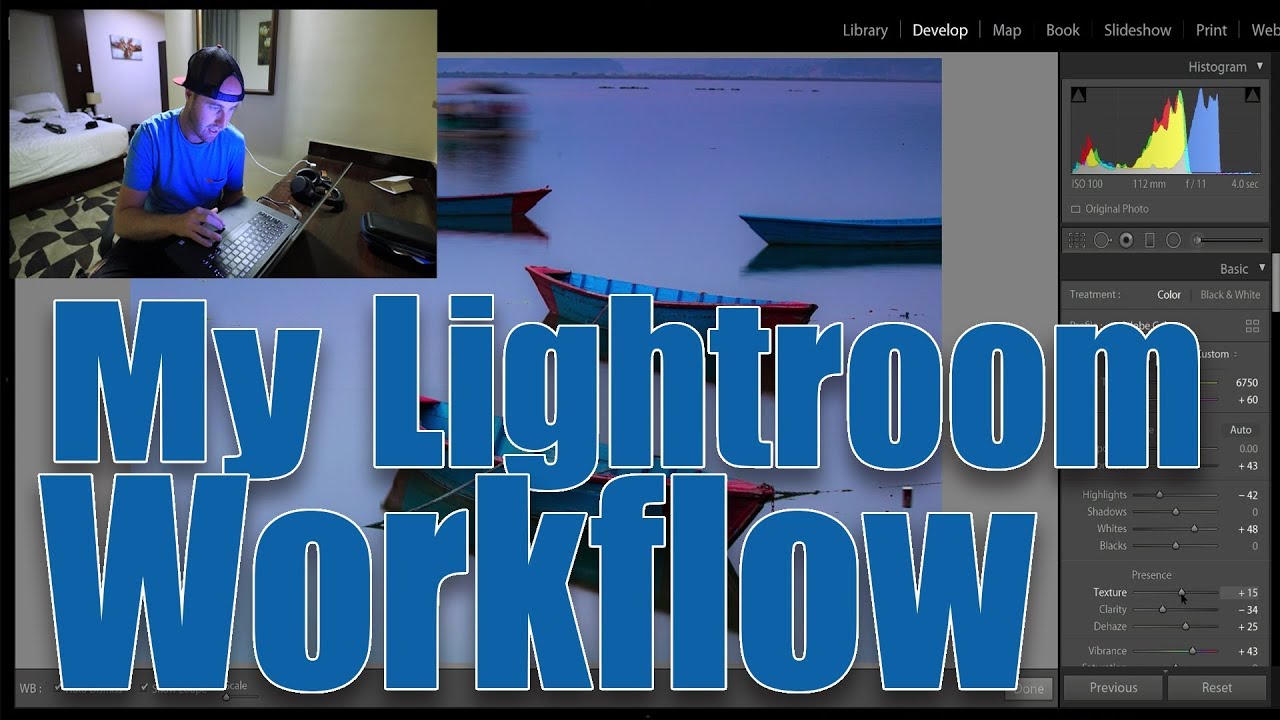
My Lightroom Post Processing Workflow

preview_player
Показать описание
What does my photography post processing workflow look like? I walk you through the entire process in Lightroom.

This is a tutorial on my lightroom post processing workflow. It's definitely a learning/teaching video rather than my usual vlogs. But, I think it's something a lot of people kind of struggle with. Photo editing in general is a big part of photography. But, I don't think people realize how big a difference having a really good post processing workflow can make.
I use adobe lightroom for my workflow. So, that's what I'll guide you through on this tutorial.

Рекомендации по теме
Комментарии
Автор

P.S. This is the end of the Nepal series. It was one of the most fun series I've ever had the chance to put together. Thanks to everyone involved.
Now, I've got a couple business, life, and quick photography videos coming before the next series which is ECUADOR with Morten Hilmer. See you there!

BrendanvanSon
Автор

In case you didn't know, you can also upload RAW files to Amazon under the unlimited photo storage provision for PRIME members.

juergenbreidenstein
Автор

Its always interesting seeing how other go about editing their images.

StevenMusgrovePhotography
Автор

Brandon, thanks for sharing your workflow. Everytime I see someone else's workflow, I learn a new trick. It seems no matter how many years you use a tool like Lightroom, there are always new things to learn. In this case, I really like your initial culling process. Hadn't seen that variation and it will be added to my flow. Thanks again.

chipfreundnc
Автор

Hey Brendan, Thank you for visiting my country and promoting our tourism. Take care.

amitkadariya
Автор

Some great shortcuts and tips. This should help with my workflow. Thanks. 👍🏻

harrycallaghan
Автор

Thank you Brendan! I've never thought of starting from the end and going backwards. Usually my keepers are in the middle. As for the culling (I believe this is how it's spelled) I use the stars. 4 for "this is nice" and 5 for "let's process this one"! I didn't know about the reject flag but I wouldn't consider using it

neklamp
Автор

Seems to be as many workflows as there are photographers. Whatever works best for yourself. Rock on!

tjsinva
Автор

Hello Brendan, smashing tutorial. Question: You stated that you created a preset. Regarding the (Lens Profile) what happens to this profile when you have used multiple lenses? Does the preset adjust accordingly to the lens used? Many thanks...

allandavies
Автор

Thanks for this very clear explanation. I learned some new tricks that will help my workflow. I tend to go a bit crazy shooting and once I start to edit, I regret having so many photos to deal with!

debbieb
Автор

Brendan, thank you for showing those import tips. Never thought there are things to improve the workflow just in the import tab.

danielhenzphotography
Автор

I always like to see how other people’s workflow is, maybe I can adopt certain steps into mine. I also start with renaming with date and sequence number upon importing them ... and then I run through and reject images (love that CapsLock trick you mentioned) and also star rate images I definitely want to work on with 3 stars ... and up the star rating later if I really, really, really love them ... when it comes to editing I always start with removing chromatic aberration and lens correction ( so thanks for sharing that trick with the import preset, never thought of doing it that way) ❤️

birgitsmetana
Автор

Damn ! 😍 I thought the best photos are in the videos of Annapurna Playlist, but these are just so 😍😍

travelwithparashrb
Автор

Maybe consider using a service like Backblaze for your file back ups?

steveglennan
Автор

Very similar to yours Brendan, the first filter is Fast RAW viewer, it loads very quickly and has everything you need to make your mind up, tick the box to delete to the global reject folder; I use recycle bin. Remainder goes to either Affinity Photo, Luminar 4 or don't laugh Photoshop 6.0 depending on what's needed.

CultureAgent
Автор

Very interesting Brendan, thank you. Most of my workflow is similar to yours, except that I don’t export all the final selected JPEG’s to another drive. Sounds like a good idea, I need to look into that.
I also backup my files in the cloud but, unlike you, the RAW files only.

By the way, there’s a setting somewhere in Preferences (I forget where exactly) that makes LR advance to the next photo when you set the current one as rejected, flag it or star it. That would save you from having to press Caps Lock at the same time as “X” to reject and move forward.

uateva
Автор

Great, Brendan. Thanks for sharing these tips :-) and greetings from Lagos... Will you be there this winter?

MrShelby
Автор

I use a similar process, but in culling i use stars. 0 stars reject, 1 star needs work, 2 stars good, 3 stars really good. Then, in library mode, i filter the 3 star images, edit them, then edit the 2 star images etc. When images are edited, i re-star them as 4 or 5 so that i can re filter them if i want to. Then i re-cull to eliminate good, but similar images. 0 stars are filtered, then ‘select all’ and deleted from disk. For event photos i usually retain 20% of the total images taken. Like you said, there’s no right or wrong way, but this works for me.

stuartwatson
Автор

Quite similar in fact, but I am a bit more dithery than you. I always leave it a day or two before the first cull, because sometimes my perception of what is good changes with time. I like the JPEG back up idea and I have a NAS drive, but it's very slow over the network. Oh and a backup backup which I keep in the car. Im religious about backing up now after some unfortunate experiences.

CornishMotorcycleDiaries
Автор

Just sorting out my lightroom over the last few days and using the rejected method, dude does that make it a hell of a lot easier to sort out images and big imports. Thanks Brendan #besttipof2019

RichardFrenchPhotography