filmov
tv
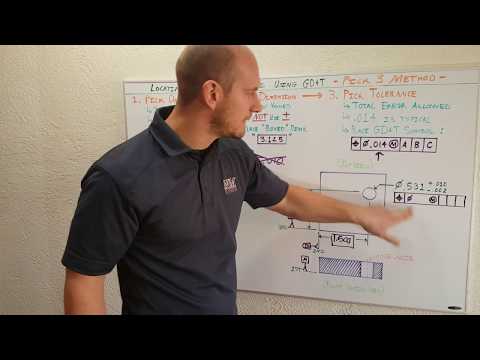
Datum | Engineering Drawing | L7.2 Part 10

Показать описание
COURSE – Engineering Drawing
LECTURE 7-2 – Tolerancing
INSTRUCTOR – Asim Amjad
Learning Objective:
1. Understand the concept and purpose of tolerance and limits.
2. Understand the concepts of fits and related terminology, like: nominal size, basic size, allowance, clearance, interference etc.
3. Differentiate between 3 general types of fits: clearance, transition, and interference, and their application.
4. Apply the concept of tolerance and limits to the design of fits.
5. Understand the difference and use of basic hole and basic shaft system.
6. Design different types of fits using ANSI B4.1 recommendations.
8. Explain the purpose of geometric tolerancing.
9. Describe and apply datums to technical drawings.
10. Identify the degrees of freedom of a part.
11. Properly place geometric characteristic, material condition, and material boundary symbols in feature control frames.
12. Identify and draw geometric dimensioning and tolerancing symbols.
13. Identify inspection tools.
14. Create a dimensioned drawing using geometric dimensioning and tolerancing.
To learn more, watch the below mentioned playlists:
✅Do subscribe and press the 🔔 bell icon to get notifications for all new videos
#datum #datumtarget #tolerance #geometrictolerance #gd&t
#asmestandard #ASMEY14.5
#EngineeringDrawing
 0:26:16
 0:05:15
 0:05:28
 0:07:43
 0:18:38
 0:29:32
 0:08:16
 0:01:26
 0:05:07
 0:04:14
 0:06:05
 0:27:02
 0:03:54
 0:02:21
 0:04:47
 0:03:16
 0:18:05
 0:00:56
 0:07:51
 0:22:34
 0:09:20
 0:11:26
 0:08:39
 0:02:56