filmov
tv
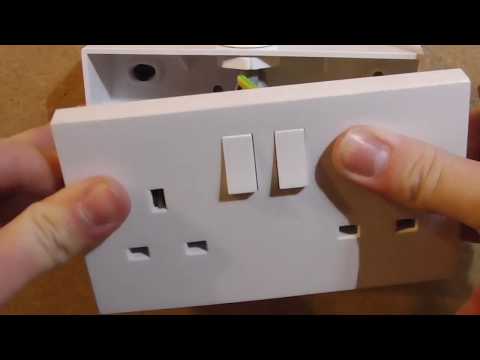
How to add a socket to a ring final circuit. How to fit & wire a socket. Add socket to ring main!

Показать описание
In this video I show you how to add a new socket to a ring final circuit (ring circuit) using a junction box. In this real life example I show how to locate the wires under the floor, how to break into the wires and cables, extend the cables, and wire in the new socket. In this example I use Wago 222 connectors with a Wago junction box placing the junction box under the floor.
All domestic electrical work in the UK must meet the requirements of the Part P regulations. If attempting any electrical work yourself you must consult with your local authority building control department to ensure the work is carried out safely and checked by an approved inspector or electrician following completion.
For the tools used in this video click here:
For the products used in this video click here:
For more of my electrical videos click here:
The Amazon links above are affiliate links. As an Amazon associate I earn from qualifying purchases.
For more DIY, HOW TO, HOUSEHOLD TIPS and PRODUCT REVIEW please subscribe to POUSE around the HOUSE.
Thanks for watching!
#addsockettoringcircuit #electricalwiring #howtowireasocket
 0:18:55
How to Add a Socket to a Wall - Easy Step By Step Guide
 0:13:48
How To Fit Extra Plug Sockets...BEGINNERS GUIDE | - How To Add A Spur Socket To A Ring Main
 0:10:17
BIGGEST DIY Mistakes Adding a New Socket
 0:10:51
How To Add An Outlet To A Finished Wall
 0:16:01
How to Install a New Electrical Outlet in an Existing Wall
 0:01:51
How to connect a double socket.
 0:11:14
Add A New Socket in a garage : Easy step by step guide!
 0:11:28
How to ADD SOCKETS to a RING CIRCUIT. WAGOBOX & WAGO connectors. How to wire a double socket!
 3:44:04
VIC-20 + WDC VIA Chips: Will They Fix My PET Style's Keyboard Issues? (Computerized Start™ Live...
 0:07:24
SAVE $300 EACH!! How to Add an Outlet from Another Outlet
 0:16:51
How to Add a Socket to Ring or Radial Circuits | Spur Off Wiring Explained
 0:01:08
How To Attach A Socket To A Drill
 0:14:34
How To Terminate (Connect Up) a Twin Socket Outlet BS 1363 (How to Wire a Double Socket)
 0:01:34
How To Change a Wall Plug/Socket
 0:08:47
How To Wire A Double Socket
 0:05:23
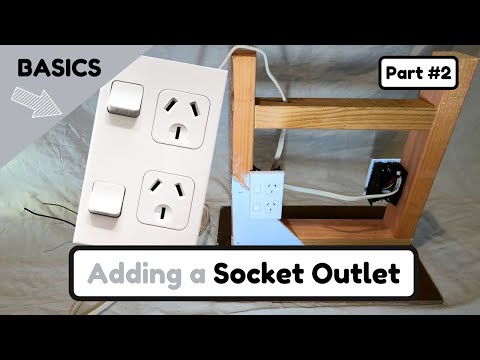
Basics: Adding a Socket to Existing Circuit
 0:10:13
How to wire a spur socket to ring circuit. Add a spur socket to ring main.
 0:12:12
How to Install Triple 3 Pin Switch Socket Outlet DIY | Additional 3 Gang Socket Outlet Installation
 0:00:50
How To Do surface Socket Wiring Loop With Existing Socket.
 0:04:07
How to Wire a Spanish Plug Socket Single & Double
 0:25:39
How to add a socket to a ring final circuit. How to fit & wire a socket. Add socket to ring main...
 0:06:02
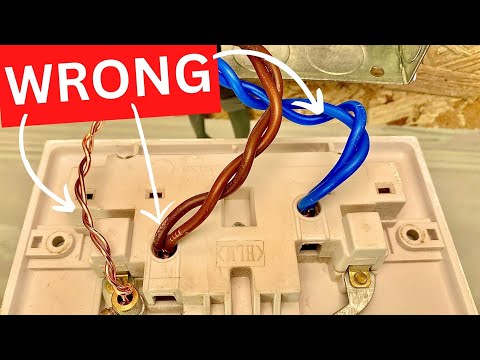
5 Biggest DIY Mistakes Wiring a Socket
 0:10:40
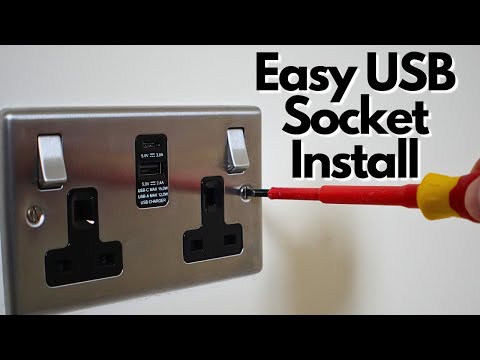
How to Install a USB Plug Socket in Under 10 Minutes | *No Electrician Needed*
 0:12:55
How to Change a Single Socket to a Double Socket | Electrical DIY
Комментарии