filmov
tv
How To Replace Rear Brakes 2012-16 Honda CR V

Показать описание
Buy Now!
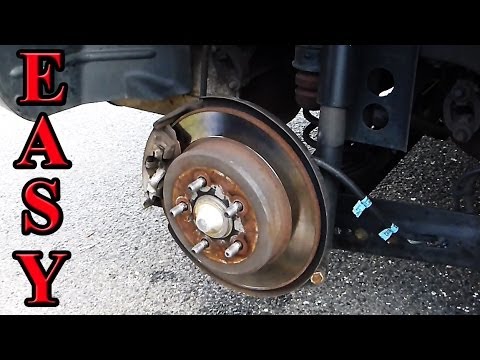
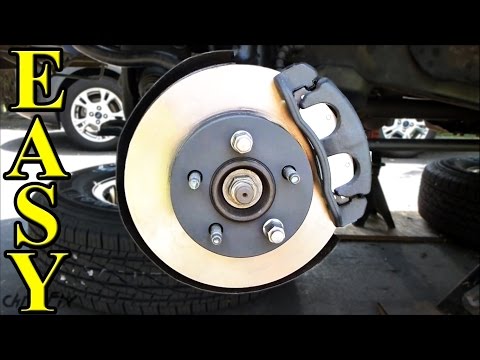
Brake pads wear out over time, much like tires, and need replacing, on average, every 50,000 miles, with variations depending on driving habits and environment. Brake rotors may also need to be replaced if they are warped or grooved. Often, it’s safer and more cost effective to replace pads and rotors at the same time. Squealing or grinding noises, or wheel vibration are all symptoms of worn brakes. This video shows you how to install new, quality TRQ brake pads and rotors on your 2012-2016 Honda CRV
This repair was done on a 2014 Honda CR-V LX 2.4L and the process should be similar on the following vehicles:
2012 Honda CR-V
2013 Honda CR-V
2014 Honda CR-V
2015 Honda CR-V
2016 Honda CR-V
Tools you will need:
• 19mm Socket
• Angled Die Grinder
• T30 Socket
• Anti-Seize Grease
• Brake Grease
• Brake Parts Cleaner
• Sledge Hammer
⚠ DISCLAIMER:
While TRQ strives to make the information provided in this video as accurate as possible, it makes no claims, promises, or guarantees about the accuracy, completeness or applicability of the content. No information contained in this video shall create any expressed or implied warranty or guarantee of any particular result. All do-it-yourself projects entail some risk. It is the sole responsibility of the viewer to assume this risk. TRQ is not responsible or liable for any loss damage (including, but not limited to, actual, consequential, or punitive), liability, claim, or any other injury or cause related to or resulting from any information posted in this video.
 0:21:43
How to Change Rear Brake Pads
 0:22:00
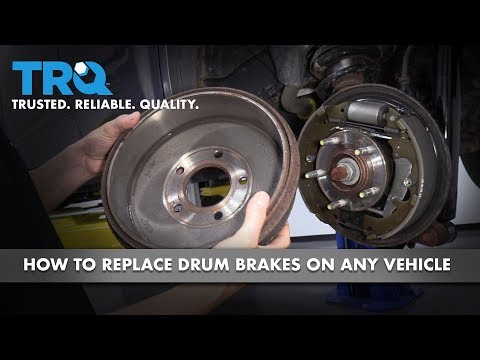
The ULTIMATE Guide on How to Replace Drum Brakes
 0:00:56
Dealer wanted $700 to replace rear brakes. My DIY job cost me $100 and an hour of my time 😎
 0:07:29
How to Replace Drum Brakes on Any Vehicle
 0:18:40
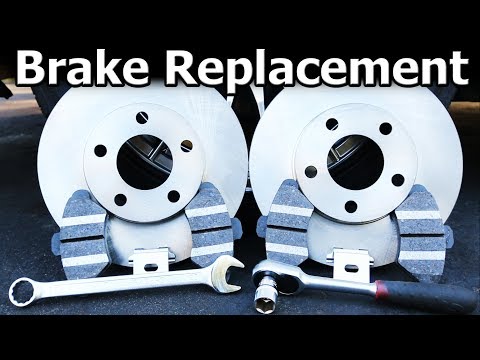
How to Change Front and rear Brake Pads and Rotors (Complete Guide)
 0:04:43
How to Replace Drum Brakes on Your Car
 0:14:21
How to Replace Brake Pads and Rotors (COMPLETE Guide)
 0:09:55
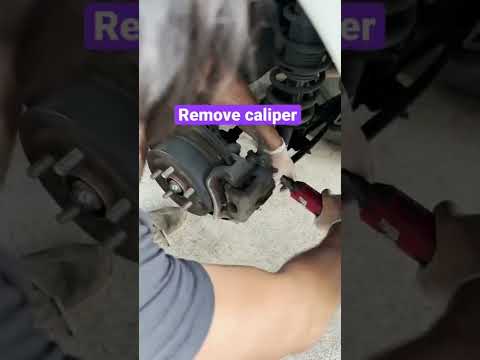
How To Change Replace Brake Pads Easy Simple
 0:16:51
How to Replace Rear Brakes 2007-2014 Cadillac Escalade
 0:04:05
How to replace rear brake shoes
 0:00:45
Easy brake pad replacement
 0:08:21
How to replace Rear Brakes with Electronic Parking Brake for Toyota
 0:31:33
How to Replace Toyota Drum Brakes Like a Pro
 0:14:10
How to Change Drum Brakes (In depth, ultimate guide)
 0:17:33
How to Replace Rear Brakes 2003-2008 Toyota Corolla
 0:13:29
Most Common Brake Installation Mistakes!
 0:10:06
How to Replace Rear Brakes Hyundai
 0:08:30
How to Replace Front Brakes, Pads and Rotors
 0:11:21
How to Replace Rear Brakes 06-14 Toyota RAV 4
 0:22:27
Cadillac ATS: Rear Brake Replacement
 0:18:52
How to Change Rear Brake Discs & Pads
 0:26:23
How to Replace Rear Brake Calipers On Any Car!
 0:11:55
How To Replace Rear Brakes 2014-2020 Nissan Rogue
 0:13:06
How to Replace Rear Drum Brakes on a Honda Civic
Комментарии