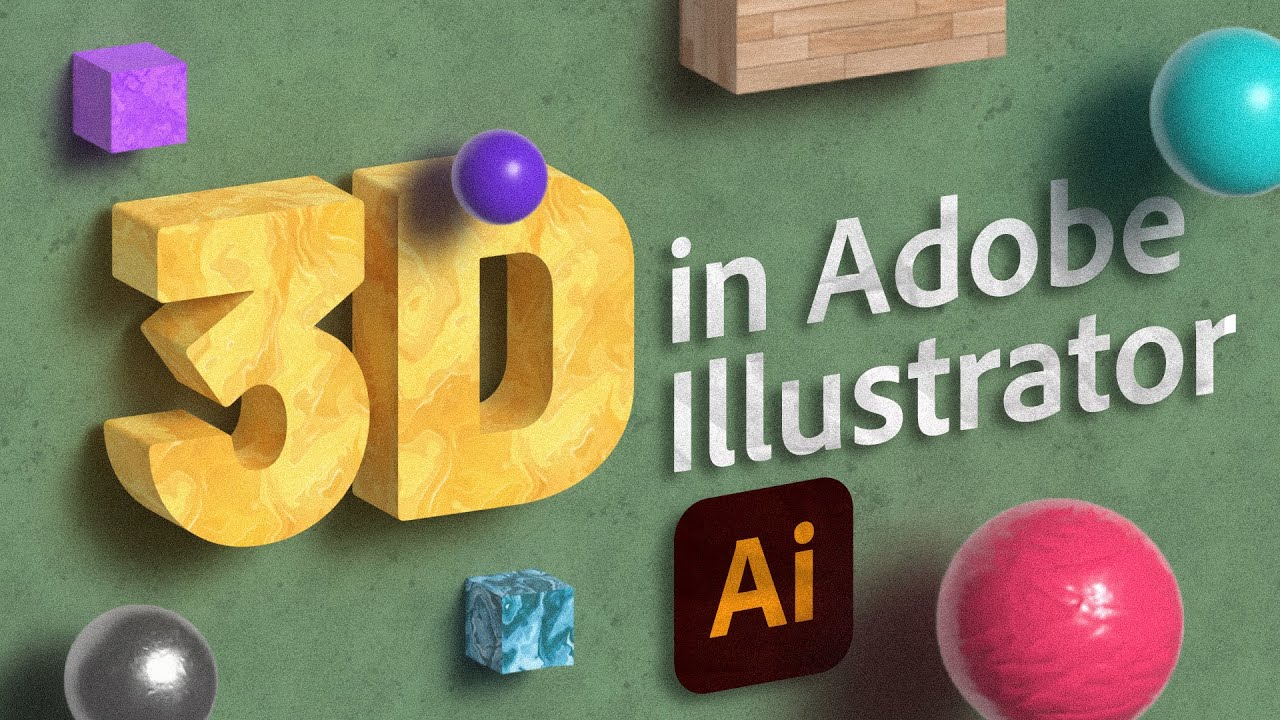
How To Use 3D in Illustrator: EVERYTHING You Need to Know

preview_player
Показать описание
🎮 Epic Games Creator Code: ANDYTELLSTHINGS
---
If you were wondering how to make 3D objects in Illustrator, wonder no further! Here's a complete guide to 3D in Illustrator, with everything you need to know, from objects and materials, all the way to lighting and rendering. And, of course, with a few tips and tricks to improve performance from yours truly! Also, can you count how many times I mentioned Illustrator could crash in this video? :P
---
TIMESTAMPS
0:00 - Introduction
1:27 - The Panel
2:50 - Object Tab
7:32 - Lighting Tab
12:20 - Materials Tab
20:24 - Special Performance Trick
21:41 - Rendering
24:15 - Performance Tips
---
#AdobeIllustrator #3D #GraphicDesign
Рекомендации по теме
Комментарии
Автор

Super comprehensive tutorial! Easy to understand introduction to the 3D-side of illustrator!

urwfvwo
Автор

Thank you Andy for this amazing tutorial. God bless you more abundantly 🙏

abccreative_media
Автор

this is so fun! and the way u explain makes me less stressed❤😅

itsmyname
Автор

Thanks so much for this Andy! Been playing with 3D on Illustrator by watching tutorials on youtube. So glad you got your own explainer! The crashing sound always gets me tho 😂😂 I’m not confident that my laptop can handle too much 3D effects. Wish us luck

jengee
Автор

Super video and very useful, thank you!

MuhammadSayed-mw
Автор

Very nice. This is the most comprehensive tutorial I have seen on 3D in Illustrator. I agree that the new 3D features are a huge step forward. However, there are a few issues that I wish Adobe would address. I will try and explain these below for anyone that is interested.

1. When turning two different shapes into 3D objects, it is very difficult to work with them together because illustrator treats them as if each one is separate entirely, almost like they are in a different scenes. For example, let’s say I want to make a light bulb that is made up of a glass part on top and a metal part on the bottom. If I make half the light bulb with one shape for the glass and one for the metal part and then revolve them separately, they will no longer be aligned or fit together even though the 2D shapes were. When revolving from the left edge, the objects actually revolve around the center point of the shape, which throws off the alignment. So the only way to fix this is to move the shapes and try to fit them together again by hand. Of course you could always group the two shapes together and then revolve them as a group. Doing it this way keeps the objects aligned together. However, the downside is that you can’t apply different materials (i.e. glass and metal) to each part of the light bulb. Revolving them separately does allow you to apply different materials to each part, however the shadows would not be treated as one since illustrator considers them two different objects.

2. There is no realistic way to create transparency for objects made out of glass or clear plastic. Let’s take the light bulb example again. After revolving each object separately and then fitting them together again, you should be able to make just the glass part semi-transparent, but I haven’t found an effective way to make glass using materials. There is no transparency setting in the materials settings. The only way I have found to make something transparent is to lower the opacity of the object itself in the appearance panel. However, the downside to doing this is that it starts to make everything transparent, including the specular highlights and reflections.

3. There is no way to rotate a revolved objects without messing up the revolve effect. Let’s say I wanted to take the light bulb I made and rotate to make it look like it was lying on its side on a flat surface with a shadow underneath. If I try and rotate the light bulb shapes it will mess up the revolve since it’s based on revolving from the left edge while the light bulb is upright. I could rotate the objects using the rotation settings in the 3D panel, but then that creates more alignment issues since I would have to rotate each part separately. I could rasterize it and then rotate the image, but doing so would also rotate the direction the light is coming from, etc. It would be nice if we could lock down the revolve effect, and then be able to rotate the shapes together while keeping light source and everything else the same.

4. When applying graphics to the surface of a 3D object, the quality is bad/pixelated after rendering. One would assume that a vector based graphic applied to a 3D surface would not look pixelated. However, it’s important to remember that the new 3D feature renders everything as raster (unlike the old, 3D classic that rendered everything as vector). I’ve tried rendering with the document raster settings set to 300 ppi, but the quality of the graphic is still bad when zoomed in at 100%. I wish there was a way to specify the resolution the graphic is when rendered. You can try using the render as vector option in the render settings, but that does not produce the high quality, ray traced render that you get when rendering as raster.

Anyways sorry for the long comment. Just wanted to put my thoughts out there.

chasebros
Автор

Thank you really for this Video!!! I watched so many Videos/Tutorials but yours is top best really, neat and very well explained !
Now i can really create Amazing Websites !!

natashawehrli
Автор

Thanks that helps a lot for my studies

stenfo
Автор

Thank you Andy for this great tutorial

banana
Автор

Wow! Thanks for explaining it in the mesmerizing way Andy. It's fantastic.

wajahatkhan
Автор

Wow! You are very clear and thorough in this. Thanks for this video. Now...let's see how I do this on my own LOL I'm now subscribed so I can always revisit.

pf
Автор

Thanks I learned so much today from you!

TheNewDawnLeadership
Автор

Object tab is where you can customize the shape of your 3d object
3:58

Evie_Ruby
Автор

Wish you fast channel development, thank you for this knowledge

ankhanhbui
Автор

Pls which app can i download for ds adobe?

Assalamaidecoder
Автор

Great Tutorial. These days many tutorials are only in title and no content. keep it up. ⭐⭐⭐⭐⭐

ssalem
Автор

As a 3d modeling professional, I can say that illustrator makes it so simple. This is really good tutorial. I could have figured everythin myself but I watched the whole vid cuz I wanted ti know if there were some hidden tricks

sig_das
Автор

Hey Andy thanks for your video! May I ask if I can turn off the lighting mode in the 3D mode of Ai 2024, I want to warp the text into the sphere shape but it looks awkward with the lighting

dmusic
Автор

I have a problem with this lighting, all the darkest parts stay gray with I put some depth in a colored object, I try everything but don't know how to fix that 😭😭😭

juliacordeiro
Автор

Nice tutorial. I wish you'd address the drop shadows that cut off even when shadow bounds are set to 400%, and how to avoid that.

si-bonegraphx