filmov
tv
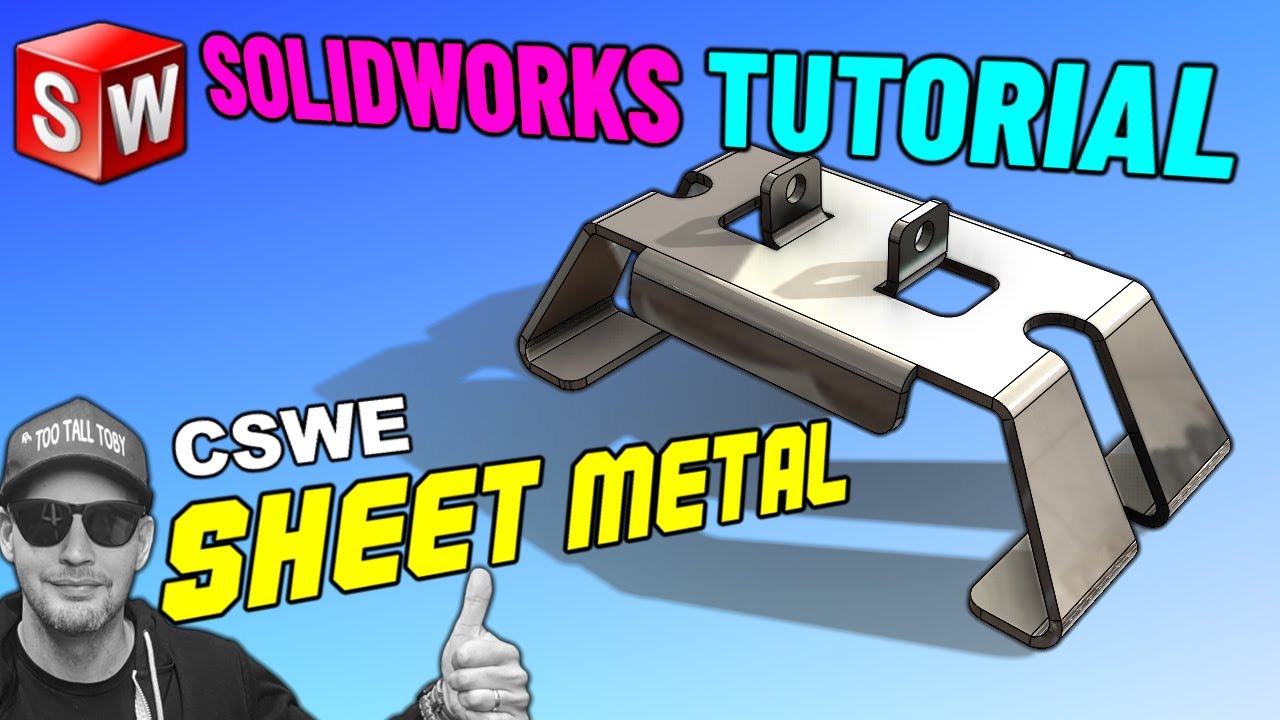
SolidWorks Sheet Metal Tutorial - METAL CLIP - 23-02-02
Показать описание
0:00 - INTRO
2:08 - GAME PLAN - Some TRICKY areas
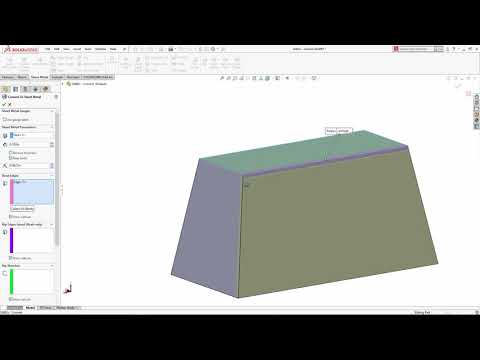
4:05 - First Sketch and Base Flange
5:00 - TECHNIQUE 1 - Discussion of a technique that didn't work very well...
7:54 - TECHNIQUE 2 - REVERTING BACK to original base flange
8:35 - Change original sketch to have a sharp bottom
9:00 - Create flared out section of angled flange using BASE FLANGE/TAB
9:55 - Create EDGE FLANGE on the bottom of the part using parallel to face
10:40 - Discussion of FLANGE POSITION
12:11 - Flange Length - up to vertex? CAN'T USE SKETCH POINT!!
13:35 - Double Tombstone Cut Extrude
14:20 - Discussion of NORMAL CUT option in sheet metal
17:32 - Upper Rectangular Cut - AVOID EQUALS relationship on a rectangle
19:28 - Upper Edge Flanges - Edit Flange Profile Sketch
20:38 - Cut Extrude HOLE in upper flange
21:07 - Final Flange - Flared out on sides
21:33 - COOL TRICK to calculate oddball dimensions
23:11 - Side Flange FILLETS and MIRROR
23:28 - Bottom Flange Fillets
23:40 - MIRROR ALL
24:00 - EVALUATE MASS PROPERTIES and checking my answer
24:48 - Conclusion
In this #solidworks tutorial for #beginners , SolidWorks Expert TooTallToby will show #howto use the #,Bassflange tab command and #edgeflange command as well as explain how to get started creating a 3D model from a 2D print
Love dogecoin? So do we!! TTT DOGE wallet address: DKfGVFe1SbeZCff3i3zPS34Wq8PafVs1Zf
 0:11:35
SolidWorks Sheet metal Basics
 0:12:52
SOLIDWORKS Tutorial 'Sheet Metal' (09/10)
 0:12:39
SolidWorks Sheet Metal Practice Exercises for Beginners - 1
 0:08:20
SOLIDWORKS Sheet Metal Tutorial #5 // MITER FLANGE // CORNER CONDITION
 0:13:42
SolidWorks Sheet metal Exercise Basic Features
 0:36:03
SOLIDWORKS - Sheet Metal 101
 0:18:09
SolidWorks Sheet metal Tutorial Switch Box
 0:13:10
SolidWorks sheet metal Tutorial | Calculate flat form of Elbow in Solidworks
 0:03:37
SOLIDWORKS FOR PROCESS BASED APPROACH TUBE BENDS
 0:24:11
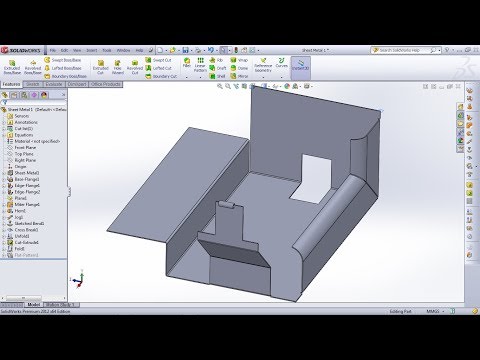
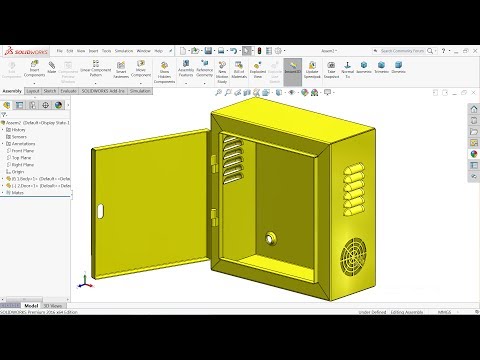
Sheet Metal Enclosure in SolidWorks (SolidWorks Sheet Metal Tutorial)
 0:12:14
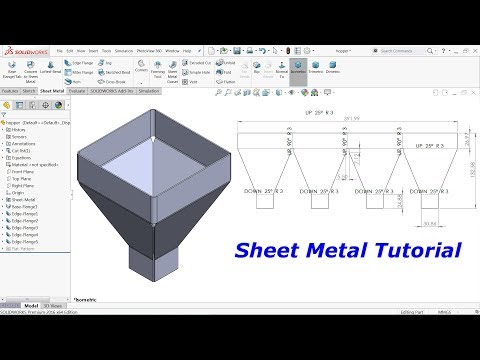
Solidworks Sheet metal tutorial Hopper
 0:14:40
SolidWorks Sheet Metal Tutorial for Beginner - 1 | Base Flange/Tab, Edge Flange, Miter Flange, Hem
 0:27:03
Solidworks sheet metal tutorial | Design of Electrical enclosure in Solidworks
 0:31:42
Solidworks tutorial Basics of sheet metal
 0:14:39
Solidworks sheet metal tutorial base flange, hem, Unfold, Fold and Emboss
 0:19:42
SOLIDWORKS Sheet Metal Module | Beginners
 0:13:26
Solidworks sheet metal Tutorial Base flange, Edge Flange and Corner relief
 0:07:02
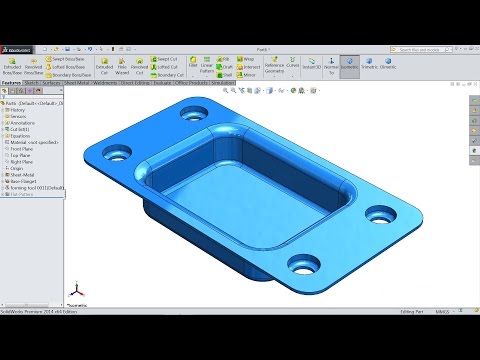
Solidworks Sheet Metal tutorial forming tool
 0:12:08
SolidWorks Sheet Metal Tutorial Exercise 216-Steel Bracket
 0:17:41
SolidWorks Sheet metal exercise
 0:28:00
SolidWorks Sheet metal Exercise 129-Sketched Bend and Jog
 0:25:45
SolidWorks Sheet metal Basic tutorial
 0:15:18
SolidWorks Sheet Metal Exercise 213 Steel Bracket
 0:28:18
Advanced Sheet metal Exercise in SolidWorks
Комментарии