filmov
tv
Insta360 X4 | CINEMATIC + Tutorial

Показать описание
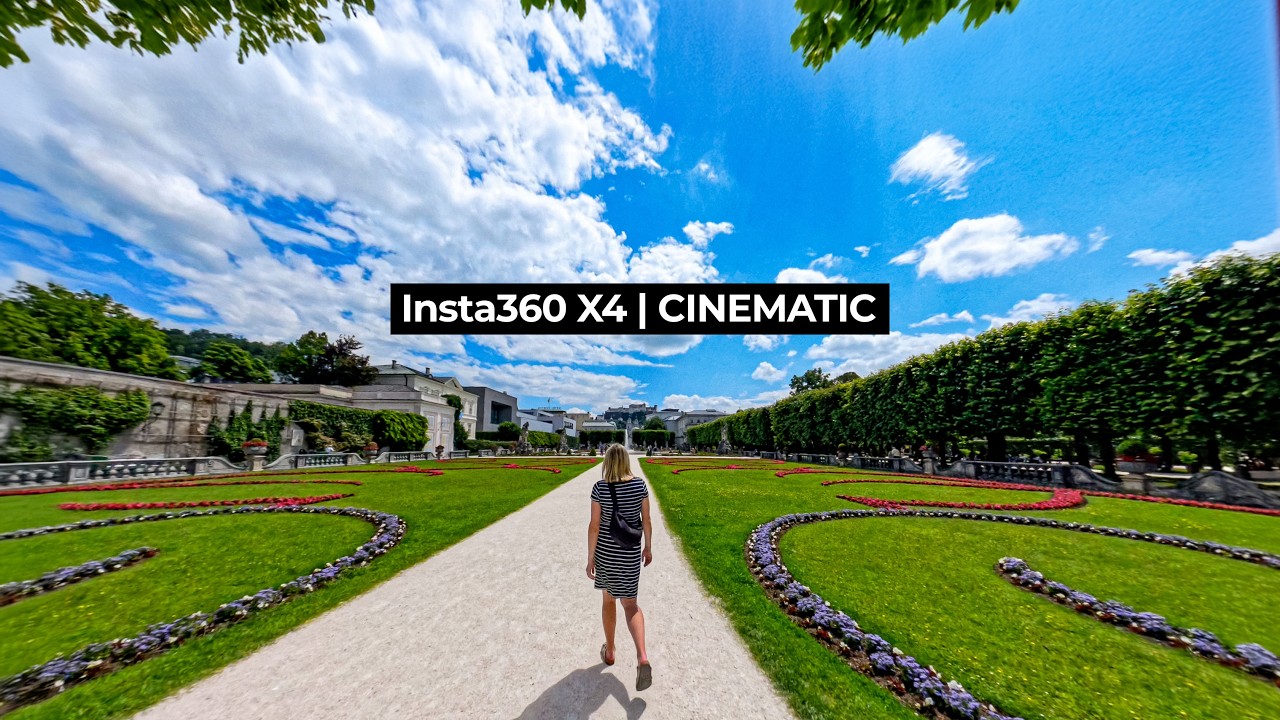
0:00 Cinematic Shots
3:53 Camera settings
First of all, you need to make sure you have set the following settings on your Insta360 X4:
- go to settings and always make sure that you have installed the latest firmware.
- then make sure the following basic settings are selected. Under "image settings", set the video encoding format to H.265, the bit rate to "high" and the sharpness to "low". Also make sure In-camera stiching is deactivated.
- I recommend you to always record with the "standard video mode" in 8K/ 30ps. 8K/30fps requires the highest processing power of the X4, which can also cause the camera to heat up. A high data rate is also written to the memory card, so make sure that you use a fast memory card with enough storage capacity.
- Select the color profile "Standard" and make sure that the EV value is set to 0 and the White Balance value is set to Auto.
6:18 tips for better Shots
Before you start recording, here are a few important Gimbal Guru tips:
- always make sure that both lenses of your Insta360 X4 are clean. Smudged, dirty lenses produce poor video quality.
- if possible, do not use a lens protector. You will achieve the best results without it.
- Use the Insta360 Invisible selfie stick or the Insta360 Extended selfie stick for the best results.
- Film in an environment with good light and try to avoid changing lighting conditions.
- Guide the camera as smooth as possible.
And now it's up to you. There are no limits to your creativity. I'm always trying out new things and challenge myself to figure out unique shots with my Insta360 X4.
7:45 Editing & Reframing
I still rely on Premiere Pro. At least that's the best way for me to work and put my ideas into practice. But I can also recommend Insta360 Studio. This is the free alternative.
In the first step, I create a new project and a new sequence with a 4K resolution and 30fps. I then import the recorded 360-raw material. Under raw material settings, various parameters in stitching and stabilization can be adjusted. Make sure that "Direction Lock" is deactivated. This makes reframing easier. Then drag the raw footage into the editing timeline and search for "GoPro FX Reframe" under effects. GoPro FX Reframe is a plugin that allows you to reframe your 360 raw footage. Select UHD for Projection and then you can reframe the video as desired by adjusting the parameters and setting keyframes. I like to use the values 50/50 for an ultra wide angle view or 60/60 for a wide angle view for the parameters "Lens Curve" and "Zoom". Activate the "Animation Keyframe" function for all parameters and starts reframing. Very important: After reframing, mark all keyframes and set them to "Bezier even". This will give you smooth movements.
10:38 Proxy files
8K 360-video recordings are extremely processing intensive for your PC. It therefore makes sense to work with proxy files. Your Insta360 X4 already creates these proxy files automatically. These are the files with the extension .lrv
To link these proxy files with the original recording, select "Proxy" and "Attach proxy". Click on "Attach" and find the appropriate .lrv file. With the button "proxy on/ off" you can now switch between the original file with high resolution and the proxy file with reduced resolution. this reduced resolution is perfect for editing.
11:41 Color grading
Color processing can be individually adjusted in the color processing mode. Here it is also possible to apply LUTs. Personally I use my “Gimbal Guru cimematic Lut” for the Insta360 X4. The gimbal guru cinematic LUT allows you to generate cinematic Looking Shots with just one click.
12:15 Sharpening
As we have set the in-camera sharpness to low, some sharpening is required in post-processing. To do this, I simply create an adjustment layer for the entire project and apply the “Sharpening” effect in the effects tab. A value between 10-20 is best here. This will give your video the necessary sharpness to achieve crisp, clear images.
12:54 Export
Let’s continue with the export. For the best export quality, I select the following settings:
- Format: Quick- Time
- Videocodec: Apple ProRes 422
The output file size with the ProRes codec is very large, but I experienced very good results with it. An alternative would be to use the h.264 or h.265 codec. Click on export and your entire project will be exported. The result are razor-sharp, high-quality reframed Shots with your Insta360 X4! Try it out for yourself and create your own INsta360 X4 cinematic shots.
#gimbalguru #insta360x4 #cinematic
Music:
Track Name: Air Magic
Fashion Vlog Experimental Sensual Dreamy Electronic by Infraction [No Copyright Music] / Air Magic
*= Affiliate Links
 0:01:42
 0:02:32
 0:03:20
 0:03:04
 0:10:25
 0:06:46
 0:12:55
 0:16:20
 0:01:22
 0:24:56
 0:14:21
 0:10:17
 0:16:39
 0:08:44
 0:11:01
 0:15:21
 0:02:36
 0:15:19
 0:08:26
 0:02:08
 0:18:25
 0:10:22
 0:08:20
 0:12:45