filmov
tv
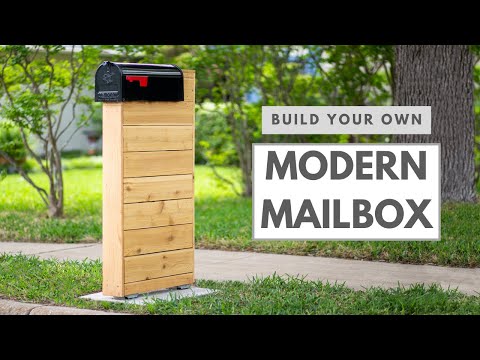
DIY Modern Cedar Mailbox with Slats

Показать описание
Looking for a quick and easy way to spruce up your home? Why not upgrade your mailbox with this modern cedar mailbox made from 1x4 slats! In this video, I'll show you step-by-step how to build this stylish mailbox that will not only enhance the curb appeal of your property but also increase its value.
Using only basic tools and materials, you'll be able to build this modern mailbox in just a few hours. The cedar wood not only looks great but is also naturally weather-resistant, ensuring that your mailbox will last for years to come.
In this tutorial, I'll cover everything you need to know, from cutting the wood to assembling the mailbox, and even finishing it with a coat of protective sealant. With my easy-to-follow instructions and detailed measurements, you'll have your new mailbox up and ready to use in no time.
Whether you're a seasoned DIYer or just getting started, this project is perfect for anyone looking to add a touch of modern style to their investment property or home. So grab your tools and let's get started!
-----------------------------------------
Tools Used:
⚒️⚙️🗜️🔦📐🔧🔨
#cedarmailbox #woodworking #remodel
***********************************
Keywords: DIY modern cedar mailbox, 1x4 slats, investment property, mailbox upgrade, increase property value, easy-to-follow instructions, protective sealant, weather-resistant, curb appeal.
DON'T CLICK THIS:
 0:11:06
Modern Mailbox Post - DIY Mailbox Upgrade
 0:09:34
DIY Modern Wood Mailbox | Removed The Old One With My CAR!
 0:01:00
You’ve got mail! Love the modern look of this mailbox that now compliments our new fence perfectly!...
 0:01:00
Building a luxury mailbox with 70 bucks #mailboxes #diy #diyprojects 
 0:15:25
DIY Modern Cedar Mailbox with Slats
 0:00:38
Modern mailbox pt1 #diy #woodworking #homeimprovement #cool #mailbox #trending #work #viralvideo
 0:16:29
How To Build an 'Eye-Catching' Modern Mailbox
 0:05:39
Modern Wooden Mailbox Post - 2x4 Lumber - Super EASY DIY Project to Increase Value of Your Home
 0:04:53
Bent Lamination Cedar Mailbox Post
 0:00:15
DIY Mailbox
 0:18:29
Cedar MailBox Build I 4K
 0:00:18
Cedar Mailbox Custom Made
 0:10:43
Diy making a cedar mailbox cover
 0:02:39
Modern Mailbox Post Plans
 0:16:22
Today's Project - Designing and Building a Mailbox Post
 0:05:24
The $25 Modern Mailbox - Easy DIY Project!
 0:00:55
Mailbox installation simplified
 0:05:40
$10 DIY Modern Mailbox Update | Problem Solved
 0:00:13
TRIM A WINDOW WITH ME - install window trim and sill #diyhomedecor #homeimprovement
 0:09:06
DIY modern mailbox 📬
 0:04:09
how to build a modern mailbox: mailbox
 0:01:01
Install mailbox without concrete
 0:09:59
Building a Cedar Mailbox for my Cabin | DIY
 0:05:18
Modern Mailbox Makeover
Комментарии