filmov
tv
Scandinavian Style IKEA Hack | DIY Ivar Cabinet Makeover with Textured Paint & Brass Accents

Показать описание
I'm so excited to share another IKEA HACK Video! I'm going walk you through how I transformed the Ikea Ivar Cabinet into a beautiful Scandinavian Style Cabinet for my apartment. There are so many ways to DIY this Ikea piece, but I really wanted something simple and beautiful. In the video I also included other examples of how to transform it, to get your creative juices flowing.
For the transformation I created a textured, chalky paint using baking soda & paint. And I just finished it off with beautiful brass legs and DIY golden handles.
+ Time Codes:
- Skip the Intro: 0:54
- Baking Soda Paint Recipe & DIY: 1:44
- Installing Pretty Pegs Brass Legs: 3:19
- Painted Handles DIY: 3:59
- Skip to the Reveal: 5:38
+ Products I Used:
+ Follow Me
+ Music
- Marble Floors by Guustavv
- Oak City by Sarah, the Illstrumentalist
- Honesty by Hallman
Thanks for watching! | Don't forget to drop a like & subscribe!
 0:05:31
Scandinavian Design For Your Litter Box | IKEA Hack for cat lovers
 0:11:30
FAVORITE IKEA KITCHEN HACKS | SCANDINAVIAN DESIGN
 0:06:09
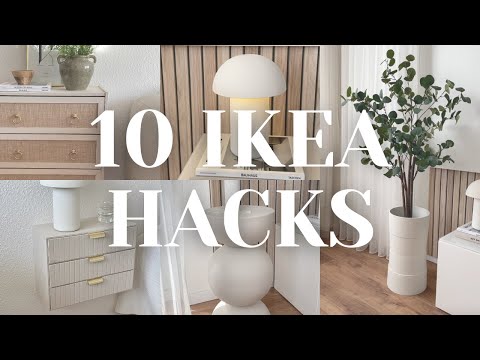
10 IKEA HACKS | IKEA HOME DECOR IDEAS YOU WILL ACTUALLY LOVE 😍🛠✨
 0:03:52
EASY IKEA HACK ! | DIY Scandi Style Floating Bookshelf | Reading Nook Mini Makeover
 0:00:30
Steal this budget friendly DIY fluted IKEA side table hack & create your own ‘on-trend’ piece 🙌...
 0:12:12
Architect's TOP 10 Furniture Hacks for Small Homes
 0:06:16
Scandinavian Style IKEA Hack | DIY Ivar Cabinet Makeover with Textured Paint & Brass Accents
 0:13:46
Designer's 50 TOP FAVORITE Ikea Products 🪑 2024
 0:19:49
Revamp Your Space with These Genius IKEA Interior Design Ideas
 0:11:51
30 Affordable IKEA Products That Look EXPENSIVE
 0:00:29
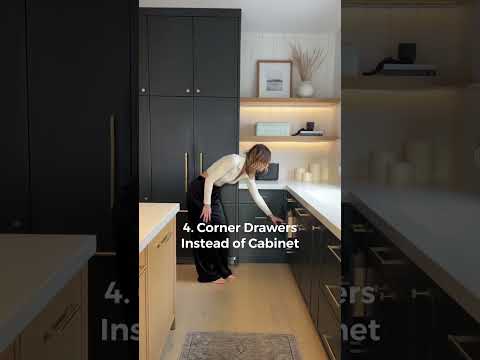
Our 5 favourite essential design features in our kitchen!
 0:12:11
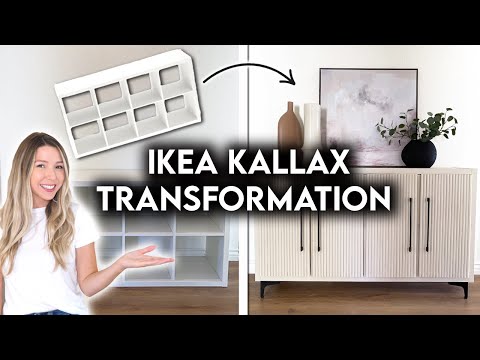
DIY IKEA HACK KALLAX TRANSFORMATION | FLUTED SIDEBOARD
 0:00:55
IKEA Buy This Not That #shorts
 0:00:48
Customizing IKEA furniture with Norse Interiors - How it works
 0:19:59
living room makeover 🛋 korean & scandish + ikea haul 📦
 0:19:45
HIDDEN GEMS | IKEA's Best Solid Wood Furniture
 0:15:54
Architect's TOP 10 IKEA Products to Buy/Avoid in 2023
 0:00:40
Make an Envelo Console by Article with this IKEA hack from Norse Interiors
 0:08:01
IKEA Tarva Dresser HACK | ✨DIY Oakwood Finish✨| Japandi Design 🌿
 0:00:41
Welcher der 3 Ikea Hacks gefällt euch am besten? #ikeahack
 0:00:44
IKEA Möbel Hack #diyprojects #ikea #ikeahack #dekoidee #interior #diy #homedecor #easydiy #selberbau...
 0:04:36
20 BEST IKEA IVAR CABINET HACKS
 0:17:07
How to Expertly Style Popular IKEA Furniture
 0:06:32
DIY Double Loft Bed with Hidden Hideout | Ikea Dresser Hack
Комментарии