filmov
tv
Raspberry Pi LESSON 30: Control LEDs with Buttons on GPIO Pins
Показать описание
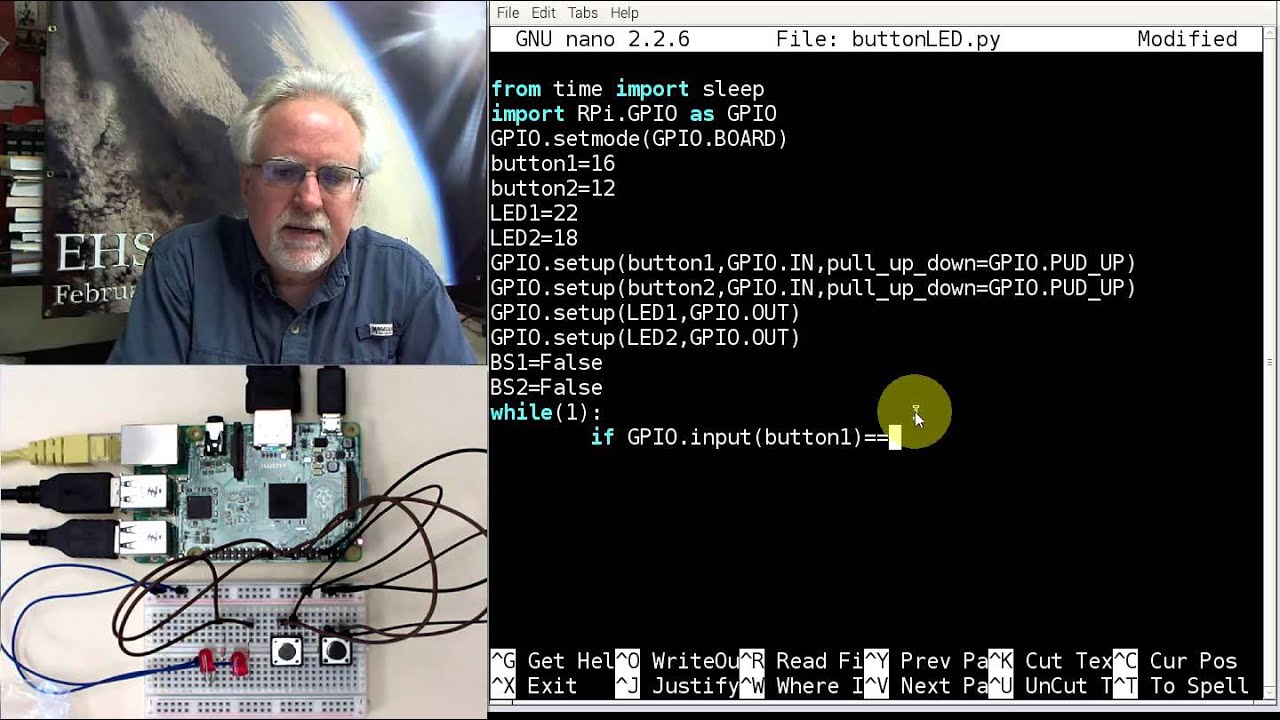
This tutorial shows you how to control LED's using the GPIO pins on the Raspberry Pi using Python. This demonstrates use of the GPIO pins as both inputs and outputs.
See code and full lesson details at:
See code and full lesson details at:
 0:20:31
Raspberry Pi LESSON 30: Control LEDs with Buttons on GPIO Pins
 0:12:03
Control you Raspberry Pi with a BUTTON
 0:13:40
Raspberry Pi LESSON 29: Using GPIO pins as Inputs and Reading them in Python
 0:39:44
Raspberry Pi LESSON 9: Using GPIO Pins for PWM to Simulate Analog Output (Pulse Width Modulation)
 0:30:54
Raspberry Pi LESSON 30: Alarm for Detecting Motion in the Dark
 0:26:28
Raspberry Pi LESSON 8: Using a Button as a Toggle Switch for LED Control
 0:09:17
Raspberry Pi Tutorial 20 - GPIO How to use a Push Button
 0:08:28
Remote LED Control With Raspberry Pi, Python gpiozero/pigpiod (MCP3002 ADC + Potentiometer + Button)
 0:00:39
What is Raspberry Pi 4? Complete Guide to the Powerful Mini Computer | ATH Tutorial
 0:27:27
Every Developer Needs a Raspberry Pi
 0:13:08
Control Large GoBILDA DC Motors With Raspberry Pi & Pololu Motoron HAT - Bluetooth Control Too!
 0:21:14
The New Method to Setup Raspberry Pi (2023 Update)
 0:15:04
I Can Save You Money! – Raspberry Pi Alternatives
 0:18:12
ROS and Raspberry Pi for Beginners | Tutorial #0 - Topics Packages RosMaster
 0:10:19
Raspberry pi 3 tutorial #4: Control LED using Push Button Python Programming 'Beginners level&a...
 0:18:43
Raspberry Pi Motor Control & RPM Measurement Tutorial
 0:08:43
Raspberry Pi High Quality Camera Getting Started Guide - First Pictures and Videos
 0:17:57
the Raspberry Pi 5
 0:05:53
Online Remote for controlling Raspberry Pi GPIO and Camera remotely | IOT Project
 0:15:05
RASPBERRY PI – All About controlling Relay Boards for Home Automation
 0:23:59
The New Method to Setup Raspberry Pi Zero (2023 Tutorial)
 0:48:54
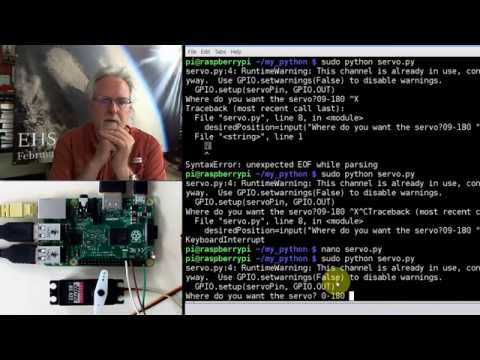
Raspberry Pi LESSON 28. Controlling a Servo with Raspberry Pi and Python
 0:24:43
Raspberry Pi 5: Getting Started
 0:09:53
Tutorial: Controlling an LED with a Button (Raspberry Pi)
Комментарии