filmov
tv
Boot Your Lenovo Like a Pro: Master the BIOS in 30 Seconds #shorts
Показать описание
Welcome to SmartTech - your one-stop destination for all things tech! Our channel focuses on providing simple, easy-to-follow tutorials, tips, and tricks to help you get the most out of your gadgets and devices. From computer troubleshooting to smartphone hacks, we cover a wide range of topics that cater to both beginners and experts alike.
At SmartTech, we are committed to making technology accessible and user-friendly for everyone. Our expert team is constantly researching and exploring the latest tech trends to bring you up-to-date and valuable information. Whether you're a casual user or a tech enthusiast, SmartTech has something for everyone.
Don't forget to subscribe to our channel and hit the notification bell to stay informed about our latest videos. If you have any questions, suggestions, or requests for specific tutorials, please feel free to leave a comment or reach out to us through our social media channels.
Join the SmartTech community today and unlock your full tech potential!
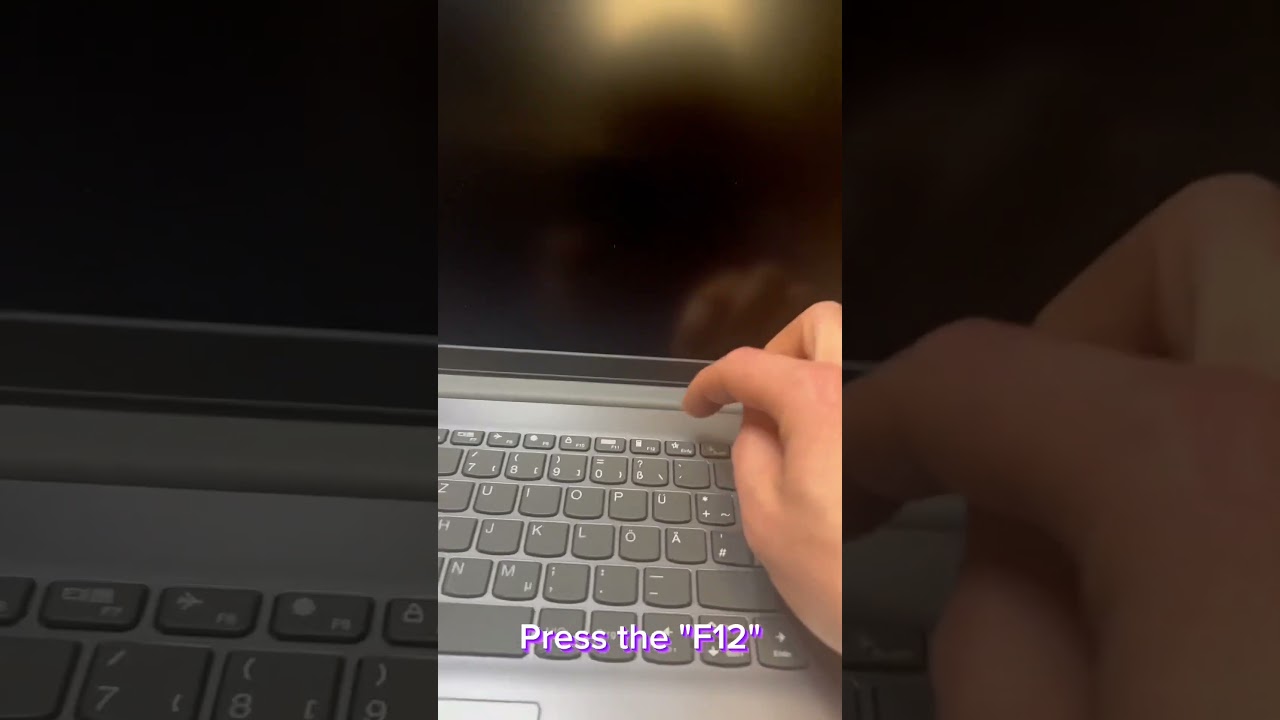
Turn on the computer or restart it.
Press the "F12" key (or an alternative key, depending on the model) repeatedly during the startup process to access the boot menu. The key may vary depending on the model and could be "Enter", "F1", or "F2". Usually, the correct key is displayed on the startup screen.
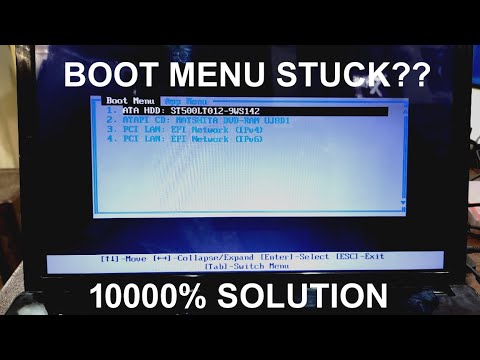
When the boot menu appears, you will see a list of available boot devices. Use the arrow keys to select the desired boot device. This can be an internal or external hard drive, a USB drive, a CD/DVD drive, or another bootable medium.
Press the "Enter" key to confirm the selected boot device. The computer will boot from the chosen device.
If you need to access the BIOS setup menu to make further settings, press the appropriate key during startup, typically "F1" or "F2" (depending on the model). In the BIOS setup, you can change the boot order to permanently set the desired device as the primary boot device.
Save the changes and exit the BIOS setup by pressing the displayed key, usually "F10".
The computer will restart and should now boot from the chosen boot device.
-~-~~-~~~-~~-~-
Please watch: "How to Replace Samsung A52's Battery and LCD Screen"
-~-~~-~~~-~~-~-
At SmartTech, we are committed to making technology accessible and user-friendly for everyone. Our expert team is constantly researching and exploring the latest tech trends to bring you up-to-date and valuable information. Whether you're a casual user or a tech enthusiast, SmartTech has something for everyone.
Don't forget to subscribe to our channel and hit the notification bell to stay informed about our latest videos. If you have any questions, suggestions, or requests for specific tutorials, please feel free to leave a comment or reach out to us through our social media channels.
Join the SmartTech community today and unlock your full tech potential!
Turn on the computer or restart it.
Press the "F12" key (or an alternative key, depending on the model) repeatedly during the startup process to access the boot menu. The key may vary depending on the model and could be "Enter", "F1", or "F2". Usually, the correct key is displayed on the startup screen.
When the boot menu appears, you will see a list of available boot devices. Use the arrow keys to select the desired boot device. This can be an internal or external hard drive, a USB drive, a CD/DVD drive, or another bootable medium.
Press the "Enter" key to confirm the selected boot device. The computer will boot from the chosen device.
If you need to access the BIOS setup menu to make further settings, press the appropriate key during startup, typically "F1" or "F2" (depending on the model). In the BIOS setup, you can change the boot order to permanently set the desired device as the primary boot device.
Save the changes and exit the BIOS setup by pressing the displayed key, usually "F10".
The computer will restart and should now boot from the chosen boot device.
-~-~~-~~~-~~-~-
Please watch: "How to Replace Samsung A52's Battery and LCD Screen"
-~-~~-~~~-~~-~-
 0:00:14
Boot Your Lenovo Like a Pro: Master the BIOS in 30 Seconds #shorts
 0:00:15
Enter Boot Manager Lenovo PC Laptop
 0:04:30
How to Fix Lenovo stuck at Boot Menu
 0:00:16
Lenovo laptop Boot setting
 0:01:58
Default Boot Device Missing or Boot Failed on Lenovo Laptop
 0:00:13
lenovo t430 boot menu #shorts #subscriber
 0:00:31
Lenovo stuck boot menu.
 0:00:17
Start Up Time Of Lenovo IdeaPad Slim 3i | Duduzzz Hi-Tech Media
 0:00:07
Boost Your Sound with These Amazing Headphones #lenovo
 0:00:15
how to open BIOS in Lenovo laptop
 0:00:16
How to fix Preparing Automatic Repair || Lenovo L340 not working || Booting Problem
 0:02:50
Fixed – Default Boot Device Missing or Boot Failed on Lenovo Laptop 💻
 0:00:23
Lenovo IdeaPad Laptop Black Screen Problem Fix 100%| Laptop Blank Screen#macnitesh#laptop#2023shorts
 0:00:40
Boot from USB in Lenovo Laptop #laptoptips
 0:00:15
How to open the boot menu in Lenovo ThinkPad T490 laptop #lenovo #T490
 0:00:11
How to turn on backlit keyboard on Lenovo Thinkpad
 0:00:31
How to Light Up your Lenovo Thinkpad's Keyboard - Press and Hold Fn + Alt Key + Press Spacebar ...
 0:00:40
Lenovo Thinkpad Bios Setup 🛠️💻 #youtubeshorts #laptop #lenovothinkpad #lap #computer #setup
 0:02:17
Lenovo Boot Menu/App Menu error Fixed!!
 0:00:16
How to fix the slow boot time of Windows laptops?
 0:00:15
How to Turn On Keyboard Backlight#macnitesh#keyboardtricks#Dell#hp#lenovo#2023shorts
 0:00:13
Thinkpad startup problem | think pad | my lenovo #shorts #shortsfeed #shortvideo
 0:00:21
Turning On 6yrs Old Lenovo Tab A7 30hc!!! #lenovo #lenovotab #lenovotablet #android #android4
 0:00:09
How to turn on Backlight in any lenovo laptop #Lenovo#Laptops#Gadgets
Комментарии