filmov
tv
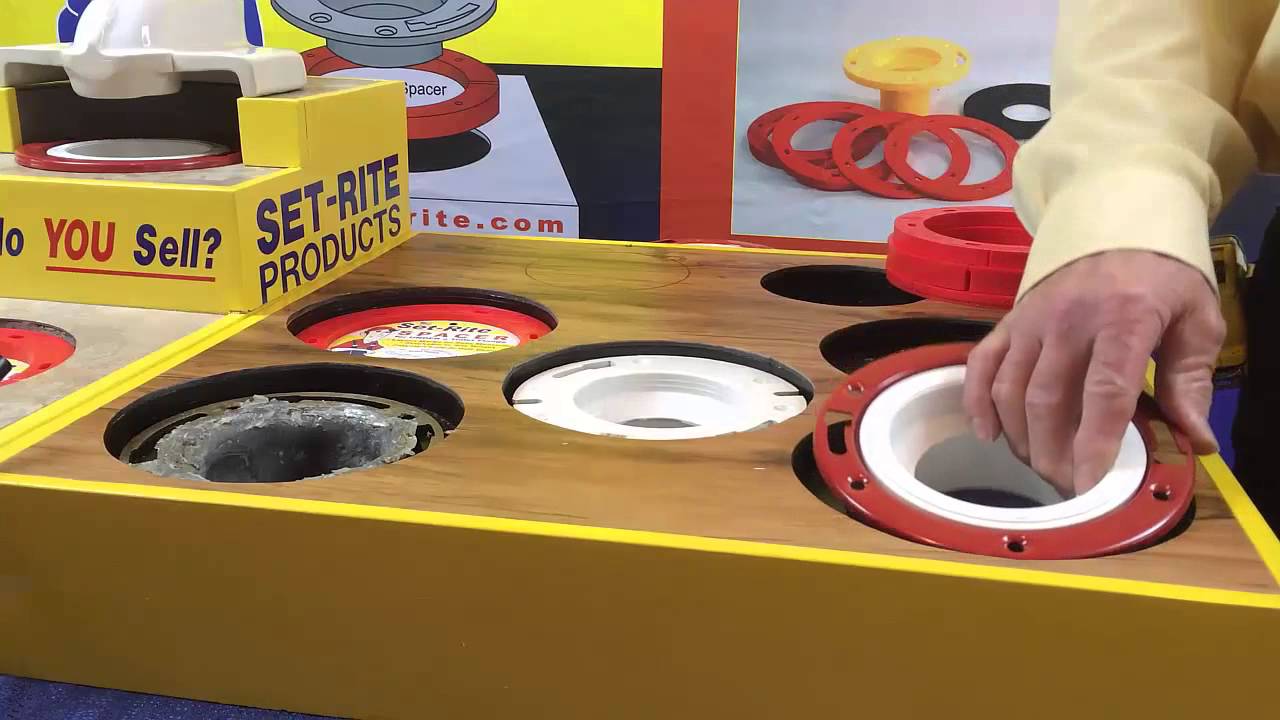
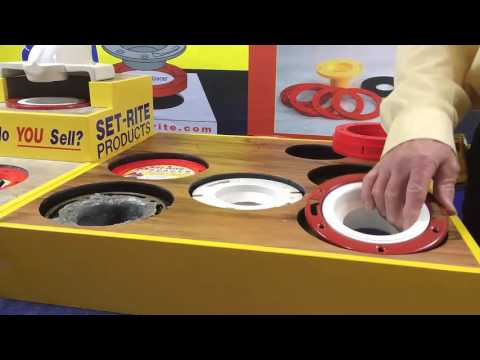
The Correct Height of a Toilet Flange
Показать описание
 0:01:24
Ergonomics | Monitors: Height
 0:05:46
How To Choose The Best Screen Height To Avoid Neck Pain
 0:13:26
Why Tall People Die Younger: The ideal height for the longest life
 0:00:52
Height Measurement
 0:04:02
How to Set Your Bicycle Seat Height
 0:00:44
Neuroscientist : Your HEIGHT is determined by this | Andrew Huberman | Dr. Kyle Gillett
 0:06:51
Correct Paddle Height / How To Find The Right Height For Your SUP Paddle
 0:04:11
The Correct Height of a Toilet Flange
 0:00:15
The best height adjustable desk
 0:11:34
The Perfect Bench Height | what height should your Woodworking Bench
 0:01:00
How to Measure your Height Correctly
 0:09:20
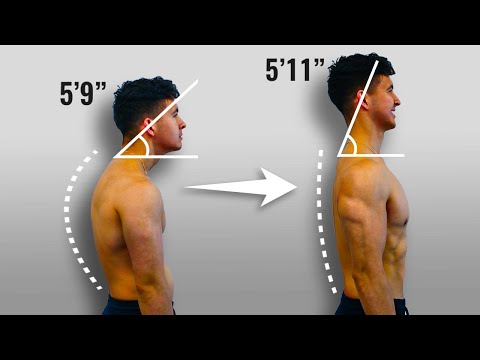
The PERFECT 5 Minute Posture Routine To Increase Your Height
 0:08:46
Setting the Right Height - Piano Sitting Posture
 0:02:15
How to Accurately Measure Your Height At Home
 0:01:31
How to Measure a Cane for Correct Height for a User
 0:00:26
How to measure the ideal height for your tv on the wall | TV Wall Mounts | Vogel's
 0:02:33
Easy Way to Measure the Correct Height for Your Walking Cane
 0:01:17
How to decide the correct height of Kitchen Countertop? | Kitchen Planning Tips
 0:06:52
How To Find The Perfect Saddle Height On Your Bike
 0:01:51
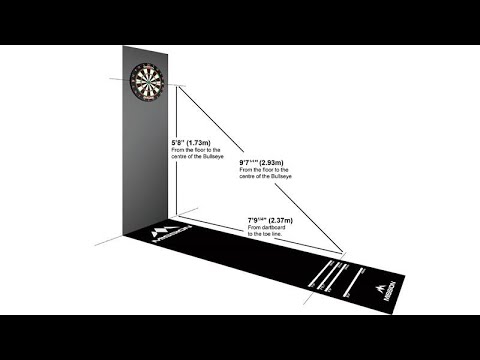
How To Setup A Dartboard At The Correct Height?
 0:00:42
Seeing if boys lie about their height 😂 #shorts #comedy #interviews #socialexperiment #funny
 0:01:19
How to measure dartboard height and Oche (throwline) distance.
 0:00:44
COMPARISON: Normal Height for Every Age ( Male ) #shorts #height
 0:00:56
+15 cm more height with limb lengthening surgery #limblengthening #gettaller #longlegs #shorts
Комментарии