filmov
tv
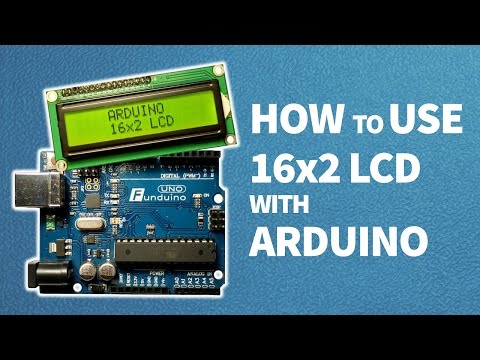
Arduino 16x2 LCD Introduction, Interfacing, Programming, Soldering, & Testing

Показать описание
Download Circuit Diagram and Programming:
Subscribe to my New YouTube Channel, if you want to watch my videos in Hindi/Urdu
Arduino and Nodemcu ESP8266 I2C 16X2 LCD:
Learn how to make a schematic and PCB:
Project Description:
*****************************
Today’s episode is about the 16x2 LCD. LCD modules are commonly used in most embedded projects, the reason being their cheap price, availability, and programmer-friendly. Most of us would have come across these displays in our day-to-day life, either at PCOs or calculators. In today’s episode, you will learn
1. 16x2 LCD introduction
2. Features of the 16x2 LCD module
3. 16x2 LCD Pinouts or pin Description
4. Soldering
5. 16x2 LCD interfacing with Arduino and
6. 16x2 LCD programming.
Let’s get started….
The components that we will be needing for this project are
1. Arduino
2. 16x2 LCD
3. A potentiometer or Variable resistor and finally
4. Some connection wires, or jumper wires.
LCD stands for Liquid crystal display…16×2 LCD is named so because; it has 16 Columns and 2 Rows… There are a lot of combinations available like 8×1, 8×2, 10×2, 16×1, etc. but the most used one is the 16×2 LCD. So, it will have 16×2=32 characters in total and each character will be made of 5×8 Pixel Dots.
Features of the 16×2 LCD module
• Operating Voltage of the 16X2 LCD is 4.7V to 5.3V
• Current consumption is 1mA without backlight
• This is an Alphanumeric LCD display module, which means you can display alphabets and numbers
• Consists of two rows and each row can print 16 characters.
• Each character is built by a 5×8 pixel box
• Can work on both 8-bit and 4-bit mode. “we will be using this LCD in 4-bit mode”.
• It can also display any custom generated characters. I will explain this in my upcoming tutorial.
• Available in Green and Blue Backlight
*****************************
Purchase links for Components with the best prices.
Arduino Nano USB-C Type ( recommended):
ESP32 WiFi + Bluetooth Module for iOT Projects (recommended), more IO pins, improved speed, and supports a Lipo Battery:
16X2 LCD
Potentiometer:
12v Adaptor:
Other Must-Have Tools and Components:
Top Arduino Sensors:
Super Starter kit for Beginners
Top Oscilloscopes
Variable Supply:
Digital Multimeter:
Top Soldering iron kits: "best"
Top Portable drill machines:
Jumper Wires:
3D printers:
CNC Machines:
Electronics Accessories:
Hardware Tools:
DISCLAIMER: This video and description contain affiliate links, which means that if you click on one of the product links, I will receive a small commission. This helps support the channel and allows me to continue to make videos like this. Thank you for your support!
****************
Follow me on Facebook:
 0:12:51
Arduino 16x2 LCD Introduction, Interfacing, Programming, Soldering, & Testing
 0:09:02
How to Use I2C LCD with Arduino | Very Easy Arduino LCD I2C Tutorial | Arduino 16x2 LCD I2C Tutorial
 0:05:21
How to use 16x2 LCD with Arduino || Arduino tutorial
 0:46:23
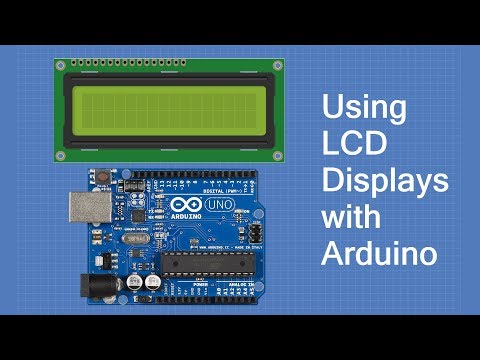
Using LCD Displays with Arduino
 0:12:37
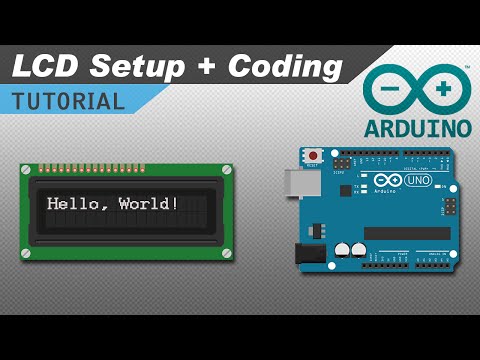
LCD 1602: Step-by-Step Guide to Arduino Display Integration
 0:00:30
Arduino 16x2 LCD Module | #electronics #arduino
 0:00:24
Interface an LCD with an Arduino
 0:14:23
LCD Interfacing & Programming with Arduino
 0:00:31
DIY Arduino I2C LCD
 0:00:08
📟 Using LCD Display with ESP32 | I2C LCD Connection & Code Tutorial ⚡🖥️
 0:07:07
How to use IIC I2C 2004 204 20 x 4 Character LCD with Arduino
 0:05:29
How to interface LCD display to Arduino without potentiometer/Arduino project/
 0:05:53
I2C Protocol tutorial Interfacing 16x2 I2C LCD With Arduino The Easy Way | My Electronics Lab
 0:12:47
LCD 16X2 Introduction | Liquid Crystal Display (LCD) |LCD with Arduino Uno
 0:06:02
LCD1602 I2C Address for Arduino explained
 0:00:59
How interface 16x2 LCD Display with Arduino UNO 'in 1 minute' #Arduino #display #lcdscreen...
 0:17:27
Tinkercad Circuits Tutorial - Using an LCD screen with Arduino
 0:00:15
16x2 LCD interfacing with Arduino Uno using I2C interface #i2c #shorts #arduino #pcf8574
 0:17:15
How to Set Up and Program an LCD on the Arduino
 0:00:16
Arduino - contrôle d'un LCD avec Arduino Uno #lcd #arduino #électronique
 0:00:31
Arduino Interfaced with LCD and Ultrasonic Sensor
 0:13:12
How to use LCD LCD1602 with I2C module for Arduino - Robojax
 0:10:53
Interface LCD 1602 with STM32 || Parallel Connection || 4 bit mode || noI2C
 0:02:54
How to connect an I2C LCD Display to an Arduino NANO
Комментарии