filmov
tv
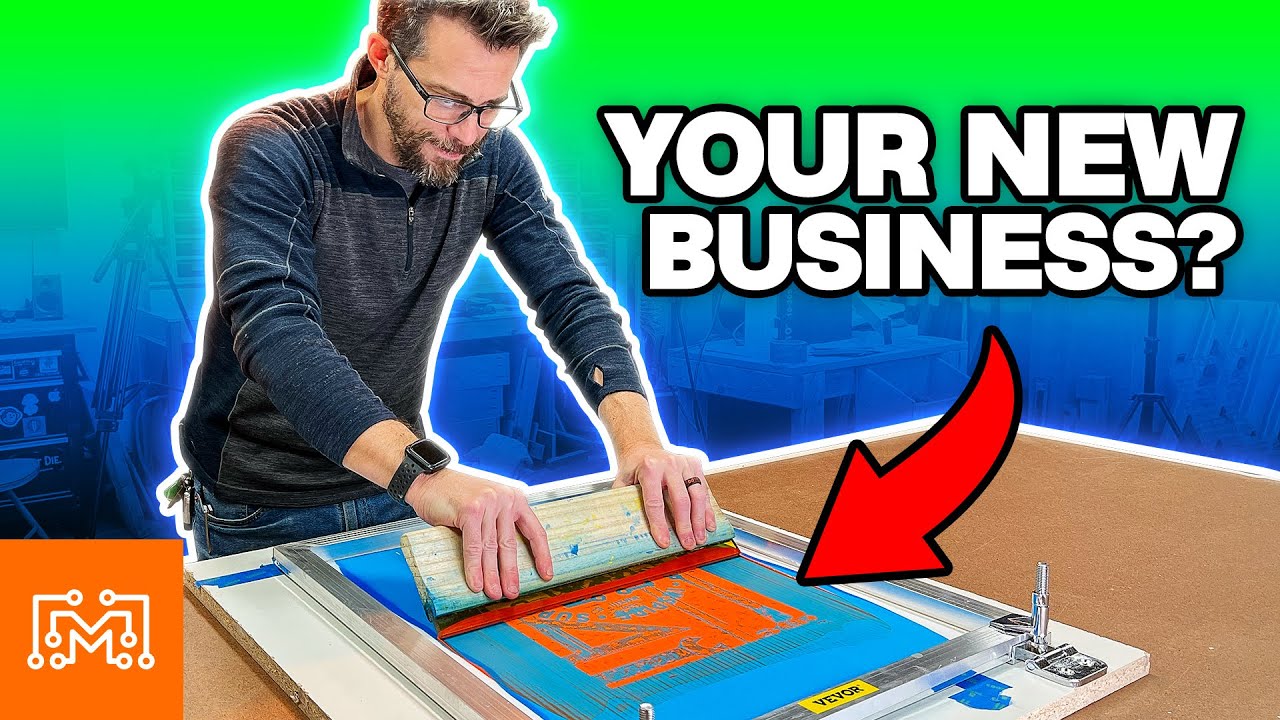
Here's Everything You Need To Start Screen Printing?
Показать описание
🛠 Join The Maker Alliance to directly support the channel and access exclusive videos, discounts, and our private Discord community!
Get digital plans, cool merch, and in depth articles at
Learn 3d modeling in Fusion 360 with our online course:
TOOLS & SUPPLIES WE USE (affiliate links):
FOLLOW:
#screenprinting #ILikeToMakeStuff
About I Like To Make Stuff:
We have lots of projects including woodworking, metalworking, electronics, 3D printing, prop making and more!
These videos are our attempt inspire and empower others to make the stuff that they want to have. Hopefully you'll see something here that will inspire you to make something that you're passionate about!
Start a Screen Printing Business for Under $300!
I Like To Make Stuff
 3:01:58
Here is Everything We Don't Know (Extended)
 0:02:50
Jamie Miller - Here's Your Perfect
 0:17:49
Everything is Connected -- Here's How: | Tom Chi | TEDxTaipei
 0:12:01
Fortnitemares 2024 - EVERYTHING NEW EXPLAINED!
 0:02:49
Jamie Miller - Here's Your Perfect (with salem ilese) [Official Music Video]
 0:09:55
My Parents Allow Me To Do Everything I Want
 0:23:43
Cybenetics: Here is everything you need to know...
 0:02:50
Jamie Miller - Here's Your Perfect (Official Music Video)
 0:08:14
Here's Everything You Need to Know About EON 1...
 0:14:25
What is ERP Software? Here is everything you need to know.
 0:08:50
BREAKING: Here is everything you need to know about the Olympic games insult to Jesus Christ
 0:03:28
Gorrila tag flashback in one week, and heres everything you need to know about it!
 0:00:22
Here Is Everything You NEED To Know About The FNCS Community Cup! 🤩🏆 #fortnite #fncs #free #skins...
 0:14:18
The FORTNITEMARES Update is HERE!
 0:00:26
Here is EVERYTHING you need to know about copywriting + marketing in 2024.
 0:19:59
FORTNITEMARES Is FINALLY Here!
 0:07:49
What is Digital Transformation? Here is everything you need to know.
 0:11:33
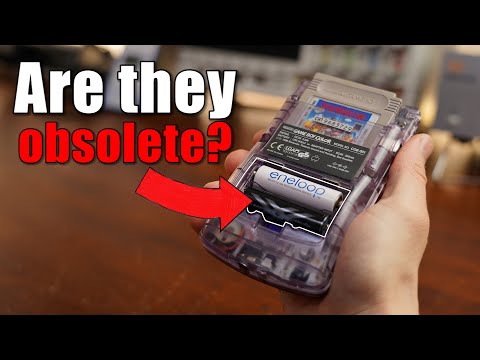
Are AA NiMH Batteries obsolete? Here is everything you need to know about them!
 0:00:53
Here Is everything You need To Know About This Season's Mini Live Event Before It Happens! #for...
 0:02:06
Here Is The Beehive | Count To Five | Super Simple Songs
 0:14:23
but here's the...(everything)
 0:06:26
iPad Mini 7 is Coming | Here is What you NEED To Know!
 0:03:33
'Here Comes a Thought' | Steven Universe | Cartoon Network
 0:04:26
Everything You Need Is Right Here
Комментарии