filmov
tv
How to Install QuietFILL Complete Toilet Repair Kit - 4010 | Korky Toilet Repair

Показать описание
QuietFILL® Complete Toilet Repair Kit (4010)
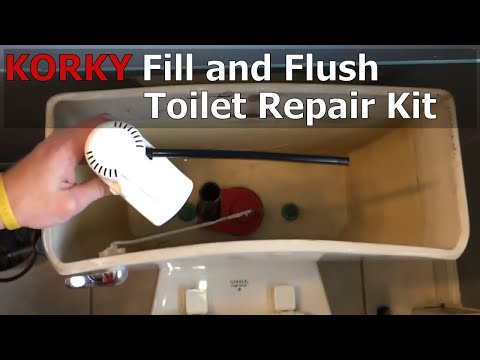
Hello and welcome to Korky Toilet Repair. Today we are going to install your new Korky QuietFILL Complete Toilet Repair Kit.
The first step is to shut off the water supply to your toilet. Hold the handle down to drain the excess water. Sponge out the remaining water in your toilet tank. Place a bucket underneath your tank to catch any excess water. Disconnect the water supply line and remove the mounting nut. Remove the old fill valve.
Locate and remove all old nuts, bolts & washers from the tank. Carefully lift up on the tank and remove it from the bowl. Note: The new gasket may look different than your old one, but it will replace virtually all shapes and thicknesses. Remove the old gasket. Remove the old mounting nut and pull the old flush valve & flapper out of the tank. Place your new Korky flush valve into the tank and slide the chipboard washer over the threads. Hand-tighten the mounting nut. Place the new gasket over the mounting nut threads.
Carefully set the tank onto the bowl. The new gasket may be thicker than your old one, causing the tank to sit higher and wobble. This is normal - the gasket is designed to compress. Use the new bolts, rubber washers, washers and hex nuts in the packaging to attach the tank to the bowl. It may be helpful to have a second person apply downward pressure to keep the tank level as you tighten the nuts in an alternating fashion. Tighten until the tank stops wobbling or until the tank and bowl touch, whichever comes first. Do not overtighten, doing so may cause the porcelain to crack. Next, set the height of the flush valve. Loosen the locknut and extend the overflow tube until the top of the overflow tube is 1" below the flush lever nut. Then hand-tighten the locknut.
Turn the top of your new fill valve counterclockwise and pull up to fully extend. Place the valve in the tank and push down until the corner of the white cover lines up with the top of the flush valve. Lock the fill valve in place by twisting the upper half clockwise. Make sure the rib on the top of the fill valve lines up with the pegs on the bottom half.
Place the locked valve in the tank, screw on the mounting nut, insert the metal clip into the refill tube and attach the clip to the flush valve. Make sure the refill tube has a direct path to the fill valve. Trim the tube if needed and then attach to the fill valve.
Attach the flapper chain to the flush lever with minimal slack. And reattach the water supply line. Turn the water supply on and wait for the tank to fill completely.
Congratulations - you have successfully installed your new Korky QuietFILL Complete Toilet Repair Kit!
 0:03:11
 0:01:52
 0:04:38
 0:03:11
 0:02:02
 0:03:34
 0:04:52
 0:05:06
 0:03:18
 0:04:29
 0:02:04
 0:06:07
 0:08:50
 0:00:41
 0:05:54
 0:03:48
 0:13:41
 0:16:29
 0:01:58
 0:11:03
 0:04:53
 0:02:13
 0:00:39
 0:01:53