filmov
tv
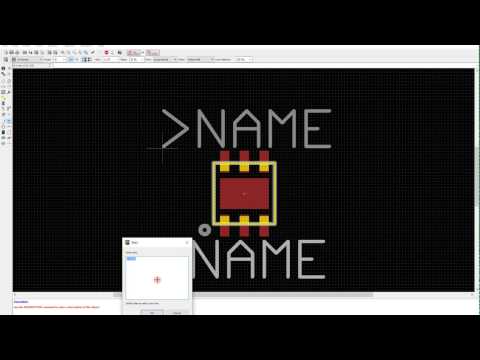
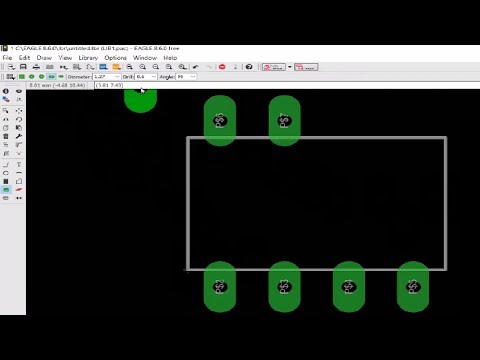
Eagle Tutorial - Custom Part

Показать описание
Tutorial on how to make a DIP part in eagle.
 0:13:35
Eagle Tutorial - Custom Part
 0:28:14
Eagle PCB Tutorial: Custom Library
 0:12:26
Create Custom Parts & Devices in EAGLE - Fast & Free
 0:13:55
Create A Custom Library In Autodesk EAGLE | ihrProjects
 0:08:19
Create Custom Parts in Eagle 7.4
 0:03:36
Creating Custom PCB Library Component from an EAGLE Library
 0:15:55
How to make PCBs for custom DIY Circuit Boards - Free EAGLE CAD
 0:08:46
Creating your own parts for a library in EAGLE
 0:06:55
How to design and create Custom Library in Autodesk Eagle EDA | Footprint and Schematic | PCB
 0:09:02
Learning Eagle CAD - Part 1
 0:09:58
CadSoft Eagle. Creating a new part from existing package and symbols.
 0:19:21
Tutorial - Creating New Components Eagle Review
 0:24:53
Learning Eagle CAD - Part 2
 0:11:02
Creating a part from a datasheet in eagle - how to make an eagle footprint
 0:24:29
Cadsoft Eagle - Copying and then modifying / creating a library part / device
 0:06:20
Eagle tutorial 'Make custom library'
 0:10:16
Tworzenie nowego elemetu w EAGLE. [EAGLE custom part - step by step tutorial]
 0:01:11
Add New Library to Autodesk EAGLE | ihrProjects
 0:06:36
Autodesk Eagle TidBits #2 - Custom Libraries & Parts
 0:06:25
EAGLE Tutorial 1 - Download, Install and Add a Part
 0:23:42
Eagle PCB Tutorial: Schematic
 0:30:40
Eagle PCB Tutorial: Layout
 0:08:42
EAGLE Tutorial: More on PCB Layout
 0:00:11
How does a Pistol works | Colt 1911
Комментарии