filmov
tv
Arduino with ThinkSpeak | Monitoring IoT data over ThingSpeak | ThingSpeak with esp8266 | 2024

Показать описание
#internet_of_things #ThinkSpeak #esp8266
In this video, we will see how we can send sensor data to thinkspeak with Arduino Uno using esp8266.
In this video, we're going to build a website to monitor IoT data over ThingSpeak. We'll be using the ThinkSpeak platform to broadcast our data to the world, and the esp8266 microcontroller to act as our IoT controller.
If you're interested in IoT or smart cities, then this video is for you! We'll cover everything from setting up your ThingSpeak account to building our website and sending our data over ThingSpeak. By the end of this video, you'll have everything you need to start monitoring your IoT data!
In this video, we're going to show you how to monitor IoT data over ThingSpeak with an esp8266 board and our ThinkSpeak website. We'll also talk about how to use ThingSpeak with an espressif board to control your sensors.
If you're interested in monitoring IoT data or controlling your sensors with your computer, then this video is for you! We'll show you how to connect your esp8266 board to our ThinkSpeak website and use it to monitor data streams from your sensors. Plus, we'll explain how to use our ThinkSpeak platform to control your devices
In this tutorial, we're going to learn how to use Arduino with ThinkSpeak to monitor IoT data over ThingSpeak. We'll also be using ThingSpeak with an esp8266 to send the data to a website. This training will help you learn how to use Arduino and ThingSpeak to monitor IoT data.
So are you ready to learn how to use Arduino and ThingSpeak to monitor IoT data? In this tutorial, we'll be building a simple project that will help you learn everything you need to know! We'll be using Arduino and ThingSpeak to monitor a sensor, and we'll be transferring the data to a website for analysis. So whether you're a beginner or an expert in Arduino and Thing
 0:05:39
Arduino with ThinkSpeak | Monitoring IoT data over ThingSpeak | ThingSpeak with esp8266 | 2024
 0:10:02
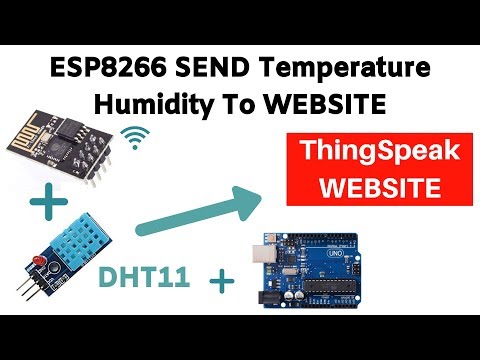
How to Send Humidity and Temperature value to ThinkSpeak using ESP8266 DHT11 sensor module Arduino
 0:06:01
DHT11 & NodeMCU Tutorial || Humidity & Temperature Monitoring over Thingspeak
 0:15:25
How to send sensor dat to thingspeak server using ESP and Arduino.
 0:05:21
miniProject #14: Personal Weather Station (Arduino + ESP8266 + Thinkspeak)
 0:07:03
ESP8266 HTU21D Temperature and Humidity Monitoring Published Data Thingspeak | Arduino acrylic case
 0:00:07
Upload the sensor value on thinkspeak using wifi module espo1 with Arduino uno.
 0:00:51
Arduino ThingSpeak ESP8266 | Esp8266 Arduino IOT Cloud | ESP8266 Wifi Module Projects | ThingSpeak
 0:00:15
First Generation ESP8266-01 generic, AI-Cloud , IoT Module, arduino,
 0:04:51
ECG SPO2 HEART RATE and Temperature monitoring on Thingspeak using Arduino UNO
 0:03:47
IoT Weather quality monitoring using Arduino and Thingspeak
 0:00:37
IoT Based Air Pollution Monitoring System using Arduino | ESP8266 | ThingSpeak
 0:06:28
Monitoring Health Using ESP8266 IOT Using Arduino and ThingSpeak
 0:06:48
IoT Based Patient Health Monitoring on ThingSpeak using ESP8266 & Arduino
 0:09:04
Connect to ThingSpeak (ESP32 + Arduino series)
 0:00:15
How to connect Esp 8266 wifi module with Arduino Uno
 0:16:40
Arduino | NodeMCU ESP8266 sends DHT11 Sensor Data (Temperature and Humidity) to ThingSpeak
 0:01:09
Weather Monitoring System using Arduino and ESP8266 (ESP-01)|Arduino IDE, ThingSpeak
 0:06:08
Temperature Monitor using Arduino IoT Cloud | Nodemcu
 0:00:31
Integrated IAQ sensor
 0:32:16
Weather Monitoring System using Thinkspeak | Nodemcu Project
 0:08:46
Air Quality Monitoring using thinkspeak with these sensors mq2, mq7,mq135 and dht11 || IOT projects
 0:01:55
Send Data on ThingSpeak cloud Using Arduino and esp8266
 0:03:34
Sending Arduino sensors data to ThinkSpeak using FlowLogic 6
Комментарии