filmov
tv
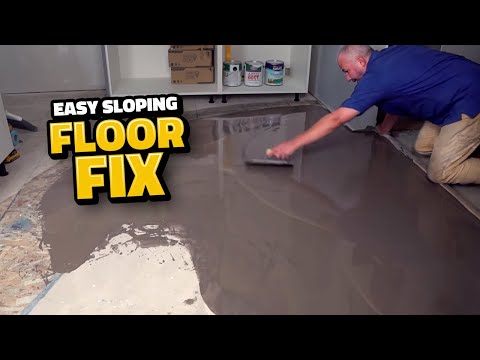
DIY SELF LEVELING CONCRETE FLOORS!! $1 per square foot

Показать описание
You have to see this! How to get professional quality, finished concrete floors in your home using Self Leveling Concrete and this AWESOME
See the Entire Joshua Tree Cabin Renovation:
Materials and Supplies:
Thanks for watching!!
___________________________________________________________________
ADD ME ON:
___________________________________________________________________
Thanks for watching!
-Mike Montgomery
MODERN BUILDS
Hi, My name is Mike Montgomery and I'm a MAKER; a designer, builder, and full-time content creator. Accessibility is my focus with Modern Builds, not simply accessibility of designs, but accessibility in materials, information, and projects themselves. I've focused on creating furniture and DIY projects that are simple enough that any beginner maker can accomplish, yet interesting enough that any expert might be inspired. Building and making is becoming less and less of an exclusive hobby and profession. My goal is to reduce that separation even further.
 0:10:31
DIY SELF LEVELING CONCRETE FLOORS!! $1 per square foot
 0:09:07
Resurfacing Concrete Floors with a Self-Leveling Skim Coat
 0:08:17
Concrete Floor Over Tile | EASY Self Leveling Concrete Floor
 0:06:59
How to Pour a Self Leveling Polished Concrete Overlay
 0:07:28
😬 3 Things YOU NEED to know before! 😬 SELF LEVELING concrete! How to do it yourself or pay SOMEBODY...
 0:03:00
Self Leveling Concrete Underlayment Over Concrete Floor (How to Level Uneven Concrete Floor - DIY)
 0:05:49
How To DIY Level Your Concrete Floor - Self Leveling Concrete TIPS!
 0:08:44
How to Self Level Concrete Floors Like Pros - Self Leveler
 0:00:19
Squeegee & Roll!
 0:05:45
Floor Levelling Compound: Essential For Vinyl Plank Flooring Installation! See How It's Done
 0:04:01
How to level a concrete floor part 1: preparation
 0:00:21
How to properly self level a concrete floor. #shorts #youtubeshorts #diy
 0:07:01
Self Level Concrete Efficiently| SLU | Laticrete NXT Level | Level quick for large format tile
 0:13:42
How To Level Your Floors
 0:03:36
The Easiest Way to Self Level a Floor
 0:06:07
Self-Leveling Concrete and Metallic Epoxy Flooring (From Old to New)
 0:09:41
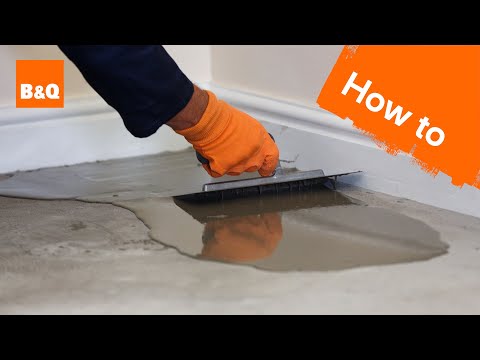
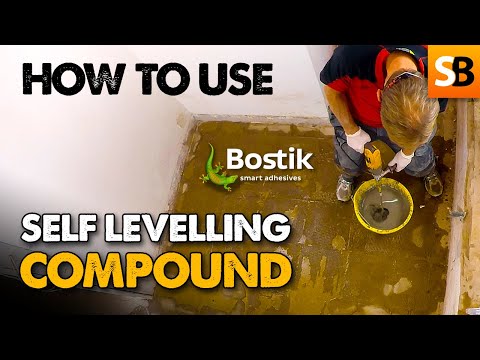
How to Use Self Levelling Compound with Bostik
 0:10:12
DIY Self Leveling Compound over OSB Floors - Complete Guide to Self Level your Floors Like a Pro
 0:14:17
Episode 2: Self leveling Concrete Trial & Error: watch before you try it!
 0:02:23
Using Self Levelling Cement In My Basement-DIY-Levelling A Concrete Floor
 0:00:38
What is this sorcery - Magic Crack Filler on Amazon
 0:06:01
Self Leveling Floor Tips for Beginners
 0:00:55
Self-leveling flooring
 0:02:19
DIY Concrete Subfloor Leveling: How To Mix Self Leveling Compound Mapei MrYoucandoityourself
Комментарии