filmov
tv
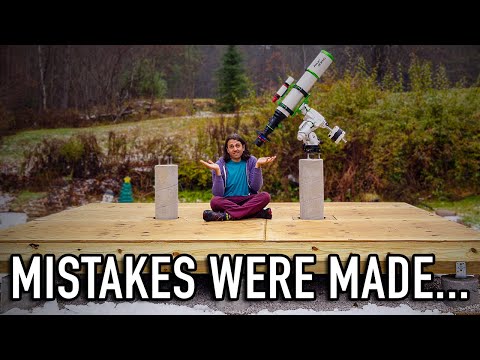
My DREAM OBSERVATORY has WALLS!

Показать описание
❤️ Patreon ❤️
==Contents==
0:00 Intro / Recap
0:36 Building Roof Trusses
5:41 Wall Framing
12:17 Wall Sheathing
16:52 Tarping Strategy for Rain
17:56 Next steps
18:39 Squarespace (sponsor)
This video is sponsored by Squarespace.
 0:20:31
My DREAM OBSERVATORY has WALLS!
 0:17:09
My DREAM OBSERVATORY has ELECTRICITY!
 0:23:15
My DREAM OBSERVATORY has a FLOOR!
 0:29:40
My DREAM OBSERVATORY has a ROLL-OFF ROOF!
 0:00:39
Cal Kestis Actor's MAJOR ISSUE with 'Jedi Survivor' #shorts
 0:00:18
Amazing Golf Swing you need to see | Golf Girl awesome swing | Golf shorts | SAM STOCKTON
 0:02:13
Minecraft 1.18 speedrun [1:43] (WORLD RECORD)
 0:16:36
What's Inside This Forgotten Observatory
 0:00:20
After YEARS
 0:00:28
Viewing The Solar Eclipse Through a $10,000 Telescope
 0:04:48
If Grian did a Minecraft Speedrun
 0:00:20
World Trade Center 1973-2000 vs 2001 😔 #worldtradecenter #twintowers
 0:00:58
What’s Hidden Under Antarctica? 🤔
 0:00:06
The best Fallout settlement #fallout #shorts
 0:00:09
the future of GPUs #shorts
 0:21:30
Ancient Craft Watching us From Orbit | The Black Knight Satellite
 0:11:32
Jay Sottolano’s Dream Roll-Off Roof Observatory (Observatory Tours #2)
 0:12:29
Alan Midkiff’s Unique Home Observatories (Observatory Tours #4)
 0:43:31
Beating Terraria in an invisible world...and finally revealing it
 0:06:06
Observatory Build #4 Mother Natures Reminder to Secure the Roof!
 0:23:21
How I Built my Observatory - best upgrade ever!
 0:08:44
23 Minecraft Hacks That Don't Require Mods
 0:18:38
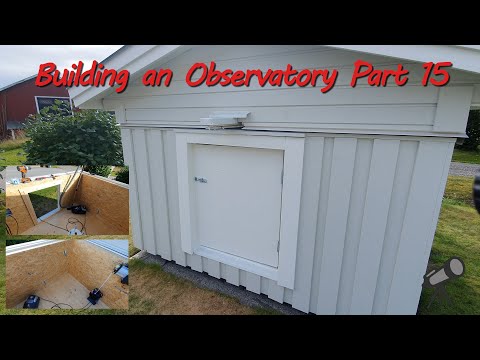
Building an Observatory Part 15
 0:21:36
Build Your Dream Observatory for Astrophotography Success!
Комментарии