filmov
tv
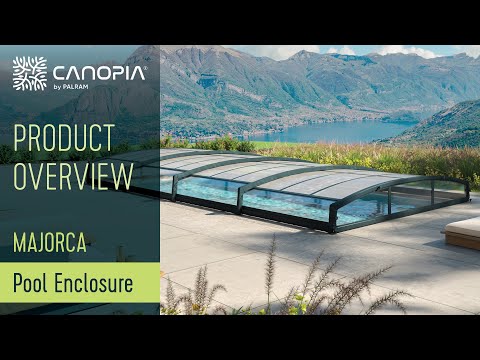
How To Assemble Majorca™ Pool Enclosure | Canopia by Palram [FULL GUIDE]

Показать описание
Have a new Majorca pool enclosure Kit? In this video, you will find detailed instructions to help you assemble your new stylish pool enclosure. Good luck and have fun!
🕘 Timestamps:
0:30 Preparation
3:53 Step 1,2,3,4 - Repeat Steps 4-21
14:00 Back Cover
21:02 Front Cover
--------------------------------------------------------------------
Important steps before beginning assembly:
🔹 Choose your site carefully.
🔹 The ground surface must be perfectly leveled and have a solid base such as concrete, asphalt, deck, etc.
🔹 Sort the parts and check against the content parts list.
🔹 Parts should be laid out close at hand. Keep all small parts (screws etc.) in a bowl so they do not get lost.
🔹 Please consult your local authorities if any permits are required prior to constructing the product
🔹 This product requires a minimum of 0.5m surrounding the swimming pool.
--------------------------------------------------------------------
Important Recommendations and general information:
🔹 During assembly use a soft surface below the parts to avoid scratches and damage.
🔹 It is imperative to change any damaged item or set of items as soon as possible.
🔹 Use only parts supplied by Canopia
🔹 Hardware: stainless steel, aluminum, and Nickel zinc coating screws
🔹Internal angle brackets: stainless steel and aluminum
🔹 Aluminium structure
🔹 This product is painted based on QUALICOAT standards.
🔹 Make Sure the anchoring ground holes are clean with no dirt.
🔹 Please carry out the steps in the order set out in these instructions
🔹 Keep these instructions in a safe place for future reference
NOTE: Anchoring this product to the ground is essential to its stability and rigidity it is required to complete this stage in order for your warranty to be valid.
🔹 Tighten all screws at the end of the assembly
--------------------------------------------------------------------
--------------------------------------------------------------------
Follow Us & Stay Tuned
#poolenclosure #howtoassemble #canopia
 0:27:00
How To Assemble Majorca™ Pool Enclosure | Canopia by Palram [FULL GUIDE]
 0:00:32
Wie ist ein Pool auf Mallorca aufgebaut?
 0:00:59
Majorca Pool Enclosure Kit - A Range Of Advantages | Canopia By Palram
 0:00:48
Get Inspired By Majorca - Our New Pool Enclosure Kit | Canopia By Palram
 0:01:29
Swimming Pool Enclosure - DIY Kit | Canopia by Palram
 0:00:47
Mallorca Pool undicht....
 0:18:11
How to setup a LAY-Z-SPA - Bestway LAY-Z-SPA Installation Easy Step by Step Tutorial
 0:07:45
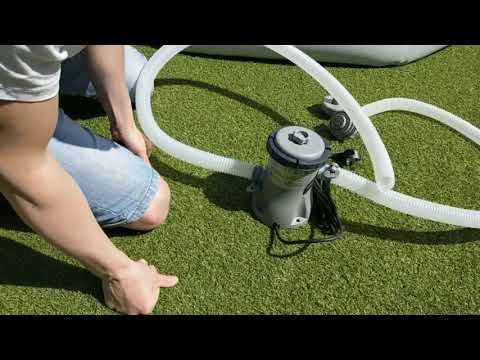
(How to) Install Water Filter to BESTWAY Fast Set Pool - 2024 Tips & Advice
 0:03:06
Full erection of a pool enclosure
 0:00:18
POV: you’re 6’9” 400 pounds and booked the middle seat
 0:00:22
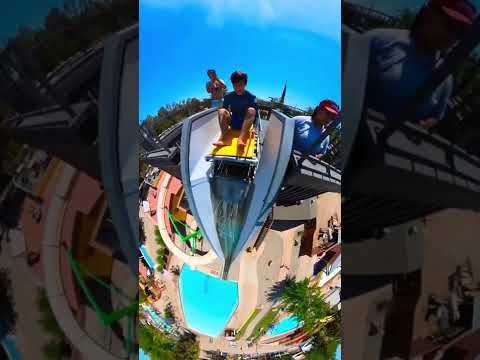
Aqua Skoot style water slide at Wild Water Adventure Park! #shorts
 0:06:51
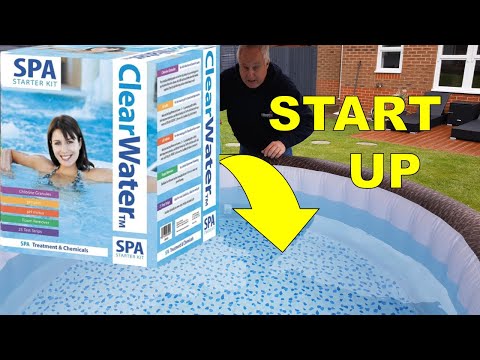
Hot Tub Start Up Chemical Instructions w Lay Z Spa Chemicals Starter Kit
 0:00:22
Instalación CUBIERTA AUTOMÁTICA PISCINA MALLORCA
 0:00:49
returning rubbish to fly tipper
 0:07:13
Lay-Z-Spa Maldives HydroJet Pro - How to setup
 0:00:46
BOAT SINKING! FAMILY GOES INTO PANIC! #shorts
 0:07:41
OUTDOOR UMBRELLA Demonstration AND SETUP
 0:00:26
Der Trailer zur Produktion der Folge 64: Luxuspools auf Mallorca
 0:00:29
Eco pool in Majorca
 0:01:32
Swimming pool enclosure Ravena
 0:00:11
Midnight swims with your LOVER😍🥹 BALI VILLAS ARE JUST TOO PERFECT! #bali #canggu📍Black sand villa...
 0:08:34
he got stuck in tight water slide..
 0:00:12
Luxury New Build Villa for Sale in Son Vida, Mallorca – Panoramic Views & Modern Design | The Ag...
 0:01:10
Lay-Z-Spa: How to install and use the Underwater LED Light
Комментарии