filmov
tv
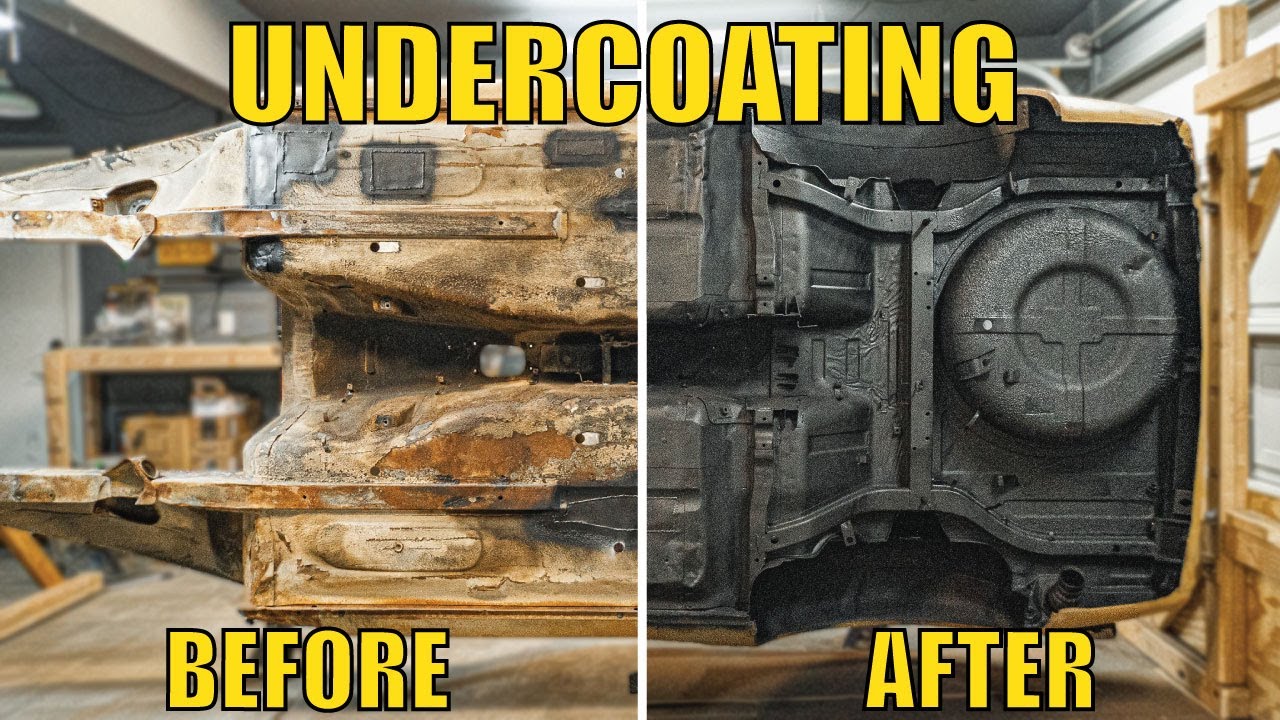
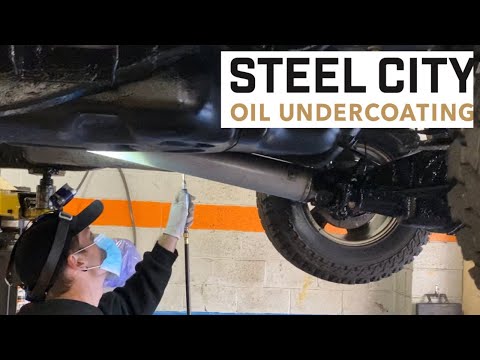
UNDERCOATING a Car For LESS Than $100 - Datsun 240z Restoration Part 13
Показать описание
In this episode, we are undercoating the Datsun! I'll take you through my process of undercoating a car for as cheap as possible without sacrificing results.
PART 13 of my Datsun Restoration Series
Links to almost everything used in this video -
^^Using these links to purchase makes me money from each sale and YOU PAY THE SAME AMOUNT! :)
Watch the other parts of this series:
BradBuilds
Subscribe for more videos!
Thanks!
_______________
Music
Numbered Sounds - Smile
Numbered Sounds - Aspirations
Numbered Sounds - Jet
 0:17:08
UNDERCOATING a Car For LESS Than $100 - Datsun 240z Restoration Part 13
 0:27:55
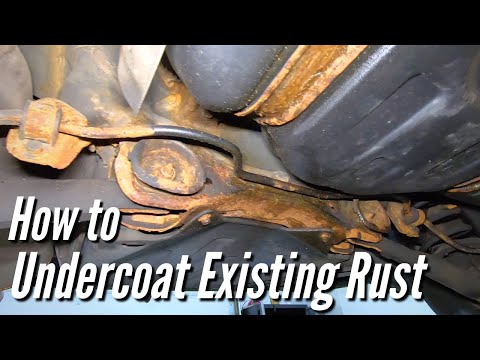
How to PROPERLY Undercoat A Rusted Car or Truck. (Fluid Film Surface Shield, Woolwax)
 0:09:41
How To Undercoat Your Car/Truck/SUV For Under $65 FAST!
 0:15:14
Best Car Undercoating? Let's find out! Is Flex Seal the Best Rust & Salt Protection?
 0:07:14
This is Why You NEVER Want to Use Rubberized Undercoatings!
 0:07:38
BEFORE YOU UNDERCOAT YOUR TOYOTA TACOMA, WATCH THIS!
 0:13:08
I Finally Found The Best Undercoating On The Market... Blaster Surface Shield
 0:06:29
If You Do This, You'll Never Have to Repair Rust on Your Car
 0:16:43
How to Undercoat Your Car: Impala SS
 0:11:27
How to Undercoat a Jeep Wrangler Frame or Truck ***SMOOTH FINISH***
 0:01:56
How To Undercoat Your Car using Old Engine Oil, CHEAP AND EASY!
 0:04:14
Stop Rust Permanently! - Jay Leno's Garage
 0:02:38
All you need to know about rust proofing your car
 0:17:27
Real World Undercoating Test: Fluid Film, NH Oil, Krown and More...
 0:05:09
FLUID FILM® Undercoating Tutorial
 0:00:38
Stop Putting Undercoating on Your Car
 0:04:29
The Secret to Turn a Normal Car into a Luxury Car - Sound Proofing
 0:01:33
3M Car Care - Under body protection | Advaith Hyundai
 0:06:46
Testing undercoating car with Fluidfilm sprayed from a cheap electric paint sprayer
 0:53:07
Undercoating Your Vehicle with Woolwax: Is it Really Better than Fluid Film Though?
 0:07:46
How to Remove and Paint Undercarriage Rust Using Krud Kutter
 0:10:29
Ultra cheap Fluid Film spray kit - how to spray Fluid Film
 0:21:24
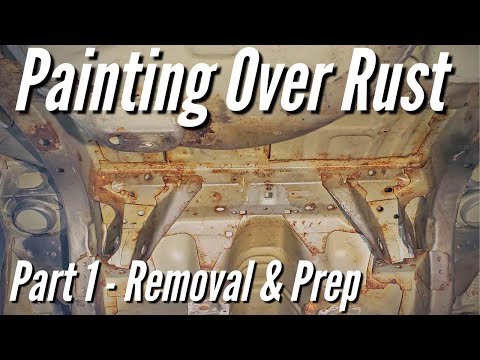
How to PROPERLY Paint Over Rust. PART 1 of 2- Prep Work (Car Rust Repair)
 0:15:53
Why It’s The Absolute Best Undercoating For Your Truck
Комментарии