filmov
tv
How To Use A Dial Gauge Indicator.

Показать описание
Measurement and how to measure accurately is the basis of mechanical work. Taking the time to learn how to use the measurement tools will help you be a better mechanic.
Today we take a closer look at the Dial Gauge Indicator.
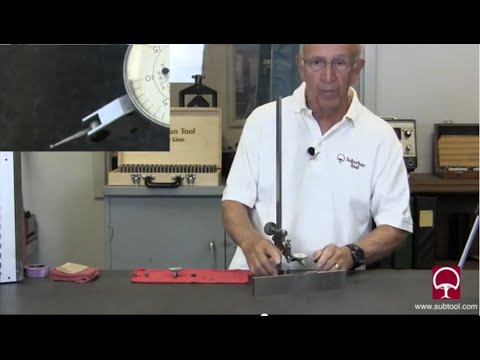
Dial gauges can be used to measure lots of different types of movement. They can be used to measure lateral movement like crankshaft end float or valve lift. Or they can be used to measure radial run out on rotating items like brake rotors or shafts. Dial gauges are also used in conjunction with many of the special measuring tools used throughout automotive repair.
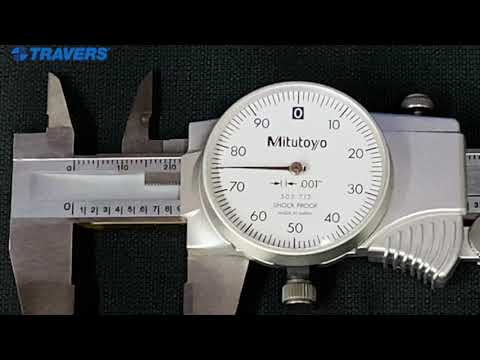
Dial gauges have two scales on them, the outer scale and the inner scale. The outer scale is used for fine measurements at the dial gauge's rated tolerance. The inner scale is to count the number of outer scale revolutions. For example, a dial gauge with a 10 mm travel range will have an inner gauge with 10 positions or marks. These represent one full revolution of the outer scale. When preloading the dial indicator, we need to take note of the revolution counter position so that when we take a measurement, we know how many revolutions the outer dial has made.
When using a dial gauge, it is important to make sure that the gauge is mounted securely. If the mount used to hold the dial gauge has any flex or movement in it, then the measurement will not be accurate.
An easy way to help us out is to share, watch, comment, and like a video. This will help us get seen, thanks. Likes are free!
If you would like to support us on Patreon that would be great
This video is for entertainment purposes, please measure responsibly.
We are not sponsored by anyone, the links provided are the tools or products we use. If you click on a link and purchase, we will get a small amount of change, at no cost to you.
Thanks for watching!
Комментарии
 0:09:19
 0:00:16
 0:16:38
 0:06:00
 0:02:49
 0:06:16
 0:00:54
 0:04:25
 0:00:12
 0:05:41
 0:00:30
 0:05:19
 0:09:11
 0:04:52
 0:21:45
 0:06:39
 0:00:57
 0:18:26
 0:00:58
 0:03:27
 0:02:50
 0:02:33
 0:00:41
 0:09:21