filmov
tv
Python 3D Graphics Tutorial 14: Three Dimensional Clock Face Model in Vpython

Показать описание
You guys can help me out over at Patreon, and that will help me keep my gear updated, and help me keep this quality content coming:
In this video we show step-by-step instructions on how to build a 3D clock face model in Vpython. In future lessons we will animate the clock to keep time .
#Python
#Lessons
#Graphics
In this video we show step-by-step instructions on how to build a 3D clock face model in Vpython. In future lessons we will animate the clock to keep time .
#Python
#Lessons
#Graphics
 0:46:21
Python 3D Graphics Tutorial 14: Three Dimensional Clock Face Model in Vpython
 0:39:36
Python 3D Graphics Tutorial 15: Three Dimensional Clock Animation
 0:23:02
Python 3D Graphics Tutorial 17: Creating Accurate 3D Clock in Vpython
 0:29:41
Python 3D Graphics Tutorial 10: Program for Orb With Continuously Varying Color Rainbow
 0:00:42
Amazing Design in Python 🔥14🔥
 0:39:29
Python 3D Graphics Tutorial 1: Installation and Demonstration of Vpython
 0:00:14
How to create graphics using Python turtle 🐍🐢 #coding
 0:32:16
Python 3D Graphics Tutorial 4: Understanding 3D Graphic Parameters
 0:24:35
Python 3D Graphics Tutorial 8: NonBlocking Dual Animations in Vpython
 0:00:21
Normal People VS Programmers #coding #python #programming #easy #funny #short
 0:12:32
Python 3D Graphics Tutorial 9: Mixing Colors in Vpython
 0:00:17
Amazing Rotating Python Graphics Design using Turtle 🐢 #python #pythonshorts #coding #viral #design...
 0:38:08
Python 3D Graphics Tutorial 5: Bouncing Ball Simulation in Visual Python
 0:19:19
Python 3D Graphics Tutorial 19: Adding Text to Your Visual Python Models
 0:31:19
Python 3D Graphics LESSON 16: Modeling a 3D Analog Clock in Vpython
 0:00:30
🤓Awesome Python turtle codes #shorts
 0:00:59
Programmer's life || LEARN PYTHON TURTLE UNDER 60 SEC || Part - 6 || beginner python guide
 0:14:55
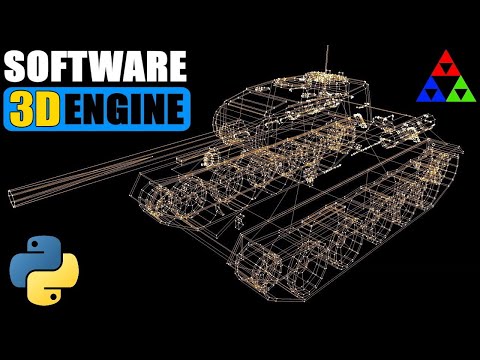
Let's code 3D Engine in Python from Scratch
 0:00:16
Discord icon by using python
 0:00:32
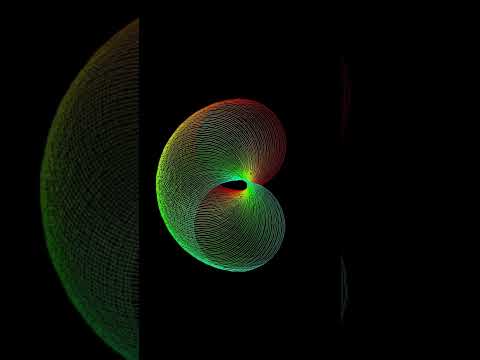
3D Graphics in Python
 0:08:20
OpenGL with Python Tutorial 14: Antialiasing (deprecated)
 0:00:14
Python turtle graphic design😜😜🥰🥰 || python coding status 😍😜 #shorts #programming #turtle #python...
 0:00:58
Amazing Design in Python 🔥2🔥
 0:33:31
Let's code 3D Engine in Python. OpenGL Pygame Tutorial
Комментарии