filmov
tv
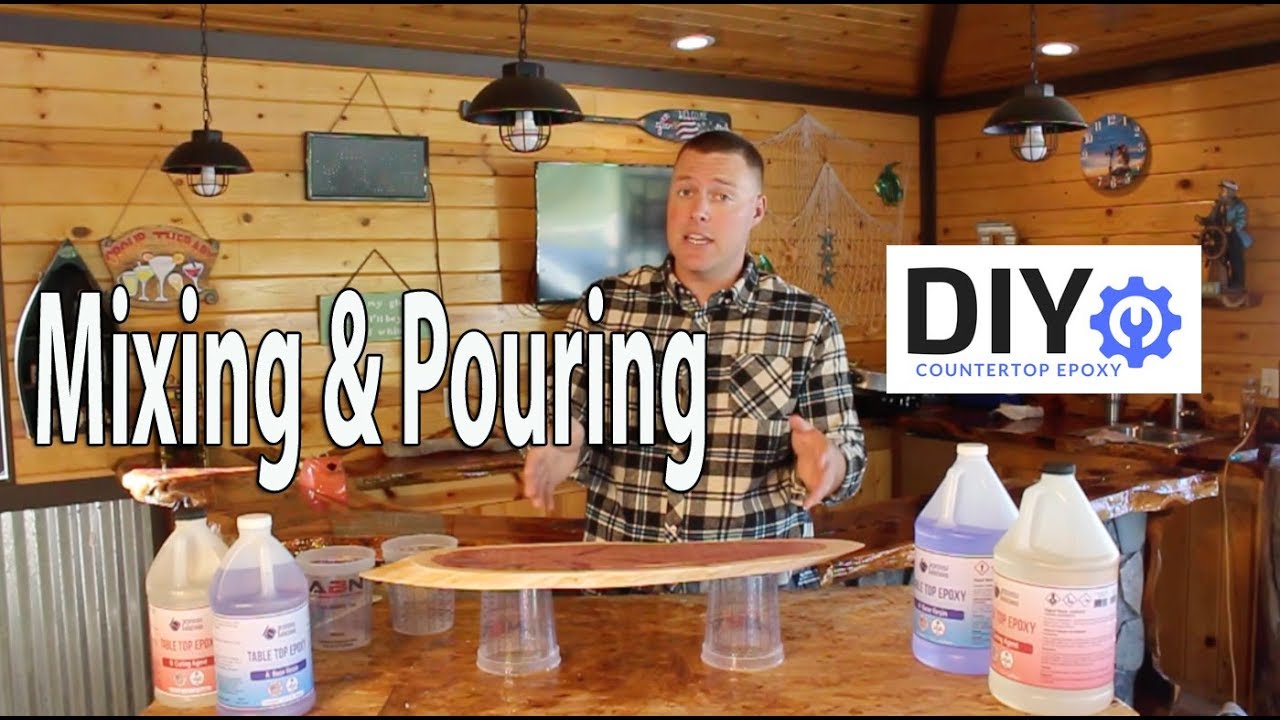
Epoxy Countertops DIY Tutorial: How To Mix & Pour Bar Top Epoxy Resin Self Levling
Показать описание
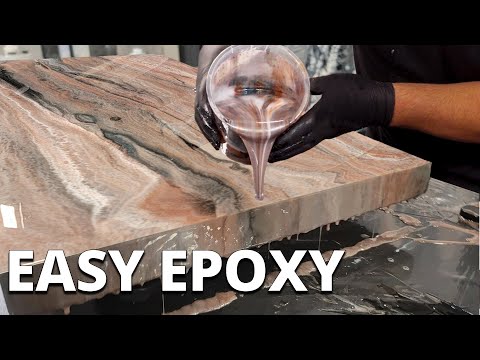
Properly mixing and pouring Bar Top Epoxy is crucial to a successful project. Incorrectly measuring, mixing, or pouring can lead to a project that does not cure correctly.
Reading the directions fully is imperative to a proper mix ratio & pour. Most table top epoxies require minimum temperatures. In this example, the epoxy resin requires a minimum of 70° with the optimal temperature 75°. Pouring in a dust-free, low humidity environment will insure a project that is not comprised by external. The Promise Table Top Epoxy Kit is a 1:1 mix ration by volume. This was easily measured out in a graduated container.
Pouring a seal coat is highly advised in order to reduce bubbles. By pouring a very thin seal coat, bubbles are allowed to rise to the surface and ultimately escape. Using a torch or heat gun to disrupt the surface tension of the epoxy allows bubbles to release easier.
After 4 hours, the seal coat had cured enough to pour a flood coat. In the flood coat we allowed the epoxy to run off the sides of the project. See the difference before & after of the epoxy.
 0:09:25
Epoxy Countertops DIY Tutorial: How To Mix & Pour Bar Top Epoxy Resin Self Levling
 0:04:31
HOW TO - Epoxy Kitchen Countertop - Countertop Epoxy - White Marble Countertop - Kitchen Countertop
 0:44:38
Epoxy Countertops DIY 🔴 ULTIMATE Step by Step 🔴
 0:01:54
Different Ways to Make White Carrara Marble Epoxy Countertops
 0:06:12
HOW I TRANSFORMED MY KITCHEN WITH EPOXY COUNTERTOPS STEP BY STEP #epoxycountertops #epoxyresin
 0:11:13
How to make White Exotic Marble with Epoxy | Stone Coat Epoxy
 0:11:31
How to make Black Exotic Marble with Epoxy | Stone Coat Epoxy
 0:06:52
How to Epoxy over ANY Existing surface | Stone Coat Epoxy
 0:36:45
How To Install Epoxy Over Old Countertops Ultimate Guide | Stone Coat Countertops
 0:00:49
How to Maintain #epoxy Countertops #yougotthis
 0:21:28
Use Epoxy To Coat Existing Countertops To Make Them Look Like Real Stone | Step By Step Explained
 0:16:05
Epoxy Dirty Pour Technique On Custom Countertops Tutorial | DIY Countertop Remodel Ideas
 0:10:20
DIY Tutorial | How To Make Faux Marble Epoxy Countertops | Stone Coat Countertop Epoxy
 0:14:56
Use Epoxy Dirty Pour Technique To Make Countertop Look Like Real Stone | DIY Counter Remodel Ideas
 0:08:45
How to Make Beautiful Kitchen Countertops with Epoxy Step by Step | Stone Coat Epoxy
 0:19:52
DIY Kitchen Countertop Makeover
 0:33:39
Beginner's Guide to Building new Epoxy Kitchen Countertops
 0:00:31
We Painted Our Countertops to Look Like Marble
 0:17:29
Why You Should NOT Do Epoxy Resin Countertops [Do THIS Instead]
 0:17:07
How to Epoxy Countertops with Backsplash and no Demolition
 0:11:40
AVOID THESE 9 EPOXY POUR MISTAKES
 0:26:10
DIY Epoxy Countertops Black and Orange Gold with Top Coat Tutorial
 0:12:07
Spray on Countertops | Stone Coat Epoxy
 0:00:14
DIY Epoxy countertops that last!
Комментарии