filmov
tv
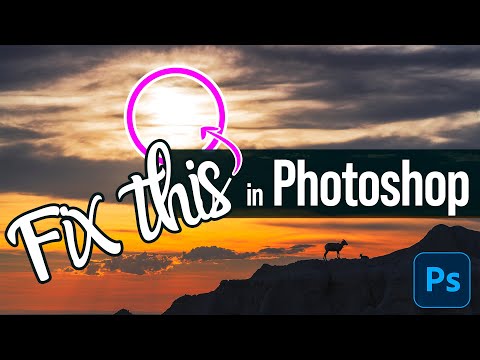
Fix Hot Spots & Highlight Blowouts with Selective Color in Photoshop

Показать описание
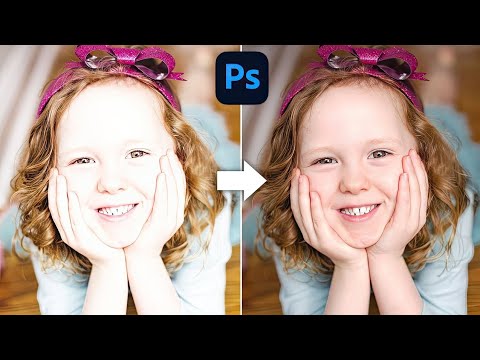
Dang! This may be one of the most genius uses I've discovered for fixing Hot Spots in portraits and Color Grading Highlight Blowouts in landscapes. Many people reach for a Luminosity mask for these kinds of corrections, but I've got something that will blow any Luminosity Mask out of the water... the Selective Color Adjustment Layer!
You heard that right. How in the heck can Selective Color fix a highlight blowout or portrait Hot Spot? Pretty easily actually. Watch and learn!
• Chapters •
00:00 Technique Intro
00:54 Selective Color Quickly Explained
01:54 Relative vs Absolute
02:47 Fixing Hot Spots with Selective Color
05:47 Advanced Use of Selective Color
07:13 Landscape Blowout Fix
08:28 Final Thoughts and Remarks
_________________________________________________________________
Do you like the videos I make on YouTube?
Want to grow your photography exponentially?
1. Subscribe! subscribers see the content first and are the most likely to succeed in Photoshop
2. Head to the f.64 Academy website and get registered on my subscriber list. I deliver all kinds of extra tips and subscriber-only live events!
3. Become an Elite Member! I take Photoshop to levels you will never see on YouTube for the members of f.64 Elite with courses, critique sessions, members-only events, a community forum, and big discounts on my most premium courses.
 0:09:20
Fix Hot Spots & Highlight Blowouts with Selective Color in Photoshop
 0:08:39
AMAZING “Light Mask” Trick to Remove Hotspots EASY! - Photoshop
 0:04:12
How to Fix Hot Spots & Highlight Blow-outs in Photoshop
 0:06:38
How to fix Hot Spots & Highlight Blowouts in Photoshop. Hot spot fix with adjustment layer.
 0:24:06
3 Ways to Remove Hot Spots, Highlights, or Shine from Portraits in Photoshop
 0:10:18
Remove UGLY Skin Shine - EASY Photoshop Fix!
 0:07:52
Fix SKIN TONES and HOT SPOTS in Lightroom with this Easy TRICK! I BET you've NEVER seen this!
 0:06:54
Remove Hot Spots and Blown Highlights in Photoshop in seconds
 0:04:41
How To GET RID OF Shiny HOT SPOTS in Lightroom
 0:03:24
How To EASILY Remove Face Shine In Photoshop (Fix Oily Skin)
 0:06:07
How to Fix Hot Spots & Highlight Blowouts with Retouch4me Matifier
 0:10:44
How to Clean Up Shiny Faces in Your Photos | Ask David Bergman
 0:15:18
Remove HARSH Shadows & Highlights in Photoshop!
 0:04:21
Remove Hot Spots, Highlight , Extra Yellow or shin in Photoshop
 0:03:17
How To Remove Shiny Skin Spots in Premiere Pro
 0:05:47
How to Remove Greasy/Shiny Skin in Photoshop, Easy Tutorial
 0:03:46
How to Remove Highlights or Shine from Photos in Photoshop | The Great Photoshop Channel
 0:10:11
Fix Highlight Blowouts in Seconds in Photoshop!
 0:03:10
How to Fix Overexposed Photos in Photoshop CC #2MinuteTutorial
 0:01:21
Easy way to remove hot spots
 0:08:22
BYE BYE Shiny HOT SPOTS! (Lightroom Tutorial)
 0:00:48
Uncover The Secret To Fixing Overexposed Images in Photoshop
 0:20:52
How to Fix Hot Spots in Infrared Photos?
 0:06:07
Quick Fix for Bleeders // Hair 101 Tutorial
Комментарии