filmov
tv
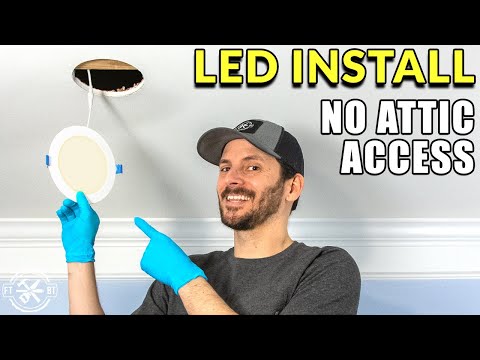
Recessed Lighting Install with No Attic or Prior Wiring

Показать описание
How to Install Recessed Lighting with no attic access or existing wiring! DIY Can Lights
🎥 What to Watch Next:
➤Plans from this build:
➤Tools/Supplies Used (Amazon affiliate links):
➤FOLLOW ME on Social Media:
➤Referenced people/videos:
➤Support the FTBT Channel:
➤Thank you to these partners for supporting my channel. Go check them out!
More content, early access, FREE plans, video credits
Installing LED recessed lighting is not hard with the right tools. Can light installation is a thing of the past with these new wafer LEDs and you can install them without attic access or existing wiring. Make your space way better
 0:17:17
Recessed Lighting Install with No Attic or Prior Wiring
 0:14:42
How to Install LED Recessed Down Lights with NIGHT LIGHT option !! NO Attic Space Needed
 0:55:43
Recessed Lighting Install with NO ATTIC ACCESS - Led Lights, Dimmer Switch, Separate Fan Switch.
 0:03:23
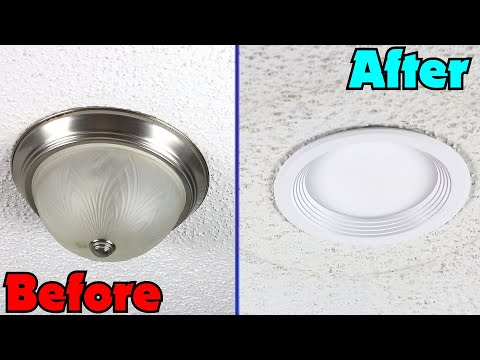
How to Install LED Canless Recessed lighting - Upgrade Flush Mounted Lights
 0:26:05
HALO Just Changed the Recess Lighting Game with THIS!
 0:05:24
Recessed Light Installation | The BEST LED Wafer Light Is...
 0:22:11
How to Install Recessed LED Lighting Without Attic Access (Pot Lights / Can Lights)
 0:05:28
LED Recessed Lighting--5 THINGS TO KNOW!! (Can Lights/Downlights/Recessed Lights)
 0:12:32
Install Now, Enjoy for Years: Enbrighten Permanent Holiday Lights
 0:09:15
Super Easy Recessed Lighting Install | Amico LED Lights
 0:22:19
6ft Drill Bit to Install Recessed Lights with NO Attic Access!
 0:04:30
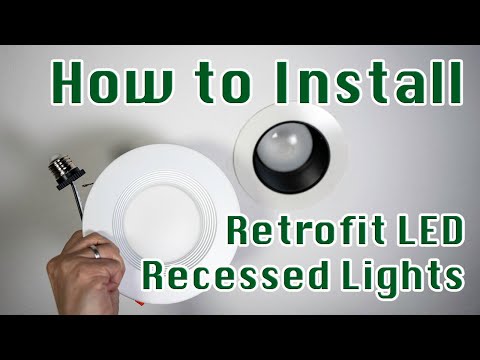
How to Choose and Install Retrofit LED Recessed Lighting | Easy DIY
 0:03:48
Quickly Replace Old Reccessed Lights with Retrofit LED Lights
 0:07:29
how to install can lights without attic access
 0:29:48
How to add a Ceiling Light to a Room with no Existing Wiring
 0:14:24
Interior Designers, stop using these recessed lights! (Here's what to do instead)
 0:02:59
Easy Formula for Recessed Light Spacing
 0:01:04
HALO LED Surface Mount Downlight - The Home Depot
 0:17:24
Pot Light, LED Cans, Recessed Lighting Install with NO ATTIC ACCESS - Led Lights, Dimmer Switch, Etc
 0:10:24
Recessed Lighting Install with No Attic Access | Show Me Construction
 0:21:23
How To Install Pot Lights In Living Room Ceiling | Thin Recessed LED Dimmable Lights For Beginners!
 0:10:32
How To Install Pot Lights In Kitchen Ceiling | Easy DIY For Beginners!
 0:03:48
Upgrade OLD Lights to Modern LED Lights in Under 30 Seconds with NO Wiring !!!
 0:06:44
Wafer Lights vs. Recessed Cans; Which One Is Right For YOU?
Комментарии