filmov
tv
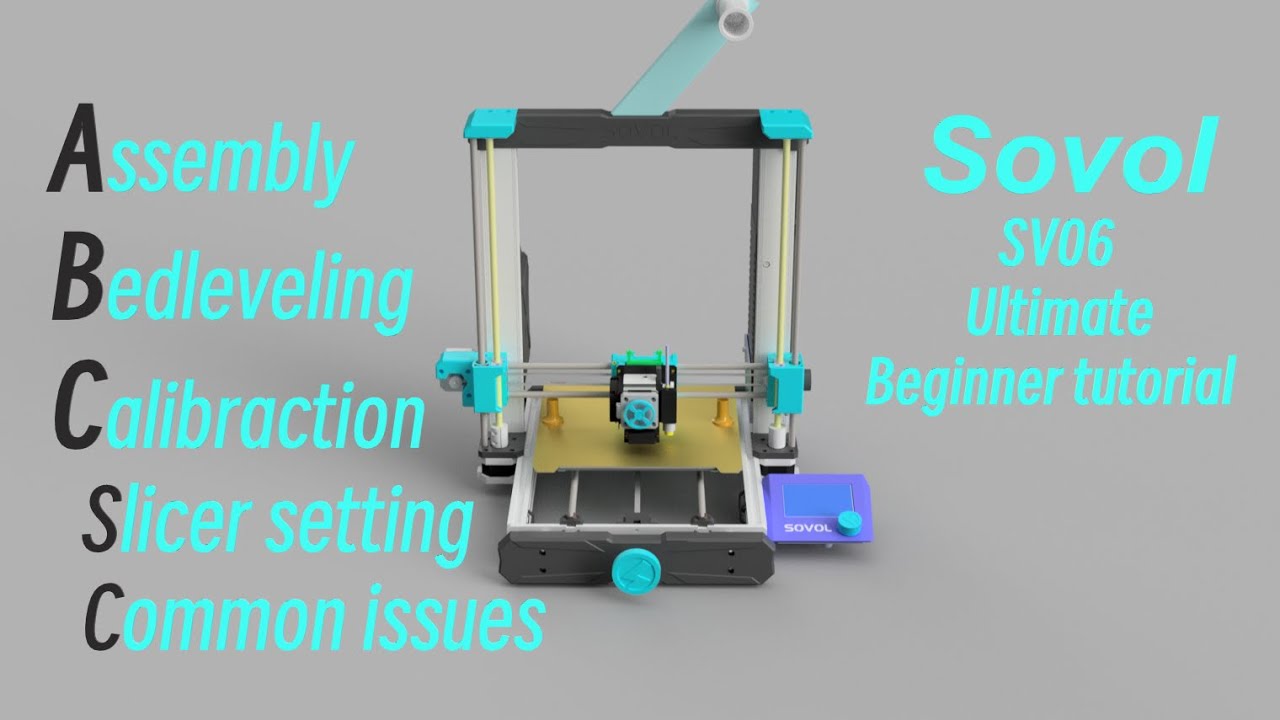
Sovol SV06 Beginner tutorial, Assembly, Bed leveling, Calibration, and Slicer setting
Показать описание
Something that I missed in video:
If you have auto bed leveling issue, first thing you should try is adding M420 S1 on your starting G code. What it does is tell the printer to load the bed mesh that auto bed leveling feature stored. It does work for some, include one of my sv06.
Hi, another instruction types of videos. I purposely make this video with many details instruction and information. I think it will help the beginner the most. But it kills a lot of my brain cell and time from brainstorm the content, writing script, recording video, asking help from next “ex-wife” to recording, editing.
I am focus on digging to some of the part that may easily be ignore by experience player but will helpful to beginner. I am aim to not only showing you how to do it but also telling you the reason behind it, that way you will learn quicker. In the end of the day, you need to do a lots trouble shooting during your 3d printing journey. These knowledges will help you more than just show you how to do it.
So, I am planning to make these types of assembly, bed leveling, and calibration video for every printer that I reviewed.
Anyway, if you think this video is helpful, please let me know in the comments. Or, you think there is something that I didn’t cover, please let me and others know. If you have suggestions to improvement, free feel to let me know. Your support is the reason why spend time making these videos.
Good Luck! AND happy printing!
My affiliate:
Link to purchase Sovol SV06: No extra cost on you and I can get some commission.
SV06 Z Axis leveling tool (Align) STL download:
Print Configuration available to download, with guide:
SV06 Review:
SV06 Linear rod, bearing lubricate guide:
SV06 Dual 5015 upgrade instruction guide:
SV06 Extruder Gear common issue repair guide:
SV06 Bed Leveling guide:
Intro: 0:00
Parts checking list: 0:57
Pre-assembly checking list(Common issues): 01:06
Checking list #1: Bearing 1:16
Checking list #2: Bed spacer 2:02
Checking list #3: Top Block(beam)2:28
Assembly: 02:52
A Step 1: Marry gantry to base 3:14
A Step 2: Attach power supply unit 4:12
A Step 3: Extruder on carrier 4:45
A Step 4: Filament holder 5:05
A Step 5: Mainboard housing 5:15
A Step 6: LCD screen 5:28
A Step 7: Connecting cables 5:37
Calibraction: 6:23
C Step 1: Belt tension 6:50
C Step 2: Align Z axis 8:02
- Tool to check alignment 11:52
C Step 3: Auto home 8:32
- Sensorless homing Sensitive level change 9:02
C Step 4: Bed leveling 9:28
- Probe Z offset
- Paper leveling method
- Store setting
Slicer setting: 12:43
To do before test print: 14:18
Different filaments: 17:30
Say Byebye: 18:54
Thank you @Sovol for sending me this unit.
___________________________________________________________________________________________________
#3dprinting #3dprinter #3dprint #3dprinted #creality #sovol #biqu #bigtreetech #anycubic #xyzprinting #flashforge #prusa #ender #ender3 #ender3pro #ender3v2 #ender3s1 #diy #diytool #3d打印 #impresion3d #3дпечать #drucken #druck
 0:13:13
Sovol SV06 assembly & 1st print steps in under 15 minutes! 💯🤯
 0:12:55
Sovol SV06 Plus Beginner set up tutorial, Assembly, Bed leveling, Calibration, and Slicer setting
 0:19:19
Sovol SV06 Beginner tutorial, Assembly, Bed leveling, Calibration, and Slicer setting
 0:06:37
Sovol SV06: How to Assemble and Make Your First Prints
 0:05:24
Sovol SV06 Plus Unboxing & Assembly
 2:13:12
Sovol SV06 Unboxing, Assembly and First Print!
 0:08:09
Unboxing and Assemble | Sovol SV06
 0:07:55
The Sovol SV06 Unboxed: A Complete Setup Tutorial
 0:40:56
Sovol SV06 ACE Guide: Best Printer Under $300 ? Unboxing, Setup, Slicer, Prints, and More!
 0:07:58
Episode #2: My First 3D Printer!! Unboxing/Assembly: Sovol SV06
 0:03:47
SV06 ACE Unbox and Assembly Best Beginner Printer for a Tinkerer
 0:08:48
How to disassembly and assembly extruder | Sovol SV06
 0:00:23
My 3 favorite features about the Sovol sv06
 0:08:25
Sovol SV06 3D Printer - Assembly Testing Review
 0:02:29
Sovol SV06 Plus Bed Leveling Tutorial, Step-by-step guide (Z offset)
 0:00:58
Setting up my Sovol Sv06 3D printer #3dprinting
 0:02:05
Sovol SV06 Bed Leveling Step-by-step guide (Z offset)
 0:00:16
SOVOL SV06 3D Printer
 0:00:38
Mandalorian Helmet print on the Sovol SV06 Plus: Day 1
 0:00:16
New SV06 firmware is looking awesome.
 0:00:37
Almost missed the boat on the Sovol SV06
 0:10:13
Sovol SV06 Plus, large, powerful, easy to use
 0:06:03
3D Cooking Breakfast , Sovol SV06 cooking guide
 0:00:59
SD Card PLA to PETG Lizard on the fly Conversion Sovol SV06 3d printer
Комментарии