filmov
tv
Digital read out (DRO) using an Arduino and a digital caliper

Показать описание
In this video I will show you how to connect your digital caliper to an Arduino and be able to receive the numbers on the computer. The Arduino code is not presented in the video, because you only have to copy and paste it. With this simple circuit, you can transform these cheap digital calipers into a powerful displacement sensor for your milling machine or anything where you want to detect small displacements.
If you want to support me, please buy the components using my affiliate links:
Source code:
If you have downloaded the code and found my video useful, please subscribe to help my channel grow!
If you want to understand the signals of the caliper better, I recommend you this website where I took the code from:
 0:22:26
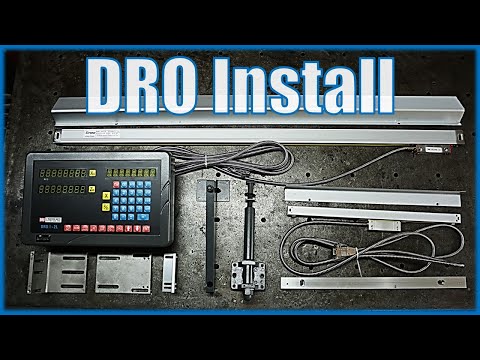
Digital Readout! DRO! How to buy, install, and use 'em!
 0:04:03
How to setup a DRO (Digital read out) For a bolt hole circle
 0:01:36
iGAGING DRO Digital Read out for remote use.
 0:00:23
$10 Digital Read Out DRO
 0:24:29
Digital read out (DRO) using an Arduino and a digital caliper
 0:03:22
Easier Machining Using the Incremental Mode on your DRO
 0:03:05
Setting Diameter X Axis Value on a DRO Lathe
 0:07:03
028 - Installing iGaging EZ-VIEW Digital Read Out(DRO) on our Woodland Mills HM126 Portable SawMill
 0:01:03
Beginners Guide to Using Basic DRO Functions including Zero an Axis, MM/Inch Conversion Enter Offset
 0:35:00
Installing a Dro-Pro’s Digital Read Out on a Monarch Model K Lathe
 0:00:50
Mini Lathe with Digital Read Out (DRO)
 0:21:01
Installing A DRO on my New Lathe (Digital Readout)
 0:09:41
How to Install a Lathe DRO Kit. Manual Lathe 2 Axis Digital Read Out.
 0:11:11
Fritz and Franz with DRO (digital read out)
 0:02:45
User guide for DRO Lathe Tool Offset Function on Easson Digital Readout Display Consoles
 0:00:27
Digital Read Out (DRO)
 0:00:13
One key reset of dro for lathe linear encoder
 0:34:08
Myford ML7 Digital Read Out (M-DRO Machine DRO Fitting)
 0:06:24
How to Size a Lathe for A Digital Readout or DRO
 0:01:00
No digital read out (DRO)? No problem!
 0:01:11
Newall DP500 Low Cost Digital Readout DRO Kit
 0:01:47
digital caliper into DRO for lathe, cheap and easy
 0:01:06
Digital Readout System (DRO)
 0:07:02
iGaging's new Easy Planer DRO
Комментарии