filmov
tv
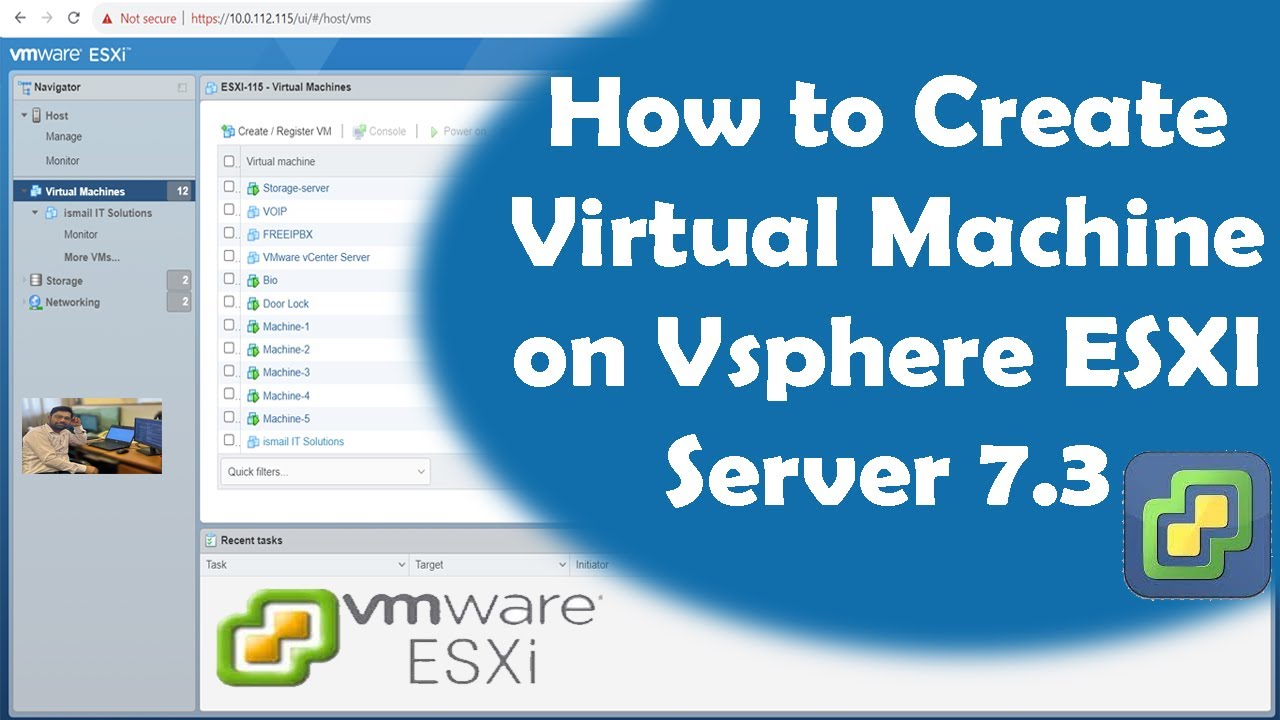
How to Create a Virtual Machine Using vSphere Client 7 0 3 #Vcenter7.0 #VMwarevSphere7.0 #ESXi 7
Показать описание
How to Create a Virtual Machine Using vSphere Client 7 0 3
Ismail IT Solutions
#Vcenter7.0 #VMwarevSphere7.0 #ESXi 7
-Open your web browser and enter the IP address or Fully Qualified Domain Name of your VMware vSphere Client 7.
-Enter your user name in the domain\username format and then enter your password. You can use an administrative account or another account that has enough permissions to create virtual machines in vCenter. Click Login.
-Once you have logged in to vCenter 7, click Hosts and Clusters, select your data center, and click the ESXi host on which you want to create a new virtual machine.
The New VM Wizard
A new virtual machine wizard opens.
1. Select a creation type.
Click Create a new virtual machine because you need to create a new VM from scratch. If you need to clone a VM or deploy a VM from a template, choose one of the other options. Click Next at each step to continue.
2. Select a name and folder.
Enter a name for the new virtual machine.Then select a location for the virtual machine.
3. Select a compute resource.
Select the ESXi host to run a new virtual machine. We select this host in the list. Compatibility checks succeeded means that everything is correct and you can continue.
4. Select storage.
Select a datastore where the virtual machine files, including the virtual disk files, will be stored. Make sure that there is enough free space on the selected datastore. In this example, LDS1 datastore is selected.
5. Select compatibility.
Select compatibility for this virtual machine depending on the ESXi hosts used in your environment. VMware vCenter 7.0.1 can be configured to manage ESXi 7.0, ESXi 6.7 and ESXi 6.5 hosts. The ESXi compatibility level defines the virtual machine hardware version. The ESXi 7.0.1 compatibility level is used for the VM hardware version 18 and supports all vSphere 7 features.
6. Select a guest OS.
Select a guest OS family and then select a guest OS version. In this example, Windows 10x64 is installed.
Guest OS Family: Windows
Guest OS Version: Windows 10 (64-bit)
Selecting the correct guest OS in the list allows the wizard to provide the suitable default configuration of the VM for installing an operating system on the VM.
7. Customize hardware.
Configure virtual hardware for the virtual machine. Click the type of hardware to expand settings. In most cases, you can leave the default settings except for:
CPU – select the number of processors and CPU cores.
Memory – define the amount of RAM.
8. Ready to complete.
Check configuration for your new VM and hit Finish to create the new VM.
#Vcenter7.0 #VMwarevSphere7.0 #ESXi 7
#virtualenvironment
#machinelearning #windows11 #linux #veeam
Releted Videos
How to restore virtual machine using veeam-11 step by step guide | Veeam-Backup Replication
How to Install VMware vSphere Hypervisor ESXi 7.0 Step By Step Guide configuration
 0:27:41
 0:13:10
 0:02:21
 0:09:36
 0:03:13
 0:09:04
 0:13:33
 0:05:38
 0:10:34
 0:07:35
 0:06:20
 0:17:10
 0:10:12
 0:14:30
 0:04:22
 0:06:14
 0:06:23
 0:08:27
 0:03:07
 0:14:43
 0:06:32
 0:15:52
 0:24:16
 0:18:00