filmov
tv
GD&T Straightness (includes DML)

Показать описание
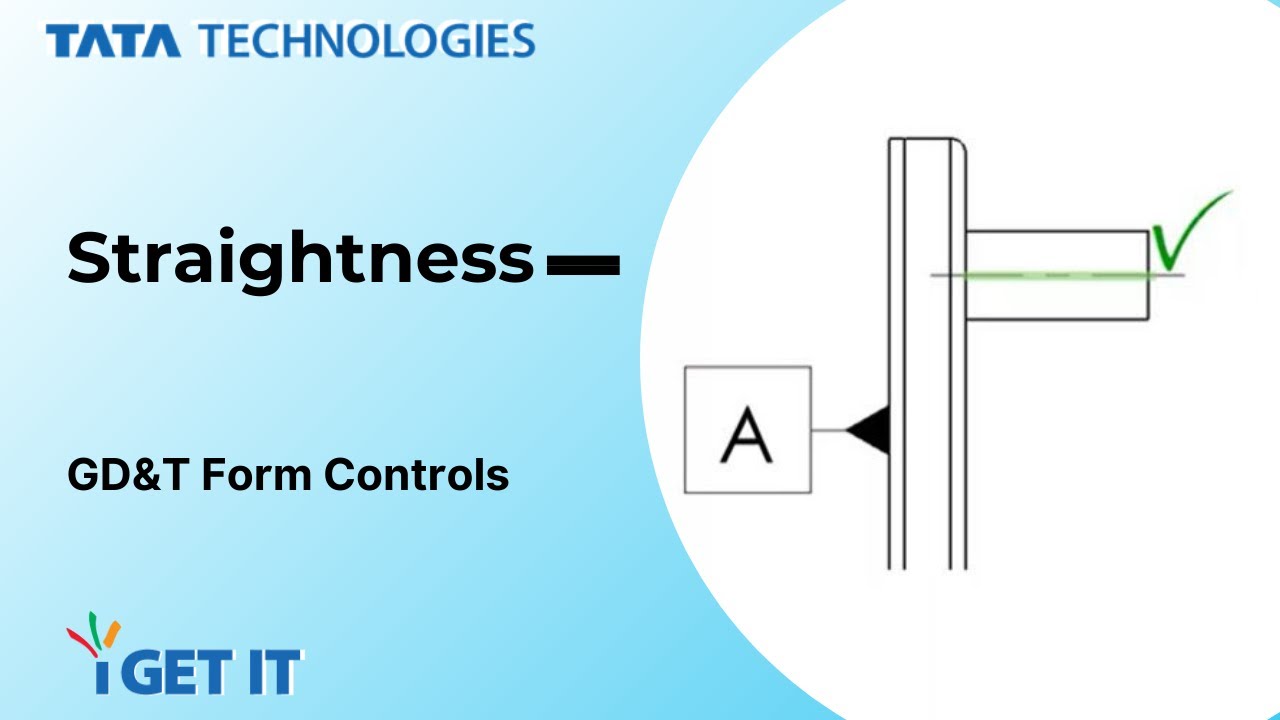
Straightness defines how straight a line is within a tolerance zone. The two common types of straightness callouts are surface straightness and axial straightness.
0:00 Introduction
0:19 Symbols
2:09 Straightness - Surface Straightness
4:12 Straightness - DML Surface Straightness
5:50 Straightness - Axial Surface Straightness
Surface Straightness
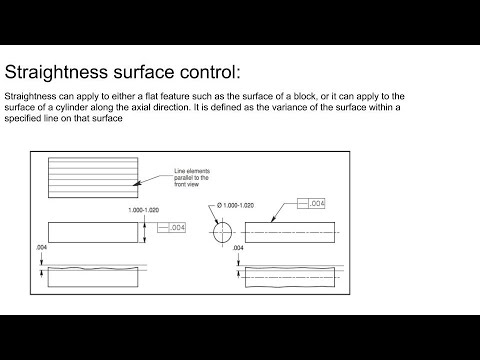
Surface straightness calls out a one-dimensional measurement, typically along a surface. This could be a cross section of a part, or a surface of a cylinder or cone, if taken along the axial direction.
Along the indicated line a tolerance zone is defined, and all parts of the feature must fall within that TZ. A surface edge that has a straightness of .03 would be held still, and along this line the variation of the surface must fall within this TZ.
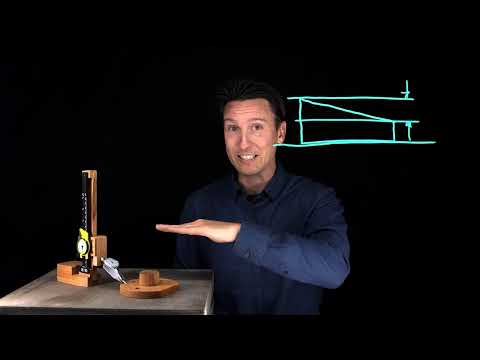
A simple way to gauge straightness is to hold the part steady and slide a gauge pin along the line you indicate. The pin cannot vary more than the defined TZ.
For each of these callouts, straightness is only defining a two-dimensional cross section in the direction you indicate. Since parts are three dimensional you will only be assuring straightness in a single direction and may be allowing for undesired effects. For instance, even if every line drawn across this part’s surface in the indicated direction is straight, the perpendicular profile has not been controlled for. Rotating the part shows the lack of straightness at the opposing angle.
Similarly, controlling for straightness does control for orientation or location. On this part a straight line could easily be at a steep angle, or too high or low for what you intended. Straightness does not control orientation and location.
DML Surface Straightness
Another form of surface straightness is derived median line straightness, which can be used for flat part features such as tabs or slots.
You’ll see here the placement of the indicator arrow seems to be across the entire slot, as opposed to only one surface. This means the straightness callout is referring to the derived median line of that slot.
A derived median line is found by locating the median point of every cross section perpendicular to the DML we are creating, and connecting those points to make a derived line.
This again is only along a single line, and is not a common callout. This is also complicated to gauge as two lines must be gauged, and the DML derived from the gathered data.
A potential use of DML straightness would be two nominally parallel lines like these. At the single close point the straightness of a DML might help assure a mating part could fit along this opening.
Axial Straightness
The third type of straightness is axial straightness which, unsurprisingly, is used to measure how straight an axel is. For a cylindrical pin or hole the axial straightness call out would control the derived axis in the center. An axial straightness creates a cylindrical TZ, in which the axis must fit.
A common form of gauging axial straightness for a pin is a cylindrical gauge.
Axial straightness is sometimes used as a modifier for a feature. For instance, and without getting into too much detail, a pin that has a large tolerance for location creates a large TZ. This large axial location TZ means that a bent pin like this would meet specs.
Using a tighter location tolerance that requires more exact placement might increase manufacturing cost needlessly. To allow for a larger location TZ, but still insist that all pins are fairly straight, you can modify the location control with an axial straightness, so the total meaning of your GD&T is that a fairly straight pin can be located in a relatively large area.
About us –
i GET IT provides online self-paced training for engineers that is a better way to take training and share knowledge. i GET IT provides the largest library of online training and tutorials for the leading design software like AutoCAD, Autodesk Inventor, Fusion 360, NX, CATIA V5, 3DEXPERIENCE, Teamcenter, PTC Creo and SOLIDWORKS and additional topics based on the manufacturing industry. i GET IT also enables you to publish your own training content to share knowledge within your organization as a complete learning management system.
_____________________________________________________
Explore the Playlists to learn –
Комментарии
 0:07:35
 0:03:06
 0:01:24
 0:16:10
 0:02:20
 0:03:39
 0:06:02
 0:00:59
 0:00:55
 0:02:24
 0:03:00
 0:02:34
 0:01:27
 0:13:27
 0:01:05
 0:10:07
 0:04:43
 0:08:17
 0:04:48
 0:02:23
 0:01:41
 0:08:07
 0:05:06
 0:10:37