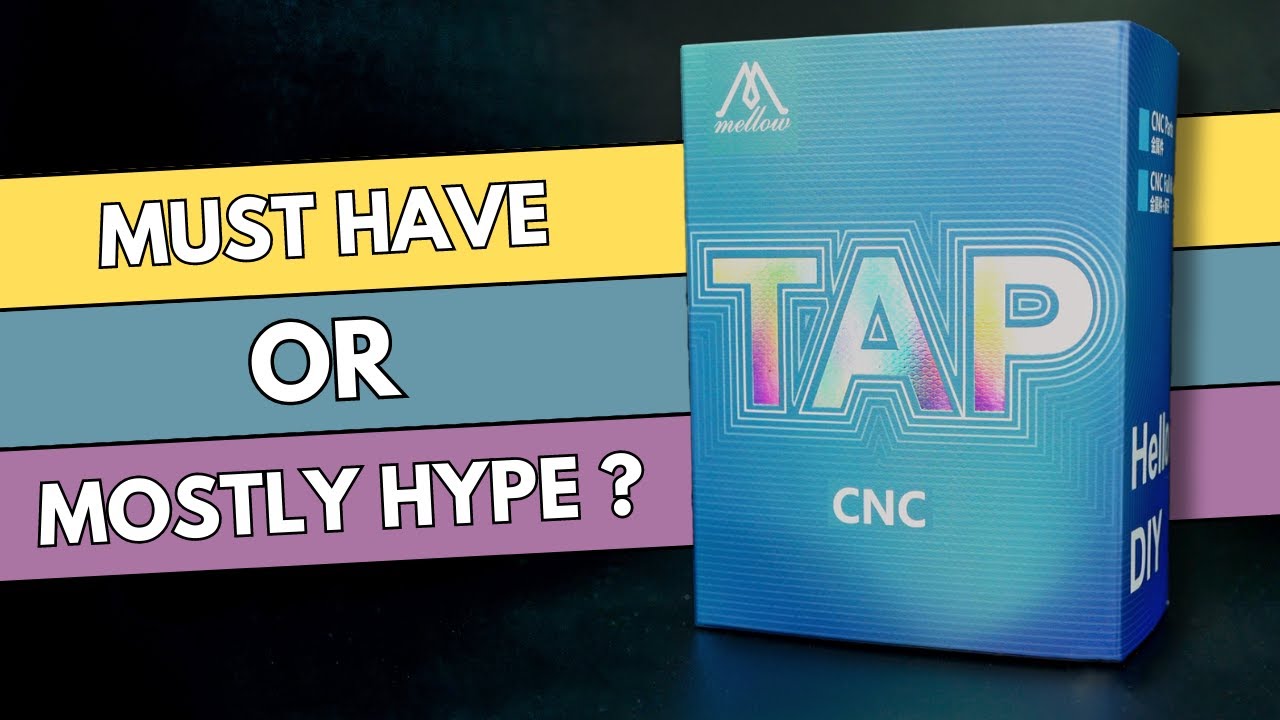
Is Voron TAP Really 'ALL THAT' ? A Semi-Scientific Analysis

preview_player
Показать описание
Voron Tap is the 3D printer bed probing solution everyone is talking about, and for good reason. It eliminates the need to recalculate the z offset when changing nozzles or build surfaces. In this video I compare and contrast some of the most popular Tap variants, including both plastic (DIY and pre-assembled) and CNC options (Mellow and Chaotic Labs).

Рекомендации по теме
Комментарии
Автор

All the nice features of the DIY version is the result of our iteration on the design. The metal versions are designed by whoever is selling them and didn’t have the same dev cycle time as the plastic version. Or any involvement from VORON Design engineers for that matter. So YMMV with those.

mr_voron
Автор

Great points, altough I want to add two things:
With klicky, the microswitch can fail. I had this happen where it was slowly dying on me and I had to change the Z-offset by +0.5mm immediately before starting the print otherwise the nozzle would ram into the bed. The optical switch of Tap is more reliable.
Secondly you mentioned that plastic on the tip of the nozzle can affect tap measurements, but I find it to be the other way around. The 600-1000g of force from tap will squish all the plastic off the nozzle while with klicky and the z endstop calibration you have the nozzle probing the pin/microswitch of the z endstop with a lot less force, leaving some plastic on the nozzle and even worse leaving plastic on the pin and after that reading on the housing of the klicky switch then also being off because of the extra plastic on the pin and then the nozzle going in to the bed. I also had this happen.

groteboem
Автор

thank god this video came out, i was about to buy the mellow tap, thought it would be better than my printed tap

AndroidA
Автор

decided to do some last minute research just before ordering a mellow cnc tap and i’m glad I found this video!

scharpmeister
Автор

Overall a nice analysis of the CNC tap. I wish you could have gotten that chaotic one tested too, but I think we have a clear “winner.” For me I prefer Klicky Auto-Z as I am running a much lighter toolhead on my V2 350 to help with accels. Sometimes, plastic is the answer!

brandonhowes
Автор

I really liked my BLtouch that came with my Ender 5 plus. It worked great, but once in a while the pin would fail to deploy. I built my Voron with the included induction probe. At the time I wasn't sure what build surface I was going to use so it felt like was constantly having to adjust the Z height. I was reluctant to add TAP and was considering klicky. From what I was reading, TAP was considered the better probe. I heard it was a more complex mod, but it was pretty easy to build and install. It's worked flawlessly since day one. I like the added protection if the nozzle decides to take a dive into the build plate.

This was a great video on TAP and the different options available. Since I build my Voron, I've learned so much about designing parts so they don't need supports and using screws to strengthen them. I was surprised the aluminum one had lower acceleration values, but those screws used as stiffeners really are a cool trick!

scaledoctors
Автор

I was second-guessing my choice to go with Klicky on my Trident build until I watched this video. Thank you for the excellent information, I'm sticking with Klicky for now

iagmr
Автор

It is also important the impact on usable accels, mgn12 adds a ton of weight, not to mention the extra weight on the print head

williamluong
Автор

I love Tap and use the self printed version since day1 with no issues.

MoppelMat
Автор

I used klicky before tap. I had too many issues with klicky failing to probe consistently. I switched to tap and never looked back. Tap has been flawless. I would also recommend running KAMP klipper macros with tap as well.

tavarisjones
Автор

Thanks for this analysis. TAP is such a intriguing concept. When i first saw it, i thought "oh, that takes away so much complexity from the leveling process, compared to my klicky I need to have one". But when i looked at the implementation details: "oh..ok. na thanks. That is way more complex in other ways compared to klicky"
the implementation as we have it for now is just too fiddly for my taste. The drawbacks one has to pay compared to klicky are just to expensive. maybe a next iteration will catch me :)
Thanks for confirming my unsubstantiated gut feeling and an entertaining video :D

MrMotey
Автор

Can definitely confirm issues with accuracy on the Mellow Tap. I also had one of the magnets come loose twice already. This one already replaced the Chaoticlab Tap. I'm running a Xol toolhead, so hoping to save a bunch of grams over printed Tap while reaping the benefits of nozzle probing, but it seems like I'll have to bite the bullet and either install a printed Tap, or move back to Klicky.

Meanwhile I'm running printed Tap R8 in a 2.4 and Boop beta 4 in a Micron with great accuracy.

derdackel
Автор

My tap has been on my voron for many hundreds of hours. Smooth PEI and a diamondback nozzle. 4 magnets. No marring or damage to the print surface at this point! I did find the need for a brush to clean the nozzle before tapping. Which required some macro work. Certainly not plug and play, but amazing!

beez
Автор

I have no idea what is going on or why I'm here but I feel informed.

MalleusSemperVictor
Автор

Does the Klicky with the auto z calibration allow similar plate changes etc? Mine is like bullet proof. I warm the nozzle, clean the nozzle and let it do its thing. Maybe one out of 100 prints something goes wrong. But it’s almost as reliable as anything I have seen from even like Bambulab

thelightspeedd
Автор

I see optotap pcb designer finally got around using proper type of a inductor for the dc-dc converter so it doesn't catch on fire.

Arek_R.
Автор

Did you use the same opto pcb for the comparisons? I wonder if the Mellow tap pcb has a lower quality sensor?

AG-cglk
Автор

tnx a lot. I was about to buy the mellow one because my plastic tap is not that stiff. But now i'll just print the steel reinforced version. BTW, all the tiny draw backs of tap just pale when compared to it's ease of use. I just love it

BMWITURBO
Автор

When you use an optical switch or such like, you need to provide power to it, so 12/24V may matter, the board needs to be designed to accept either or both. The power must be independent of the GPIO that gets triggered by the probe.

When you use that mouse button switch (endstop, microswitch), you simply don't run power to it, you just use the internal pullup GPIO wire and ground. The GPIO is going to be 5V or 3.3V whatever the processor IO voltage is. So i think you may have rejected the variant that uses a microswitch prematurely.

Furthermore switches of this construction are typically safe to 30V or more, you can see Omron D2F and Kailh GM specs. Very cheap variants such s D2FC and no-names are only tested to 6V continuous operation, but there's not actually a reason 24V would cause a concern when current limited, and they are still typically Hi-Pot type-tested (600V, 1500V). The wording is probably supposed to warn you that if you run your 12/24V to the switch and the GPIO line, instead of ground and GPIO, you're going to instantly damage your processor. But well wrong wiring will damage your processor with any kind of sensor or switch or peripheral.

SianaGearz
Автор

Great Video
Good points, choose the simple thing over the complicated thing, when calibrating your 3D printer. The simple thing show the errors relative fast, and don't mask the course of the errors.
Thanks for sharing your experiences with all of us 🙂

avejst