filmov
tv
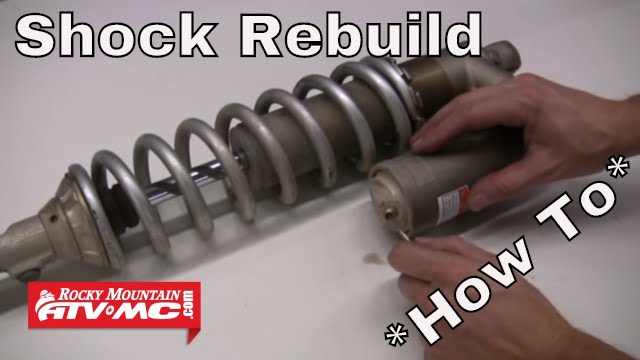
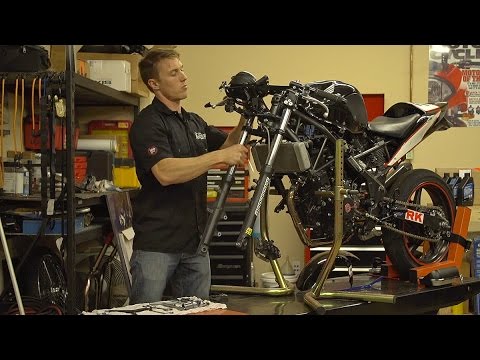
How To Rebuild a Motorcycle Shock
Показать описание
Motorcycle Shock Rebuild Parts & Tools:
In this video Justin goes over the proper procedures and steps to rebuilding the rear shock on a motorcycle. Knowing how to do this job yourself can be a huge time and money saver over taking your machine to a shop, but tearing into your bike can be intimidating without the right tools and know-how. This video aims to make that process easier, so follow along as we rebuild the rear shock on a motorcycle. The steps shown here will be very similar for other motorcycle and ATV shocks.
Click To Subscribe!
Follow Us On Social Media!
 0:07:08
7 Minute Motorcycle Teardown – Mechanic Crash Course
 0:18:52
How to Get Started on a Project Bike
 0:29:29
Can I Get This $300 Old Suzuki Motorcycle Running?
 0:25:05
2004 Yamaha R1 WRECKED Bike REBUILD (Complete Rebuild Timelapse) Start to Finish
 0:31:42
Incredible CR250 2 Stroke Dirt Bike Rebuild from Start to Finish
 0:14:21
2014 Yamaha R1 WRECKED Bike Rebuild (Complete Rebuild) Start to Finish
 0:34:38
Mechanic Breaks Down a Classic Harley-Davidson | WIRED
 0:18:10
Complete Four Stroke Engine Rebuild - Everything You Need to Know Prior to Tear-down! Part 1
 0:18:18
Complete Restoration of a 75-Year-Old Rusted British Motorcycle
 0:00:28
I bought a $200 Motorcycle
 0:10:11
Motorcycle Suspension Tech and Maintenance: How To Rebuild Your Fork | MC GARAGE
 0:01:00
What it’s like working on old motorcycles
 0:17:59
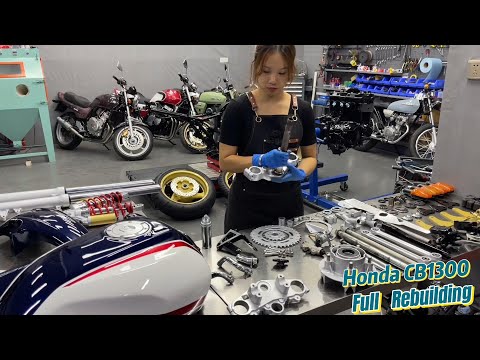
Full Rebuild of Honda CB1300 in 18 Minutes: Time-lapse
 0:01:01
Part 1-3 of the 21 YZ450F Bottom End Rebuild #livemoto @Nihiloconcepts
 0:00:49
My bike wouldn’t start, here’s how I fixed it #motorcycle #dualsport
 0:15:06
How To Rebuild a Motorcycle Shock
 0:10:45
Beginners Guide to Restoring Vintage Motorcycles #motorcyclerewind #vintagemotorcycles
 0:18:59
Rebuilding A Wrecked 2023 Yamaha R7!!
 0:00:29
HOW TO HONDA BIKE CYLINDER DIESEL POLISH NEW PISTON FITTING #shortsfeed #subscribe #piston
 0:06:30
Must-Have Tools to Rebuild Your Two Stroke Dirt Bike Engine Like a Pro
 0:00:59
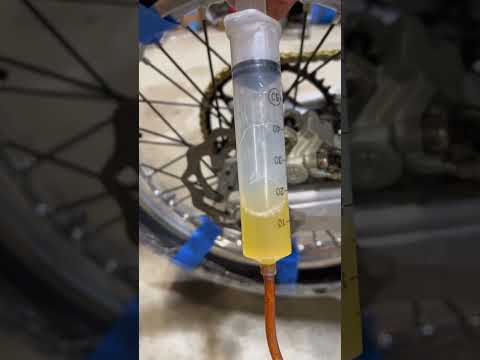
How to fix dirt bike brakes that don’t work! #mx
 0:07:53
Motorcycle Engine Rebuild the Tear Down
 0:00:59
R1 Motorcycle Exhaust refinishing #garage93 #r1 #r1m #aaroncolton #superbike #motorcycle #bikebuild
 0:05:08
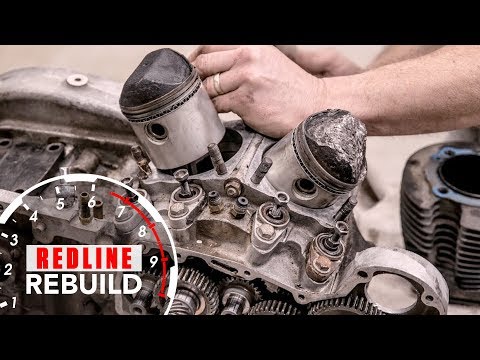
Harley-Davidson Sportster V-Twin Ironhead Engine Rebuild Time-Lapse | Redline Rebuild - S1E6
Комментарии