filmov
tv
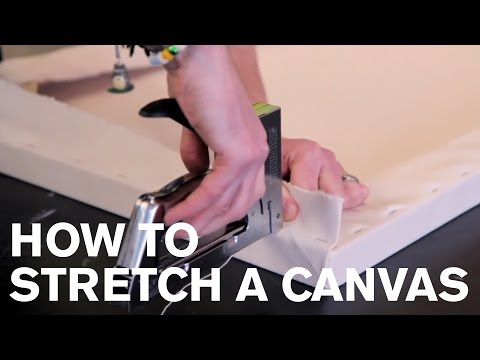
Why stretching your own canvas is so delicious!

Показать описание
I love waking up to the smell of freshly stretched canvases.
music:
Kevin MacLeod
Too Cool
music:
Kevin MacLeod
Too Cool
 0:11:11
Why stretching your own canvas is so delicious!
 0:06:38
How to stretch a large canvas – with Corey D'Augustine | IN THE STUDIO
 0:02:25
How to stretch your own Canvas (easy step by step tutorial)
 0:04:55
How To: Stretch a Canvas
 0:05:35
How and why to stretch your own canvas by Jon Peters
 0:05:21
How and why I stretch my own art canvases
 0:00:16
How to stretch a canvas over a frame #shorts #canvas
 0:06:18
How to Stretch Your Own Canvas - Barnstone Studios
 0:00:16
White Arum Lily with Raindrops Authentic Photography | Unframed Canvas | Biophilic Wall Art Style
 0:09:05
How to Build and Stretch a Large Canvas for Half the Price! | DIY Art & Design
 0:00:47
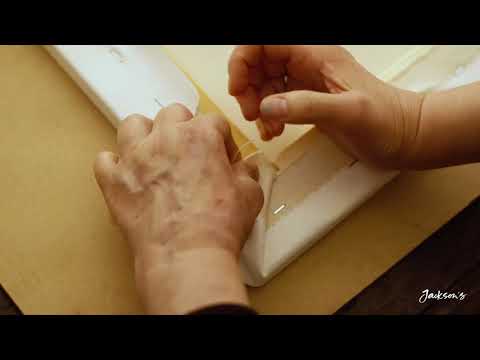
Stretching Canvas: How To Fold Corners | Jackson's Art
 0:03:27
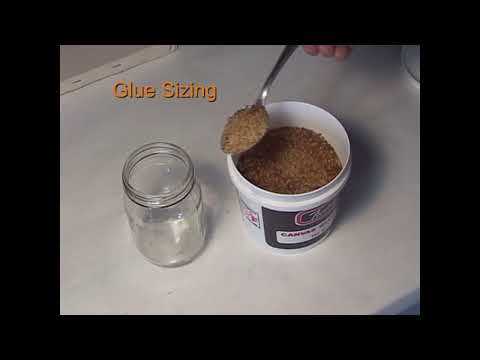
Stretching Your Own Canvas? You Need This - PVA Size Review!
 0:05:30
Stretching Your Own Canvas
 0:04:33
Is It Cheaper To Stretch Your Own Canvas? [VLOG]
 0:07:38
HOW TO ART | Save money by stretching your own canvas painting (EASY!) 🤑
 0:00:27
A great heck’en tutorial on how to stretch a canvas #diy #art #canvas
 0:13:38
Canvas Stretching Lesson
 0:07:38
How to Make a Wood Frame and Stretch a Canvas Painting (DIY)
 0:07:35
EASY How to Build Canvas, HUGE SAVINGS!
 0:07:55
How To Make a Canvas
 0:13:31
Do I Stretch My Own Canvas Or Buy Pre Stretched Canvas?
 0:22:34
How to Stretch Your Very Own Canvas
 0:20:58
Stretching Your Own Canvas
 0:00:16
How to make canvas at home #shorts #viral #canvas
Комментарии