ZBrush to Arnold for Maya - 32 Bit Displacement UDIM Tutorial
preview_player
Показать описание
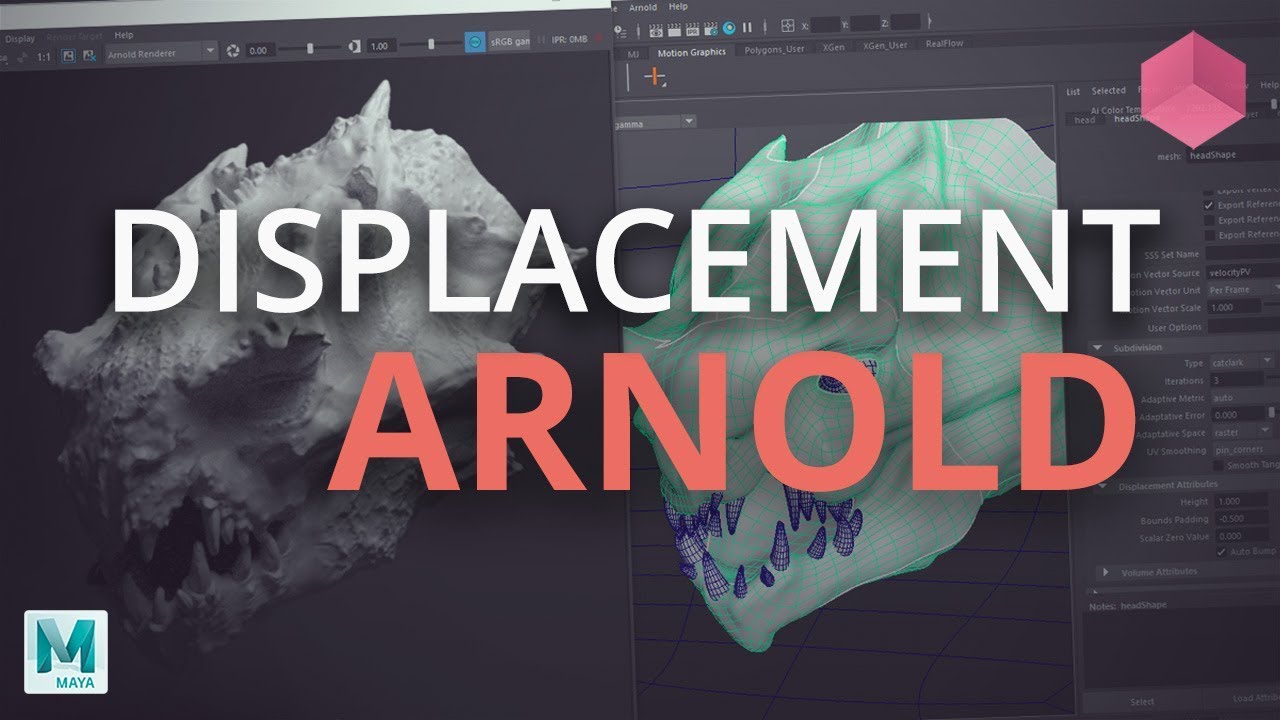
In this ZBrush to Arnold tutorial, we cover the entire workflow of working with displacement maps from ZBrush to Arnold. We use the Multi Map Exporter plugin in ZBrush to generate our maps, which we then bring into Arnold for Maya 2018. The tutorial is showing you how to work with UDIMs and how to get an accurate result in the end.

Important Correction! 20:20
In the video we say that you change the mid value under 'Bounds Padding'. This is wrong. You change it under 'Scalar Zero Value' instead. It's the same place.

We use the FlippedNormals Lighting Scenes 2.0 to light and render the character:

We hope you enjoyed this tutorial, make sure to follow the links below for even more content.

Subscribe now to stay up to date with future videos!
Рекомендации по теме
Комментарии
Автор

Important Correction! 20:20
In the video we say that you change the mid value under 'Bounds Padding'. This is wrong. You change it under 'Scalar Zero Value' instead. It's the same place.

FlippedNormals
Автор

I was struggling for several days with Displacement Map, I got the best result just now, just seeing you guys giving those precious advices with this video. Sounds odd but when I got the final look I shed some tears of joy after many attempts. You guys never stop doing this, you are helping others!

SauloNT
Автор

Before I forget, LOVE this tutorial! Thanks so much for making this guys! Learned UDIMs on the go here. One tip for models inflating that I found is once you add the displacement maps to your "file" node in Maya, going down to "Color Balance > Alpha Gain = 1.1" and "Color Balance > Alpha Offset = -0.25" got rid of my inflation. So much so that I could even go back to the "model's shape node > Arnold > Displacement Attributes > Height" and drive this up to values like 2 or 3 for REALLY deep displacement without the inflation. THANKS AGAIN GUYS!

edanduarte
Автор

Finally! Followed this too a tee and got perfect results VS every other tutorial I tried. Thanks guys! Also appreciated the detailed explanation of every setting.

adamhoughton
Автор

Guys, the Switch MT button works pretty well. :) If you ipmort an obj (from Maya, Max, etc), press Store MT and divide, sculpt it. When you export the maps, press Switch MT and on the subtool(s), go to the lowest level (1) and press switch MT (now you have the original base mesh). The map(s) will be calculated from the oroginal geo(s), with the right intensity.
If the workflow does not allow to change geos in main software, beacuse they are in rigging process etc, better to use Switch MT. Without using Switch MT, you should always export the geos from zbrush to your another sofware. Not so good...

jozsefliszkai
Автор

Great video. However do not ever keep smooth UV's on in the displacement settings in zbrush. The reason is the algorithm used to smooth in zbrush is vastly different than uv smoothing in maya. Keep UV smoothing off in both Zbrush and in displacement settings when rendering in maya or unexpected results may occur.

harlangaler
Автор

You guys are making some great videos, keep up the good work. I understand why you are using .5 as the mid but I think it's worth mentioning for others watching that for 32bit the vfx industry standard has been mid of 0 even going back to Mental Ray. Vray, Arnold, Mantra, are defaulted to a 0 mid value and I believe Renderman is too. You mentioned most software and render engines are made for mid of 1 at around the 10 min mark.Not sure if that was in error. I haven't used redshift or octane so I cannot speak to them but the other engines I already mentioned are not set for 1 in most pipelines but 0. It's worth noting that the down side to using .5 is you need to have these added adjustments to make displacement work when out of the box mid of 0 for 32 bit maps gives you the correct results. When you have many artists making manual adjustments there is room for error. If you do need to see what your'e doing and working with a 32bit displacement map with mid at 0 you can still grade the maps or adjust the viewer in nuke or do the same with the maps applied in mari for better visibility. (I've had many artists come in and not knowing how the maps are even working nor that by keeping the mid at 0 like the standard a value of 1 displaces one world unit outward along the normal and value of -1 inward along the normal) Sorry its like PTSD for me. I've had too many artists not fully aware of how these maps work nor know what colorspace they are in.

Daeschri-vd
Автор

l learn so much better when the lesson plays out like a discussion than a lecture so thank you so much for this refreshing take on teahing.


l've had low morale trying to finish college, l don't like the teachers and l felt very unmotiated but this...this is inspiring me again.

thank you so much

sentinalchocobo
Автор

Guys, you are AMAZING! I watched many displacement trials, and non of them were that useful, you describe things in depth yet very simple.
I'm really happy, it is the first time it works for me!
Thank you :)

matan
Автор

Thank the heavens you guys made this tutorial, I appreciate it!

Juan_x
Автор

I hope it helps, no need to touch bounds padding, you can Just set "scalar Zero Value" to 0.5 or whatever you set "Mid" value in Zbrush. or you leave it zero in Arnold shape node and instead change it to 0.5 in displacement shader node so this way no need to set it per object shape node. ....and just if you are curios how to do it in redshift you can do the same in rsDisplacement by changing "New Range Min and Max" to -0.5 and 0.5. so you actually shift those gray area to the point that these two engines look for the rest position.

Samankhorram
Автор

Oh baby keep em coming I love these. They've helped me so much!

erankartist
Автор

great tutorial! I tried a long time to make it work and thanks to you tutorial it finally did! the only thing that I had to change was the mid value which only worked when I put it to 0

moondancer
Автор

little save point if people want to go straight to the parameters they use to export the Zbursh elements: 12:30 (loving the work flip normals!!)

caboomatic
Автор

Awesome!! that was soo informative! I am not new to Arnold, UDIMs or Maya but learnt a lot what needs to be done in the Zbrush side of things. Although i am a bit curious that when you added a UDIM displacement file node, the color space wasn't changed to RAW, but it works beautifully none the less!
Thank you! Love the work you guys do.

rahulsai_
Автор

Was struggling to get this to work for a while with Houdini Arnold, so I'm going to leave this for anyone who might need it- if your map is exporting and looks completely red or gray in photoshop, it might actually have values you just can't see but the render engine will recognize them. I thought mine was blank and was trying to troubleshoot for a long time before realizing it was actually a render issue, not a zbrush issue.
When you bring the map into Houdini- you have to make sure subdivision and displacement are enabled on the geometry. Personally in the subdivision tab I choose cat clark, 3 iterations, and in displacement tab set the zero value to 0.5. In the material I just used an image node plugged into the displacement and didn't change any settings.

julia.schultz
Автор

All yours tutorials are going to my 3D important playlist! awesome :) many many thanks for sharing knowledge.

jurandfantom
Автор

You can change Scalar Zero Value to 0.500 for mid values and it works the same as Bounce Padding (-0.500)

ashish_naskar
Автор

I think you can add all the objects in the UDIM's to a set, and then you can add an override to the set under the Arnold menu Item. The Attributes you would need to add are (without the quotes):
"aiDispAutobump";
"aiDispPadding";
"aiSubdivIterations";
"aiSubdivType"

This would make it easier to keep all the settings the same.

OneImmortalStudios
Автор

I could kiss you! I've been trying to figure out how to get these maps out for weeks but the settings i was told were completely wrong! a lot of great information in this video thank you so much!

samlennox