filmov
tv
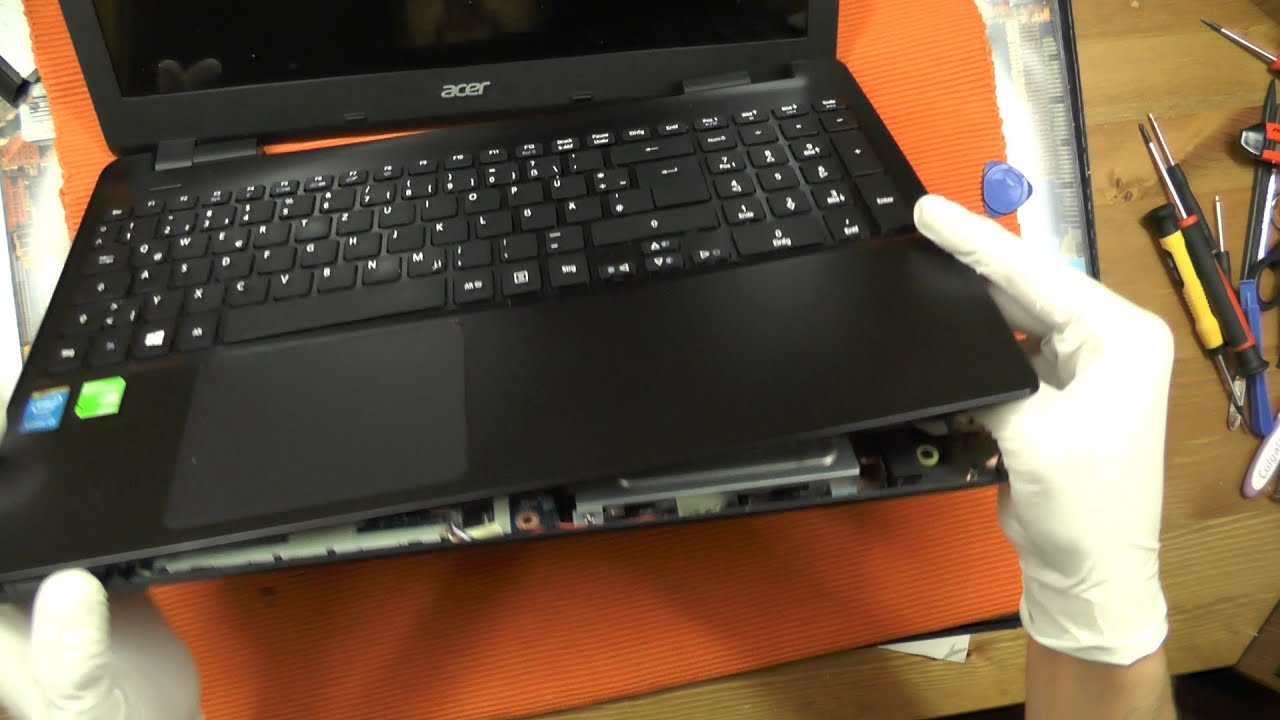
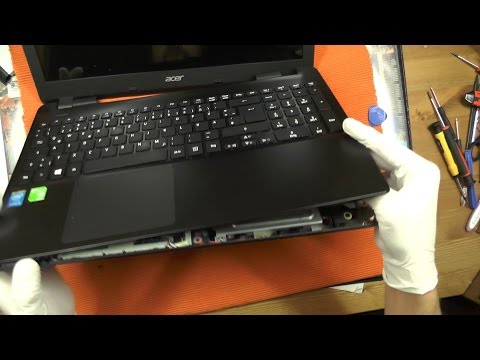
Disassembly Acer E15 E5-571G/531 Upgrade Ram HDD SSD DVD Clean Fan
Показать описание
How to Replace ,Repair ,Fan Cleaning Öffnen ,zerlegen, take apart,upgrade Memory Change Austausch Mainboard ,Reparatur Anleitung Tutorial Reparatur Zerlegen Tamir Mainboard Replace Tutorial (Guide). Wie Lüfter reinigung video for Acer Aspire E15 E17 E5-771g ,E5-731 ,E5-531 ,ES1-571G ,E1-572g,E5-572 ,E5-573G ,E5-511 Series Notebook
Disassembly Acer Aspire new E Series LaptopMotherboard installation
This Video shows how to replace / Remove Acer HDD ram case Akku
Acer Laptop Intel i3 , 15 , i7 , Amd , Nvidia Optimus
Disassembly Acer Aspire new E Series LaptopMotherboard installation
This Video shows how to replace / Remove Acer HDD ram case Akku
Acer Laptop Intel i3 , 15 , i7 , Amd , Nvidia Optimus
 0:20:02
Disassembly Acer E15 E5-571G/531 Upgrade Ram HDD SSD DVD Clean Fan
 0:12:16
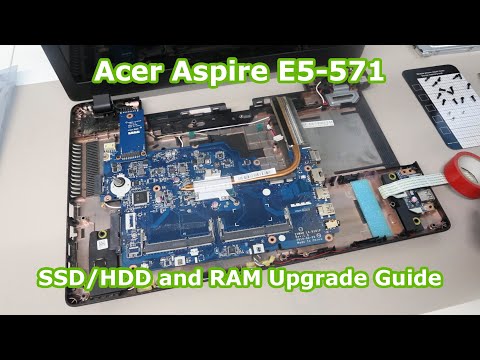
Acer Aspire E5-571 - SSD/HDD and RAM upgrade guide
 0:05:42
Acer Aspire E15 E5-571 / E5-531 Disassembly
 0:15:22
How to Disassemble a Laptop Acer Aspire E15 Series E5 Upgrade RAM HDD Cleaning Cooling Fan
 0:06:30
Disassemble replacement HDD Laptop Acer Aspire E5 571 32EG E5 531 series
 0:11:28
Disassembly Acer E5-571/E5-531 to remove and replace, hard drive, keyboard, Wifi, RAM, cooling fan.
 0:06:37
Acer ASPIRE E15 Series Laptop | How to replace or upgrade RAM.
 0:08:10
Acer Aspire E5-531 - Disassembly and cleaning
 0:15:05
Acer Aspire E5-571 RAM upgrade & battery replacement
 0:09:54
How To Open a Laptop Acer Aspire E15 Series E5 / Upgrading Of RAM Memory Fan Cleaning Change HDD-SSD
 0:07:03
Acer Aspire 15 E5 574G Take Apart Complete Disassembly Teardown
 0:05:04
Acer Aspire E5-571G / E5-571 HDD Replacement
 0:07:41
Acer Aspire E5-511, E5-521, E5-571, E5-572 RAM Upgrade and Install Guide
 0:17:42
Acer Aspire E15 Disassembly- Step by step Guide
 0:09:54
Acer E5-573G smontaggio e installazione SSD. Disassembly and SSD upgrade
 0:15:02
Acer Aspire E15 Disassembly | Aspire E15 E5 575G | Upgrade | SSD , Ram , Battery
 0:05:32
Acer E5-531 disassembly and cleaning
 0:37:05
Acer E5 571G Keyboard Replacement
 0:39:38
Acer Aspire E15 Drive & RAM Upgrade
 0:16:38
Acer E5 574G 54M Teardown, SSD upgrade and thermal paste replace
 0:05:57
ACER ASPIRE E15 E5-571 LAPTOP DISASSEMBLING HINDI + ( ENGLISH SUBTITLES )
 0:01:31
How To UPGRADE Acer Aspire E15 E5-573 Laptop RAM
 0:06:14
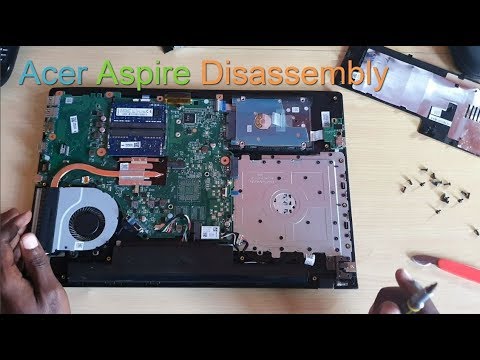
Acer Aspire E15 laptop disassembly, take apart, teardown tutorial
 0:08:03
Acer Aspire E5-774G complete disassembly and cleaning/replacing thermal paste
Комментарии