filmov
tv
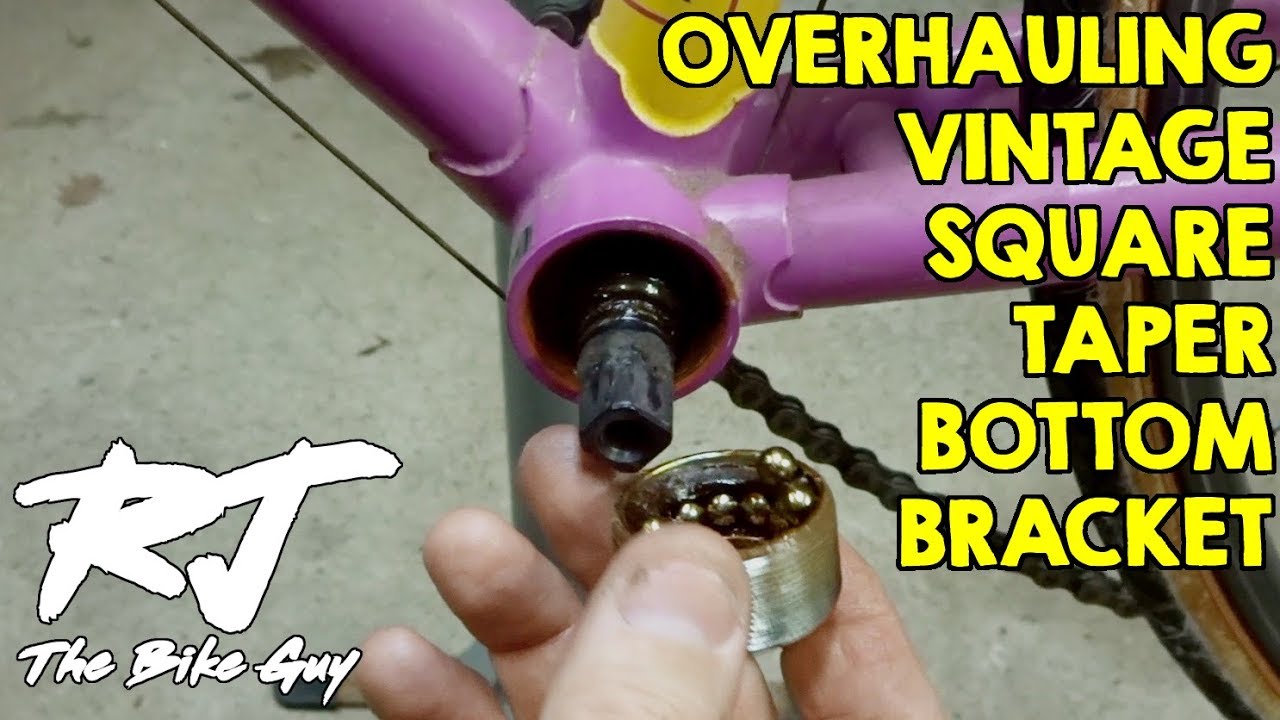
Square Taper Bottom Bracket Service - How To Overhaul/Remove/Clean/Install
Показать описание
I show how to overhaul a vintage cup/cone square taper bottom bracket. This includes removing the cranks, disassembly, cleaning, replacing the bearings, lubrication, and re-assembly. This is a maintenance that should be done if the bottom bracket feels rough, or if there is play, or if the bottom bracket hasn't been serviced in a long time.
The wrench at 5:20 is this:
The wrench at 6:45 is this:
How to remove stuck fixed cup:
How to convert to sealed cartridge bottom bracket:
Replace caged bearings with loose bearings in BB:
▶SUBSCRIBE!
🔔 TURN ON THE NOTIFICATIONS🔔
▶FACEBOOK.com/RJTheBikeGuy
▶TOOLS
▶SHIRTS
▶WEBPAGE
The wrench at 5:20 is this:
The wrench at 6:45 is this:
How to remove stuck fixed cup:
How to convert to sealed cartridge bottom bracket:
Replace caged bearings with loose bearings in BB:
▶SUBSCRIBE!
🔔 TURN ON THE NOTIFICATIONS🔔
▶FACEBOOK.com/RJTheBikeGuy
▶TOOLS
▶SHIRTS
▶WEBPAGE
 0:20:59
Square Taper Bottom Bracket; Removal & Installation. What You Need To Know.
 0:21:51
Square Taper Bottom Bracket Service - How To Overhaul/Remove/Clean/Install
 0:10:08
Overhaul/Rebuild Bottom Bracket With Sealed Cartridge Bearings
 0:06:27
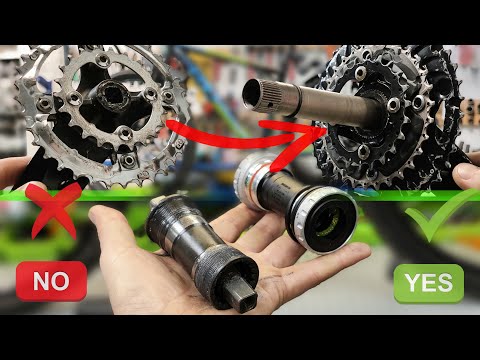
HOW TO: Square Taper to Hollowtech II Conversion // Bottom Bracket & Crankset
 0:06:13
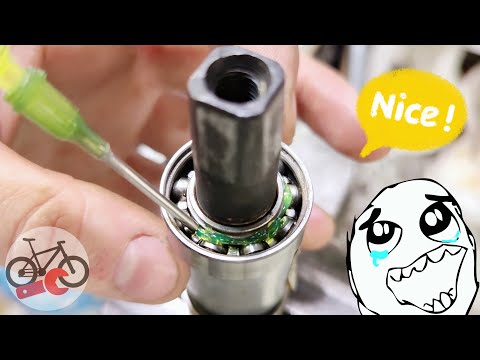
$14.99 Ceramic Bearing Upgrade - Square Taper Bottom Bracket
 0:04:50
BB-UN55 vs BB-UN300; which is the better square taper bottom bracket?
 0:11:49
Bike Upgrades. Shimano Hollowtech II Bottom Bracket and cranks Replacement
 0:08:52
How to Fix a Creaking Bike. Lubrication of the bicycle bottom bracket
 0:08:01
How to replace a bicycle bottom bracket. Shimano BB UN300 failure
 0:04:35
BB Upgrade - Square Taper to Shimano Hollowtech II, SRAM GXP, DUB - Trek Marlin Upgrade
 0:12:53
Shimano Square Taper Bottom Bracket Removal Guide
 0:09:21
The Best Bottom Bracket for every Bike - The End.
 0:08:03
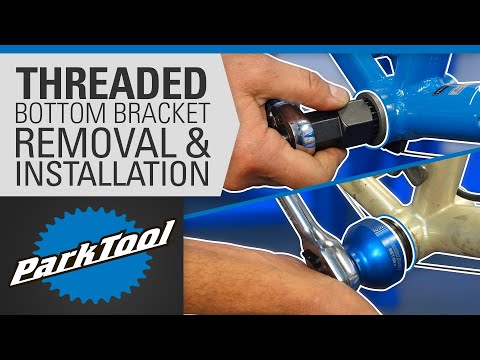
How to Remove and Install Bottom Brackets - Threaded Shell (BSA, T47, Cartridge, etc.)
 0:08:26
This Bottom Bracket will save 10 Shimano XT ones from Landfill 😂
 0:15:24
Convert From Square Taper to Hollowtech II Bottom Bracket/Crankset
 0:26:11
Shimano Square Taper to Hollowtech II BB Upgrade
 0:04:12
Fixed Gear Bottom Brackets Explained
 0:04:35
How to Remove & Replace a Sealed Cartridge Bottom Bracket | Halfords UK
 0:01:31
How to install a square taper bottom bracket in 2 easy steps
 0:09:34
Octalink Bottom Bracket Explained. Install 105 5500 series cranks with threaded bottom bracket
 0:08:09
Worth Upgrading to Hollowtech II?
 0:10:24
Servicing a Square Taper Bottom Bracket Part 1
 0:06:26
How to overhaul an old style bottom bracket in 6 easy steps
 0:01:00
Wobbly bottom bracket replacement. Square tapered system.
Комментарии