filmov
tv
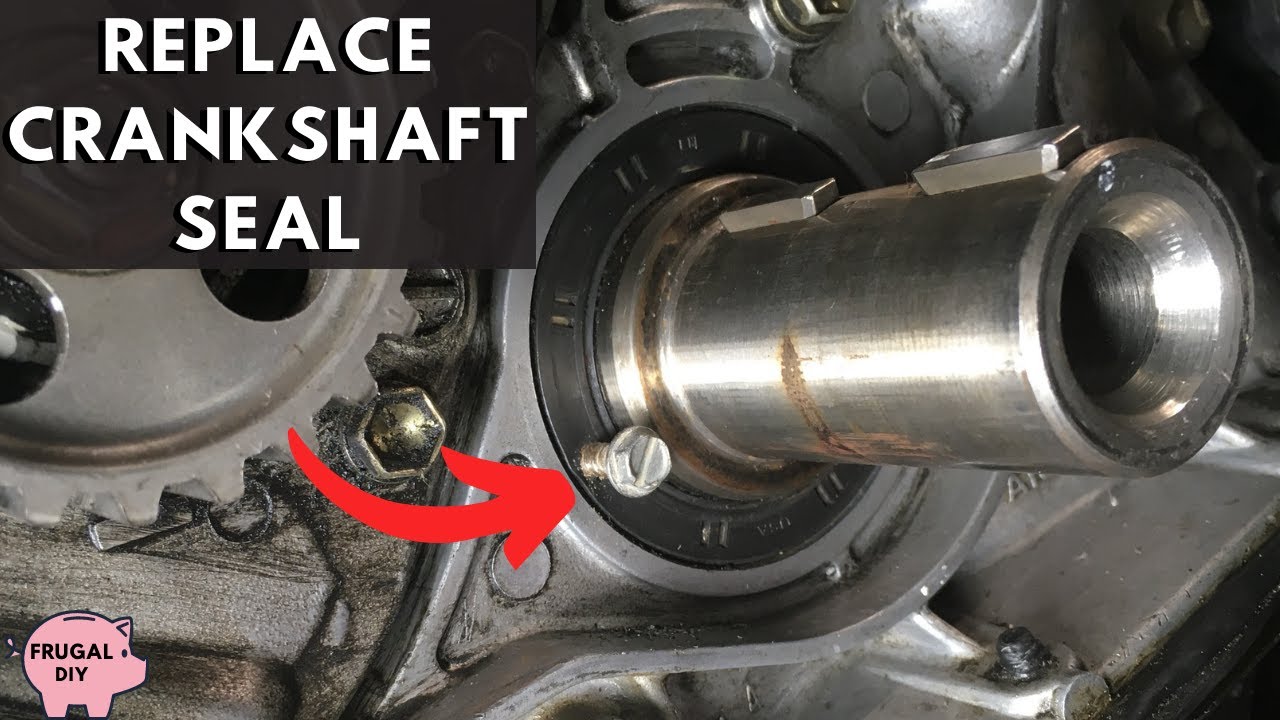
Remove and Replace Crankshaft Seal
Показать описание
We used an 1/8" drill bit and a sheet metal screw to remove the crankshaft seal on my 1995 Toyota Camry. We used the crankshaft sprocket to push the seal in square and then used a 2" piece of ABS pipe and piece of wood to seat the crankshaft seal into its housing.
 0:07:40
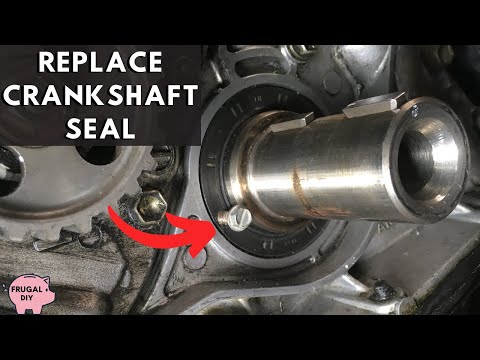
Remove and Replace Crankshaft Seal
 0:03:56
How to Replace Crankshaft Seal on Your Car
 0:02:43
Super Easy Crankshaft Seal Removal
 0:01:21
how to change crankshaft oil seal/ how to replace front crankshaft oil seal
 0:01:48
4 Ways To Remove Camshaft And Crankshaft Seals
 0:08:03
Front Crankshaft Seal DIY (No Special Tools) - BMW N55 Engine Rebuild Project Part 8
 1:07:53
How to Replace Crankshaft Seal 04-09 Subaru Outback
 0:05:15
Front Main Crankshaft Seal Replacement TDI ALH VW
 0:03:50
Replace Crankshaft Oil Seal
 0:08:20
Easy How To Replace Crankshaft seal 2007-2011 Honda Accord(Low Quality Video)
 0:09:01
Oil Seal Replacement - Small Engine Crankshaft Seal
 0:04:56
Rear Main Seal Replacement. Easy DIY
 0:21:44
How To Replace A Crankshaft Seal On A Two Stroke Motorcycle 🔧⚙️🔩 KTM Husqvarna 300/250 xc xcw...
 0:04:44
OLD MECHANICS TRICK TO REPLACE CRANKSHAFT SEALS!
 0:06:12
HOW-TO Replace A Lawnmower Crankshaft Seal
 0:10:21
BMW F30 crankshaft seal removal and installation ditailed video/ Замена переднего сальника коленвала...
 0:10:04
How to Rear Main Seal Replace - Crankshaft Seal Replacement Leak Repair How To DIY
 0:06:29
How to REMOVE the Small Crankshaft Seal on a Stihl Chainsaw – WITHOUT Buying Expensive Tools!!
 0:09:41
How to Avoid Failure Replacing a Front Crankshaft Seal: Example Shown On Older Mercedes Diesel
 0:05:08
How to replace front crankshaft oil seal:how to fix crankshaft oil leak(oil leak fix toyota prado)
 0:12:38
How to replace the crankshaft oil seal and harmonic damper - Mercedes w169/w245 - A/B class
 0:12:04
How to remove old crankshaft seal and install new one. Easy crankshaft change.
 0:05:21
FRONT CRANKSHAFT SEAL REPLACEMENT REMOVAL HYUNDAI KIA 2.4 GDI, CRANKSHAFT SEAL OIL LEAK
 0:09:55
Volkswagen Golf mk2 crankshaft oil seal replacement pt1
Комментарии