filmov
tv
Viking Hood Tutorial in under 4 Minutes

Показать описание
Learn how to make a Viking Hood in the simplest way possible. Use any fabric, and any stitch that you want. MEASUREMENTS OPTIONAL.
This viking hood may take a bit of trial and error, mine certainly did when I first did mine. It isn't complicated, but you may find yourself sewing the wrong ends by accident, or you may have to readjust for your headshape. Everyone is different. Be patient and have fun!
Help Support me on Patreon!
-----
Attribution 4.0 International (CC BY 4.0)
 0:03:48
Viking Hood Tutorial in under 4 Minutes
 0:12:36
Best Viking Quest Hood Tutorial // DIY
 0:07:26
How to Sew a Skjoldehamn (Viking Hood) Medieval
 0:00:06
norse hood tutorial is up! #norse #fantasy #renfaire #sewing #vikings #wizard
 0:08:57
Making a Viking Hood (Skjoldehamn)
 0:17:47
Viking Hood from Hedeby | Clothing Tutorial
 0:10:22
Viking Hood
 0:22:33
Making a Viking Medieval Hood
 0:27:03
How to Sew a Viking Hood | Easy Medieval Skjoldehamn Hood Tutorial | CosTutorial
 0:08:11
Making A Denim Norse Hood // Medieval Viking Costume Cosplay Renaissance Faire
 0:09:35
How to Make a Viking Age Hood
 0:11:39
Make THIS Viking Hood to Stay WARM at Your Next LARP or Ren Fair
 0:07:46
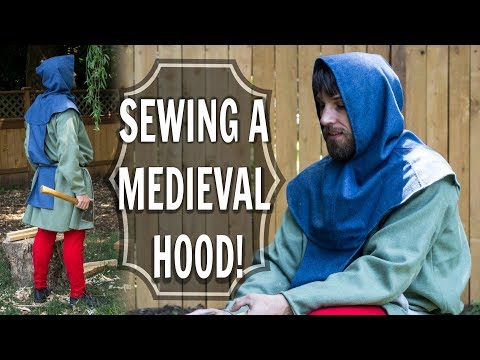
How to Sew a Medieval Men's Hood! (Last piece of the Carpenter Outfit!)
 0:18:02
Sewing Tutorial: How to Make a Viking Hood (Skjoldehamn Hood) for LARP
 0:14:08
Chevalier Outfitters Viking Hood Instructions Part 1
 0:16:16
Making a viking hood
 0:00:11
This is My Norse hood! I just posted a full tutorial on my channel! #fantasy #renfaire #medevil
 0:00:04
Handmade Viking Hood
 0:09:28
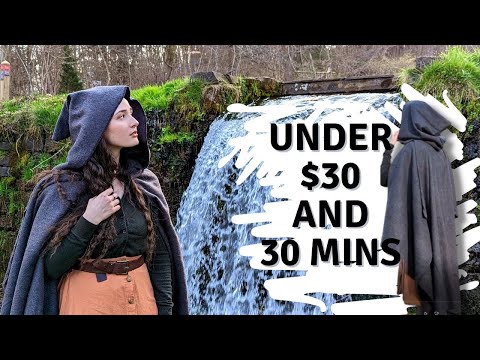
DIY Cloak: Under 30 Dollars and 30 Minutes
 0:10:31
Chevalier Outfitters Viking Hood Instructions Part 3
 0:00:29
🤯 Get ANY Outfit for FREE in RDR2 #shorts #reddeadredemtion2
 0:09:18
How to Make a Viking Hood. Skjoldehamn Hood
 0:01:28
Diy Warm medieval hood
 0:00:45
Never Jump Start Your Car Like This
Комментарии