filmov
tv
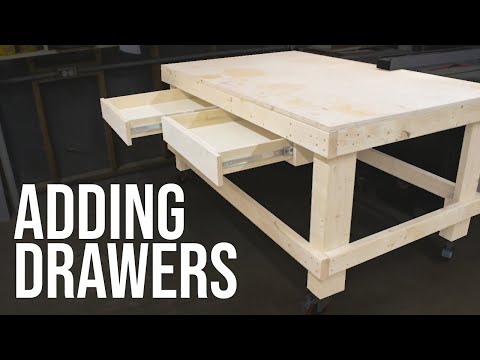
Making and Installing Workbench Drawer Fronts

Показать описание
A lot of work went into redoing my work bench. Now let's finished the drawer fronts!!
I start off making some drawer fronts with a 1/2 sheet of 3/4 plywood I had left over. But that wasn't enough for all the drawer fronts. There is 23 of them in total.
So I had to do some scrounging and some fancy cutting to get enough material to make all the fronts. But I did it!!
Have a look at how I made a square drawer front from an oval piece of material. Scary as it was barely big enough for the size I needed!!
Then I sanded all the fronts and I even put some crack fill compound on the fronts to smooth out any voids or nails holes they may of had from a previous life.
Sanding the pieces and then sanding the crack fill was a job and a half. I was thinking of Stevo J while I was doing this. Stevo has a great channel and he does a lot of auto body work as well as some crack filling and wood working. If you want to check out Stevo's channel here is a link:
Then I did my favorite job in the shop, I painted them all!! I'm starting to like painting. NOT!!
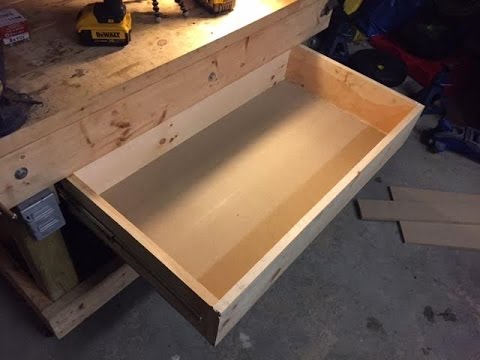
Then the fun started. Installing the drawer fronts. I even used my new laser level to help out with this part!!
In the end though, I think the drawer fonts went on pretty good and they even look pretty nice too. What do you think?
Thanks for watching and I hope you enjoy the video. Please 'thumbs up' me and leave me some comments. And if you haven't done so already, please consider 'subscribing' to my channel. It sure helps my videos get noticed and my channel grow. I hope you all have a great week.
We'll talk to yas ...
#grampiesworkshop
#makingandinstallingworkbenchdrawerfronts
#workbenchreno
I start off making some drawer fronts with a 1/2 sheet of 3/4 plywood I had left over. But that wasn't enough for all the drawer fronts. There is 23 of them in total.
So I had to do some scrounging and some fancy cutting to get enough material to make all the fronts. But I did it!!
Have a look at how I made a square drawer front from an oval piece of material. Scary as it was barely big enough for the size I needed!!
Then I sanded all the fronts and I even put some crack fill compound on the fronts to smooth out any voids or nails holes they may of had from a previous life.
Sanding the pieces and then sanding the crack fill was a job and a half. I was thinking of Stevo J while I was doing this. Stevo has a great channel and he does a lot of auto body work as well as some crack filling and wood working. If you want to check out Stevo's channel here is a link:
Then I did my favorite job in the shop, I painted them all!! I'm starting to like painting. NOT!!
Then the fun started. Installing the drawer fronts. I even used my new laser level to help out with this part!!
In the end though, I think the drawer fonts went on pretty good and they even look pretty nice too. What do you think?
Thanks for watching and I hope you enjoy the video. Please 'thumbs up' me and leave me some comments. And if you haven't done so already, please consider 'subscribing' to my channel. It sure helps my videos get noticed and my channel grow. I hope you all have a great week.
We'll talk to yas ...
#grampiesworkshop
#makingandinstallingworkbenchdrawerfronts
#workbenchreno
 0:11:13
Simple Way to Add Drawers to Any Workbench | How To
 0:13:35
3 Ways To Build EASY DIY Drawers | Good, Better, Best
 0:07:05
Adding Drawers to the 1-Hour Workbench // Woodworking Shop Project
 0:07:32
How to Build Shop Drawers with Euro Slides
 0:00:11
Drawers without pricey drawer slides! #workbench #diy #shorts #diywoodworking
 0:00:39
Building Workbench Drawers with Wood Slides #woodworking
 0:05:16
DIY Easy drawer box assembly in 5 minutes! - How To
 0:00:19
an easy way to install drawer slides #drawerslide #diywoodworking #woodworkingtips #diyfuture
 0:00:34
Beautiful Hall Tree Build using the Milescraft PocketJig400™, DrawerJig™, and EuroHingeJig™
 0:23:50
Building an Under Workbench Drawer for all my Stuff
 0:07:54
How To Build Plywood Drawers, Strong, Easy and FAST!
 0:14:48
Wicked Fast Shop Drawers (Offsets & Butt Joints) - How To Install Drawer Slides EASY
 0:17:01
Making and Installing Workbench Drawer Fronts
 0:00:47
The easy way to install drawer fronts! #woodworking
 0:04:41
Adding drawers to Workbench.
 0:09:22
Mobile WorkBench Storage 2.0 - Install Drawers
 0:00:59
Is This The Best Way To Build Drawer Boxes?
 0:22:43
Tool Drawer Installed Into WorkBench
 0:14:51
Workbench storage drawers on a budget
 0:00:37
Easiest Method to Install Drawer Slides
 0:06:36
Building Simple DIY Drawers for My Workbench – No Fancy Tools or Slides Needed!
 0:00:14
Save Money $$ Make Wooden Drawer Slides # shorts
 0:34:13
Building a workbench, storage and drawer solution - Workshop Build #1
 0:01:01
Simple Workbench with 2x4’s and Wood Drawer Slides #woodworking
Комментарии