filmov
tv
Tiling on Your CNC Router

Показать описание
Tiling allows you to make items that far exceed your machine size. Carbide 3D helps you GO BIG with this new software feature. Kevin details the core functions you'll need to understand.
Tiling is now included for all Carbide Create Pro Subscribers.
Tiling is now included for all Carbide Create Pro Subscribers.
 0:06:01
Tiling on Your CNC Router
 0:08:24
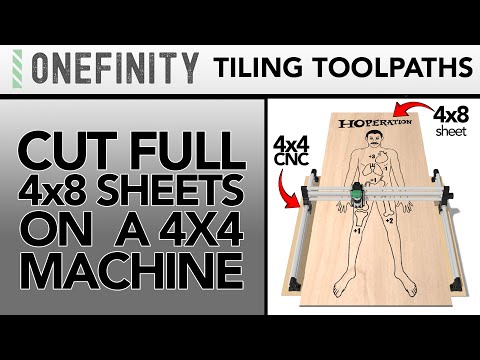
EP. 30 Onefinity CNC - Tiling a Life Sized Operation Cornhole Board
 0:01:00
Cutting Larger Than Machine with Tiling
 0:09:56
Making Large Parts on a Hobby-level CNC Router - Tiling Tutorial with Fusion 360
 0:04:29
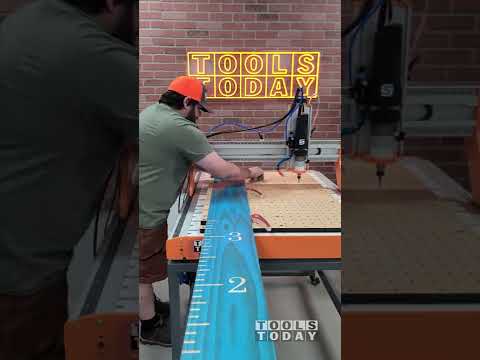
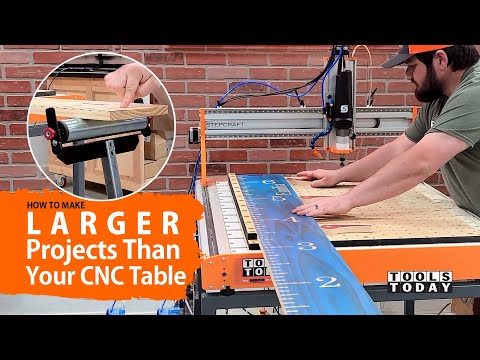
How To Make Larger Projects Than Your CNC Table Size | ToolsToday
 0:24:17
Magic of Tiling BIG Signs With a Small CNC - VCarve / Onefinity CNC
 0:07:40
Learn How To Tile In Carbide Create for Custom CNC Flag with this Simple Tutorial
 0:05:37
CNC Router on Ceramic + Glass Tiles
 0:12:28
CNC Router Lesson: Tiling - Cutting Material Larger than your CNC
 0:08:19
2. Milling Leg Blanks - PRO TIP: Fusion 360 CAM Tiling for Furniture Pieces Longer Than the CNC Bed
 0:07:19
How to: Flatten Stock on your CNC Router
 0:00:36
When your project doesn't fit
 0:05:57
Tiling on a work piece on a Bob's E3 using Vcarve Desktop
 0:24:29
Tiling in VCARVE PRO! It’s NOT That Hard to Do
 0:26:17
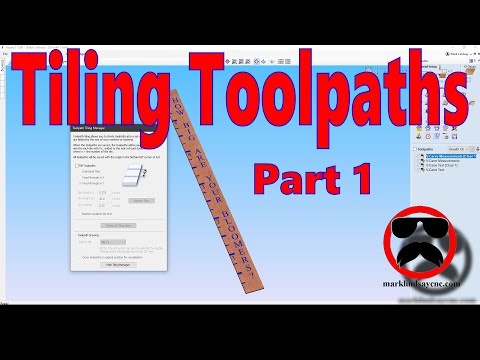
Tiling Toolpaths Part 1 – Design, Toolpath, and Save G-Code
 0:11:36
How to make BIG signs on a small CNC // Tiling
 0:04:47
Tile Project using LightBurn
 0:14:37
Mastering CNC Tiling Techniques using Vectric VCarve Pro
 0:12:48
How to Carve a Large Sign/Flag on a CNC / How to Tile Using Carbide Create / Tiling on Shapeoko
 0:02:51
Tiling by CNC PRO
 0:12:51
How To Cut Parts Bigger than your CNC Bed with Fusion 360
 0:03:05
OMNI CNC Router works on the tile(2)
 0:14:42
How to Make a Big Rustic Flag on a Small CNC (Tiling)
 0:07:13
CNC Shark Tiling Function (VCarve) Overview | Glass Impressions
Комментарии