filmov
tv
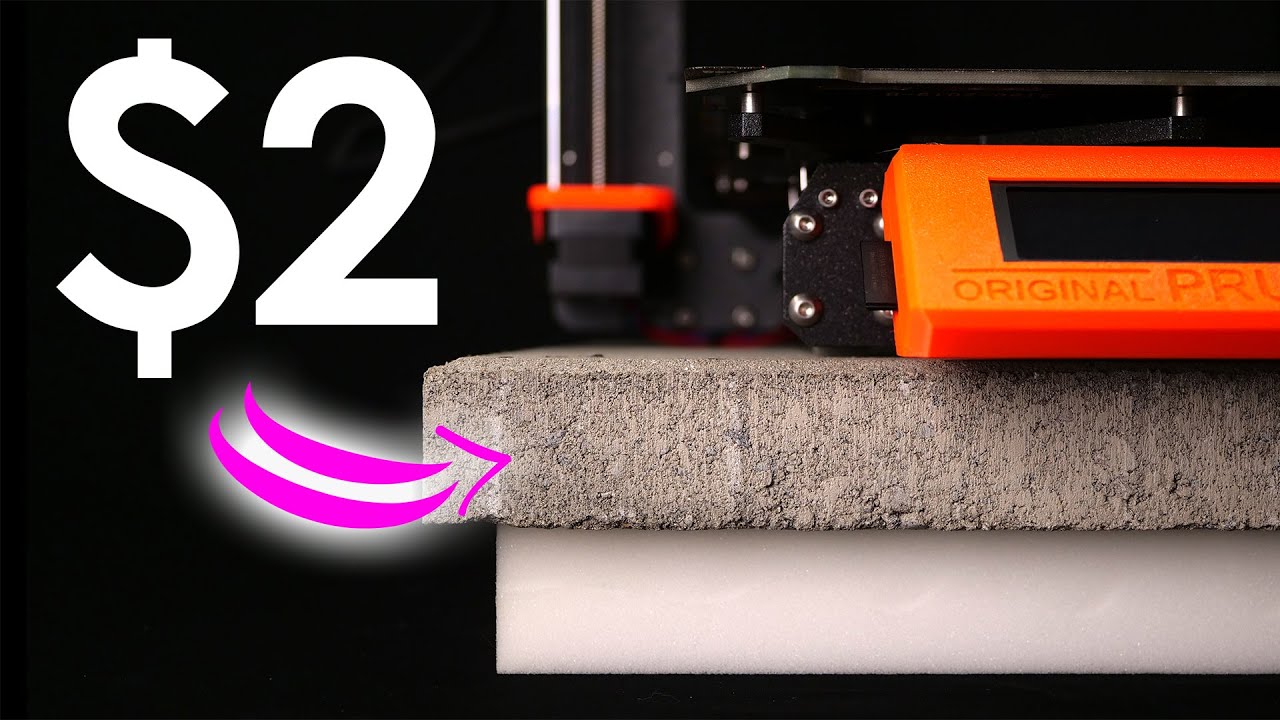
Seriously the BEST $2 3D printer upgrade!
Показать описание
I'm not a huge fan of 3D printer upgrade but this piece of concrete paver is something I put under each of my machines that I run every day. Let me show you how you can severely reduce the printing noise in your print room but also in the rest of the house with this solution! I also performed a test to find out how different print base solutions affect the print quality of parts and we'll also quickly talk about the difference between a spring and a damper/dashpot because many seem to mix that up.
💚 Support me 💚
Join as a YouTube member!
🎙Check out my PODCAST with Tom Sanladerer
🖨 Printed models:
🎥 Related videos:
⚙ My gear (Affiliate Links):
🎥 CAMERAS & LENSES
🎙AUDIO
🔴 LIVE STREAMING
DISCLAIMER: This video was sponsored by Raycon.
💚 Support me 💚
Join as a YouTube member!
🎙Check out my PODCAST with Tom Sanladerer
🖨 Printed models:
🎥 Related videos:
⚙ My gear (Affiliate Links):
🎥 CAMERAS & LENSES
🎙AUDIO
🔴 LIVE STREAMING
DISCLAIMER: This video was sponsored by Raycon.
 0:15:53
Seriously the BEST $2 3D printer upgrade!
 0:21:00
Ep.2 - More crazy looking 3D printer duct designs with some serious performance!
 0:00:14
seriously stop watching this it's old and it sucks | Moon Animator 2
 0:00:58
why so serious? 🤡
 0:00:25
🥶Finally zenitsu has become serious. #shorts #youtubeshorts #viral #anime #demonslayer #zenitsu
 0:00:23
When they put 2 best friends in serious situation🤣 #winmetawin #hirunkit #f4thailand #funny #shorts...
 0:00:54
Why you should take stalking very seriously...
 0:18:06
Yep, this is seriously Victoria's BEST campsite.
 0:02:51
Sully 2016 - Best Scenes - Tom Hanks - 'Can we get serious now?' Third Part
 0:00:43
Translucent latex is seriously one of my favourites! Do you prefer the catsuit or the dress? ✨️
 0:00:56
Mr. Wonderful Is Willing To Compromise? SERIOUSLY? 🤔 #Shorts | Shark Tank US | Shark Tank Global
 0:00:38
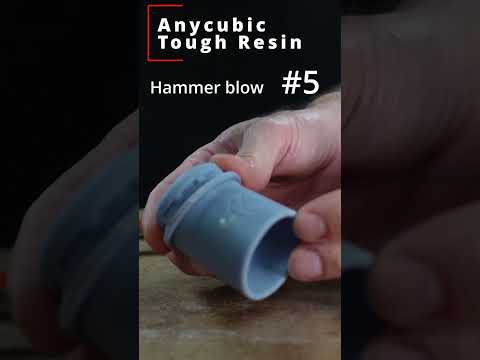
Anycubic Tough Resin | Seriously strong 3D print resin
 0:00:09
seriously guys @MichaelKnowles is so cool pls watch his show
 0:00:37
Lisa takes JK seriously #liskook #lisa #jk #jungkook #bts #blackpink #shorts #Kpop_Edits_Official
 0:00:11
Lisa seriously dance😏🤍 @V_ilio #blackpink #rose #jennie #lisa #jisoo #edit
 0:00:16
NO GLUE or TAPE, seriously [origami fidget toy]
 0:00:28
you cant miss this, seriously / medieval combat
 0:00:33
3 Serious Punches At Once
 0:00:09
48 got some serious competition 🤣 (via whereissluttyy/TT) #shorts #football #funny #dance #nfl #ot7...
 0:00:22
The 2023 Nissan Ariya Has Some Seriously Strange Features!
 0:00:21
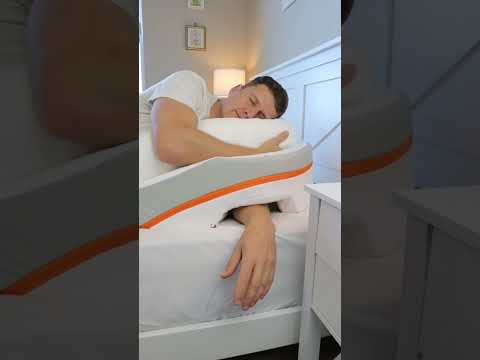
Seriously … where has this been? 😭 Links in Comments. #bedroomhacks #bedroom #sleep #pillow #fyp...
 0:00:10
No red card? Seriously? 💀 #football #spain #worldcup
 0:15:30
Stop Ender 3 Stringing with this One Weird Trick! (ok but seriously)
 0:00:19
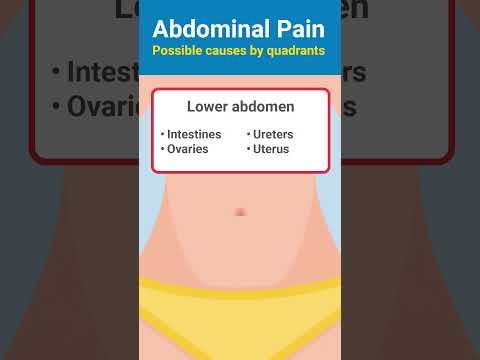
Abdominal pain has many causes, some more serious than others.
Комментарии