filmov
tv
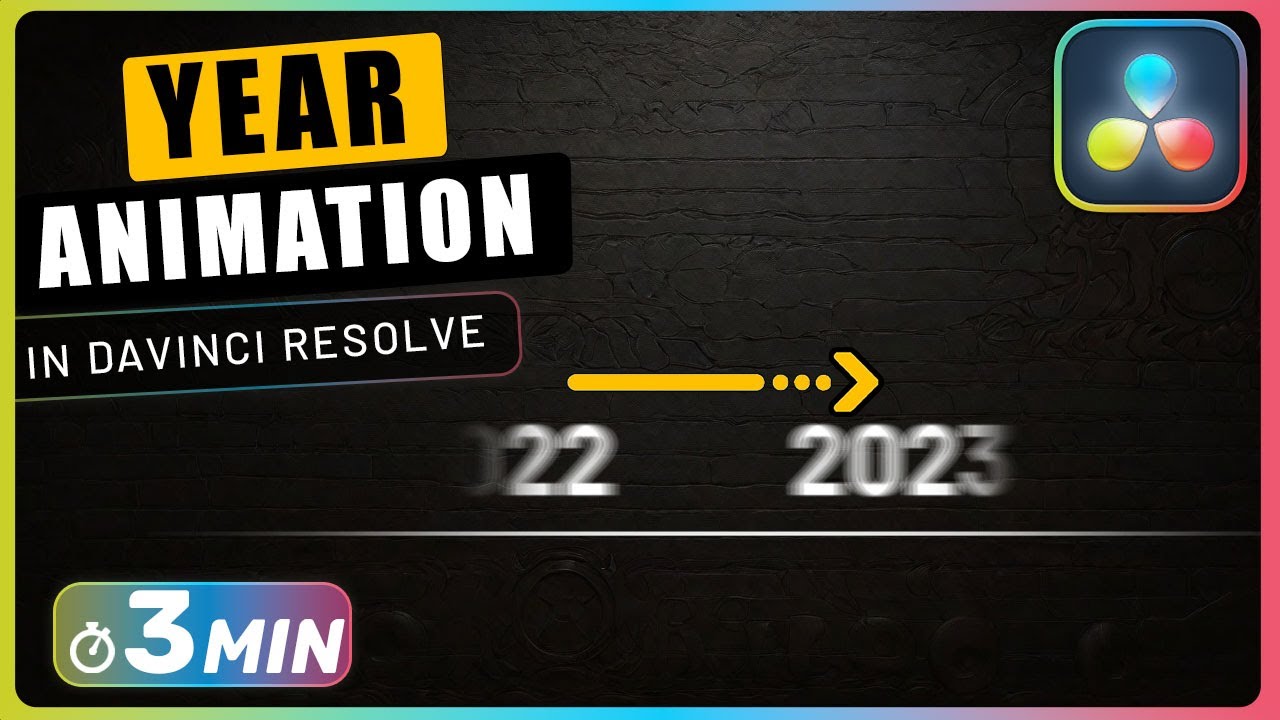
How to Create TIMELINE YEAR ANIMATION with Fusion in Davinci Resolve
Показать описание
Create a timeline year animation in Davinci Resolve's Fusion by setting a frame rate of 30, designing a shape line with a rectangle, adding years with a text node, and ensuring smooth animation by adjusting keyframes and applying motion blur. Easily integrate the composition into your timeline on the edit page for a polished result.
How to Create TIMELINE YEAR ANIMATION with Fusion in Davinci Resolve Chapters:
00:00 create a composition in davinci
00:15 create faded line
00:50 add years
01:45 animate years
02:01 smoothen animation
02:24 add motion blur to animation
#davinci_resolve #davinciresolve #davinci_resolve_tutorial
Discover the secrets to crafting captivating timeline year animations effortlessly using Fusion in Davinci Resolve. Begin by right-clicking in the media pool and selecting a new fusion composition. Set the frame rate to a cinematic 30 frames per second for a seamless viewing experience. Double-click on the composition to immerse yourself in the dynamic Fusion page.
Navigate to the effects panel, expand tools, and select the shape option. Harness the power of Fusion by effortlessly dragging a shape rectangle and a shape render node onto the canvas. Integrate them seamlessly with a simple merge node, connecting all elements to the media out for a polished outcome. With precision, set the rectangle's height to 0.003 and width to 0.85 in the inspector, creating a visually appealing foundation. Enhance the aesthetic by applying a subtle soft edge of approximately 0.2 to achieve a seamlessly faded line.
Now, embark on the journey of adding years to your timeline animation. Introduce a text plus node and a transform node, connecting them to the merge node. Delve into customization by selecting the text node, strategically inputting a few years with well-placed tab breaks for clarity. Infuse your creative touch by choosing a font family that resonates with your vision. Fine-tune the layout by adjusting the size with the transform node, ensuring the first year is centered horizontally and positioned above the line. Employ a rectangle mask on the merge node, carefully controlling the display to showcase one year with ample space on either side. Enhance the visual appeal by refining the mask with a touch of soft edge.
Bring your timeline animation to life by creating a seamless years animation. Activate the transform node, setting keyframes at the start and frame 90 to define the animation path. Elevate the fluidity of your creation with a visit to the spline panel, where you can add curves to keyframes for a polished, professional finish. Elevate the visual experience by incorporating motion blur; simply toggle the motion blur checkbox in the settings tab of the transform node and increase the shutter angle to 360. With these steps completed, seamlessly integrate your masterpiece into the edit page timeline for a stunning, dynamic result. Crafted with precision, your timeline year animation is now ready to captivate audiences.
Important Videos and Playlists
======================================
►I want to mention that this video is original content of the One Minute Premiere channel, it takes a lot of time and energy to create content that are clear and concise.
❤ Thank YOU for watching! If you know someone who could use this video, share it with them!
👇🏼 Have any questions? Leave a comment below.
Комментарии
 0:01:05
 0:03:00
 0:05:24
 0:05:56
 0:07:12
 0:02:05
 0:01:50
 0:01:48
 0:02:48
 0:01:47
 0:04:32
 0:07:25
 0:02:17
 0:12:29
 0:21:09
 0:02:31
 0:11:19
 0:03:21
 0:00:08
 0:08:02
 0:10:59
 0:01:16
 0:28:52
 0:02:02