filmov
tv
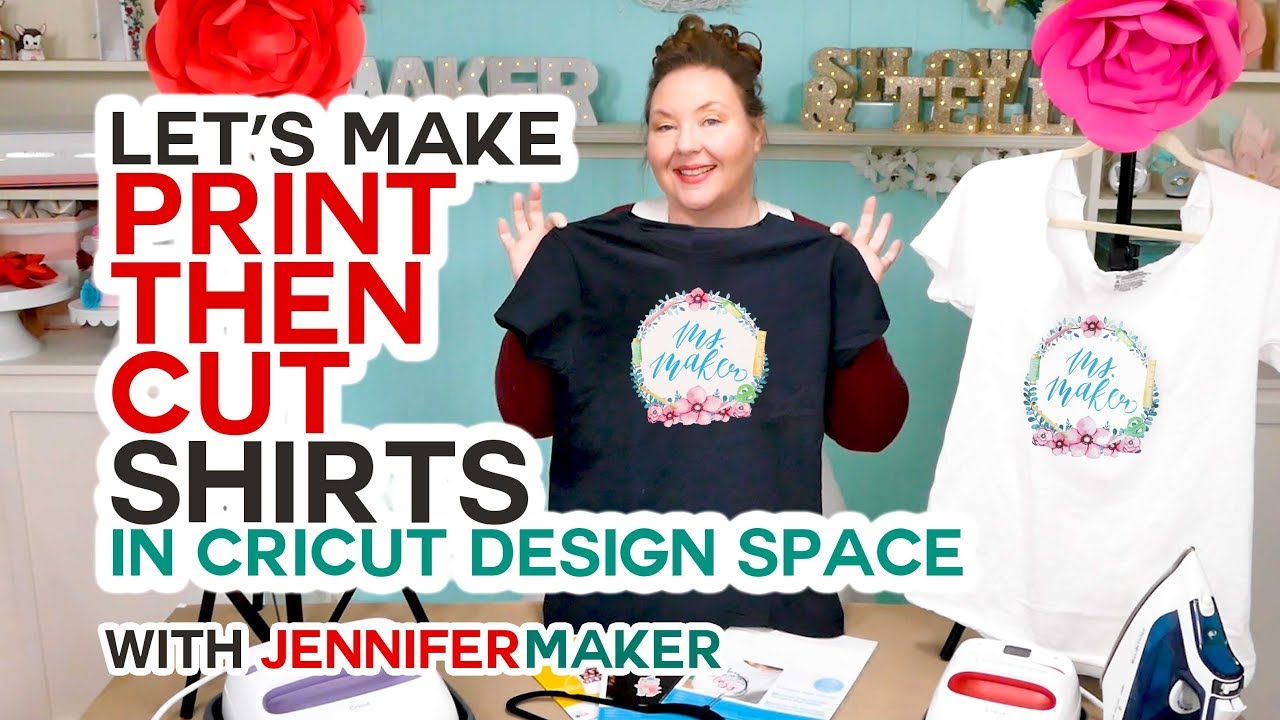
Make Print Then Cut T-Shirts with Your Cricut the RIGHT Way!
Показать описание
Print Then Cut seems to be one of the hardest to understand features of Cricut Design Space. So today I want to show you how easy Print Then Cut really is and demystify the whole process for you! There’s a lot of things we can make with the Print Then Cut feature, like stickers, wall decals, laptop and keyboard overlays, ornaments, and even temporary tattoos. But when I asked you all what you most wanted me to show you how to make with Print Then Cut on a Cricut, the overwhelming answer was T-SHIRTS!
MATERIALS FOR PRINT THEN CUT CRICUT TRANSFER T-SHIRTS (this list contains my affiliate links):
Parchment paper or teflon sheet (there should be one in your package of transfers)
STEP 1: FIND OR MAKE A PRINT THEN CUT DESIGN
To get started, go to Cricut Design Space, start a new project, and click on Templates. Choose the shirt type you want to make, the size, and the color — this will help you visualize your shirt as you design it.
STEP 2. PRINT YOUR DESIGN FROM WITHIN CRICUT DESIGN SPACE
It’s important to note you must use an inkjet printer.
STEP 3: CUT YOUR DESIGN ON YOUR CRICUT
Once the transfer tape is printed, you’ll need to come back to Cricut Design Space and set it up for cutting. So click Browse All Materials and search on printable iron-on. Choose Printable Iron-On Light and click Done. I like to change my pressure to More. Now let’s cut it out.
Now, if you’re cutting on the fabric medium for dark colored fabrics, which is what I recommend, make sure your design is NOT mirrored but otherwise print it the same way. And when you go to cut it, select the Printable Iron-On Dark setting.
STEP 4: PREPARE YOUR IRON-ON PRINT DECAL FOR YOUR SHIRT
STEP 5: IRON ON YOUR PRINT DECAL
My recommendation is to only use the dark fabric transfers — even on white shirts. You’ll be a lot happier with the results. And you don’t have to worry about mirroring when you use those either.
Now it’s important that you follow the manufacturer’s directions for washing these iron-on transfer shirts. Check the instructions that come with your packaging — for example, you’ll probably want to wait at least 24 hours before washing, and then when you do wash it, turn it inside out and wash in cold water. It’s also important to have a full spin cycle so your T-shirt is not left soaking in water, as that will affect the decal. If you ever iron your T-shirt, make sure you turn it inside out — never iron on the side with the decal.
Now I mentioned you can use Print Then Cut for other things, like stickers using self-adhesive paper, like keyboard overlays and laptop decals using self-adhesive vinyl, and like faux tattoos using special transfer paper. If you’d like tutorials on any of these projects, leave me a comment below!
#Cricut #CricutMade #DesignSpace
=============
Follow me at:
Credits:
Music: Cute by Bensound (licensed, royalty and copyright free)
 0:00:55
Printable Heat Transfer Vinyl on a T-shirt 💜 #cricutbeginner #cricut #diy
 0:44:37
Make Print Then Cut T-Shirts with Your Cricut the RIGHT Way!
 0:00:23
Never Print T-shirts With Cricut This Way! 😡 #cricut #diy #shorts
 0:06:55
How To Use Printable Heat Transfer Vinyl | Printable Heat Transfer Vinyl Tutorial | Cricut Tutorial
 0:00:50
This is an inkjet printable vinyl that presses onto any color shirt!!
 0:17:26
How to Use Cricut Printable Iron-On (including wash tests!)
 0:19:38
Heat Transfer vs Sublimation vs Printable HTV vs Screen Printing: Which Shirt is BEST?!?
 0:11:56
Print then cut HTV like a PRO with the Cricut Joy Xtra
 0:05:03
DIY T-Shirts in MINUTES with Cricut Maker 3
 0:10:52
Best Introduction to Cricut Maker! How To Make T-Shirts!
 0:16:40
SISER EASY COLOR DTV | CRICUT PRINT THEN CUT & HOME INKJET PRINTER | How to Make a T-Shirt EasyC...
 0:13:18
CRICUT EXPLORE AIR 2 FOR BEGINNERS: PRINT THEN CUT CHRISTMAS SHIRT
 0:05:01
How to Use Cricut Printable Iron-On // Girl's Shirt Tutorial with Cricut Joy Xtra
 0:08:41
How to Print then Cut on a T-shirt using a Cricut!
 0:06:48
How to Use Print Then Cut to Make Shirts | Cricut 101 (Episode 3)
 0:46:49
Cricut Iron-On T-Shirt Tutorial - Beginner Friendly!
 0:00:34
DIY Custom Logo Shirts with Cricut Print Then Cut - Make Your Own Merch!
 0:24:22
Cricut Print Then Cut Iron-On T-Shirt Tutorial | Cricut Hacks | Full Page Print Cricut Design Tips
 0:10:26
Cricut Maker Print & Cut T-Shirt Logo
 0:00:47
How to Make Print then Cut T-Shirts with Cricut #shorts
 0:00:42
How to make a shirt with your Cricut and HTV (iron-on vinyl) #cricuttutorials #cricuttips #htv
 0:14:40
Bigger DTF Transfers with Cricut print then cut
 0:14:40
Print Then Cut for Beginners! (Updated 2021)
 0:10:06
how to print t-shirts using Cricut Explore 3 | customized Mommy and Me Look | Chris Han
Комментарии