filmov
tv
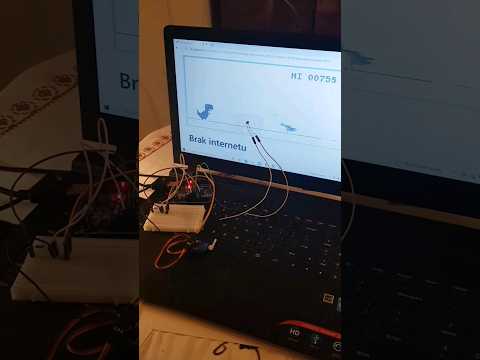
#10 Tutorial: Make the Arduino Analog Readings more precise

Показать описание
Here I show a trick to increase the precision of the arduino analog readings just with software. No additional hardware needed.
The coding used by me is on Github:
The coding used by me is on Github:
 0:05:02
#10 Tutorial: Make the Arduino Analog Readings more precise
 0:05:30
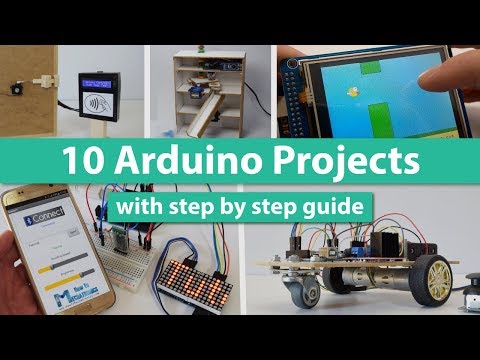
10 Arduino Projects with DIY Step by Step Tutorials
 0:02:22
Arduino in 100 Seconds
 0:00:38
Arduino Missile Defense Radar System in ACTION
 0:00:16
Amazing arduino project | Check description to get free money.
 0:07:10
Top 10 Arduino Projects 2018 | Amazing Ardiuno School Projects
 0:16:34
You can learn Arduino in 15 minutes.
 0:03:53
Arduino Tutorial: LED Sequential Control- Beginner Project
 0:00:29
【DCS】A-10C Air Conditioning Manual/Auto Control Switch #dcs #homecockpit #arduino
 0:21:41
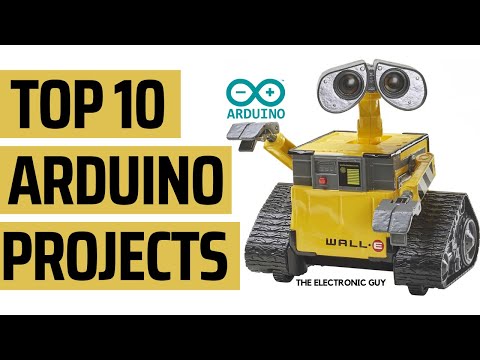
Top 10 Arduino projects
 0:00:40
Arduino project 😎^ Arduino #arduino #2022 #2021 #2023 #dc #arduinoproject #diy #foryou
 0:10:28
Top 10 Arduino Projects 2020 | Mind Blowing Arduino School Projects
 0:00:21
learn Arduino programming in 20 seconds!! (Arduino projects)
 0:04:58
TOP 10 Arduino Projects Of All Time
 0:01:05
Air Defense System- DIY Arduino Project - The X Lab
 0:06:10
13 Great Arduino Project Ideas for Beginners!!!
 0:00:16
Arduino project how to make a laser electronic alarm, an amazing invention DIY
 0:24:55
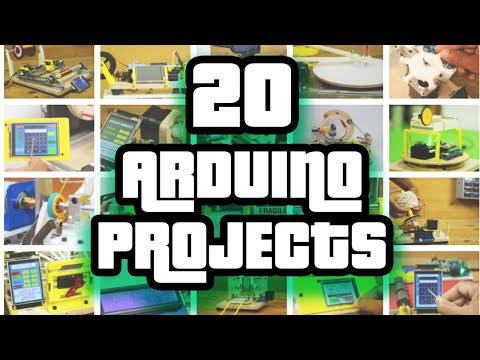
Top 20 Arduino Projects | Arduino project compilation
 0:00:17
Top 5 Arduino Projects for Beginners. Full tutorial videos in Youtube Channel #arduino
 0:06:33
Arduino Coding for Beginners | How to Program an Arduino?
 0:28:22
Arduino Tutorial 10: Understanding How To Read Analog Voltage using analogRead Command
 0:05:30
Top 10 Arduino projects all the time । Amazing Arduino school projects genius youtuber
 0:10:16
15 Great Arduino Projects for beginners
 0:07:04
3 Simple Arduino Projects for beginners
Комментарии