filmov
tv
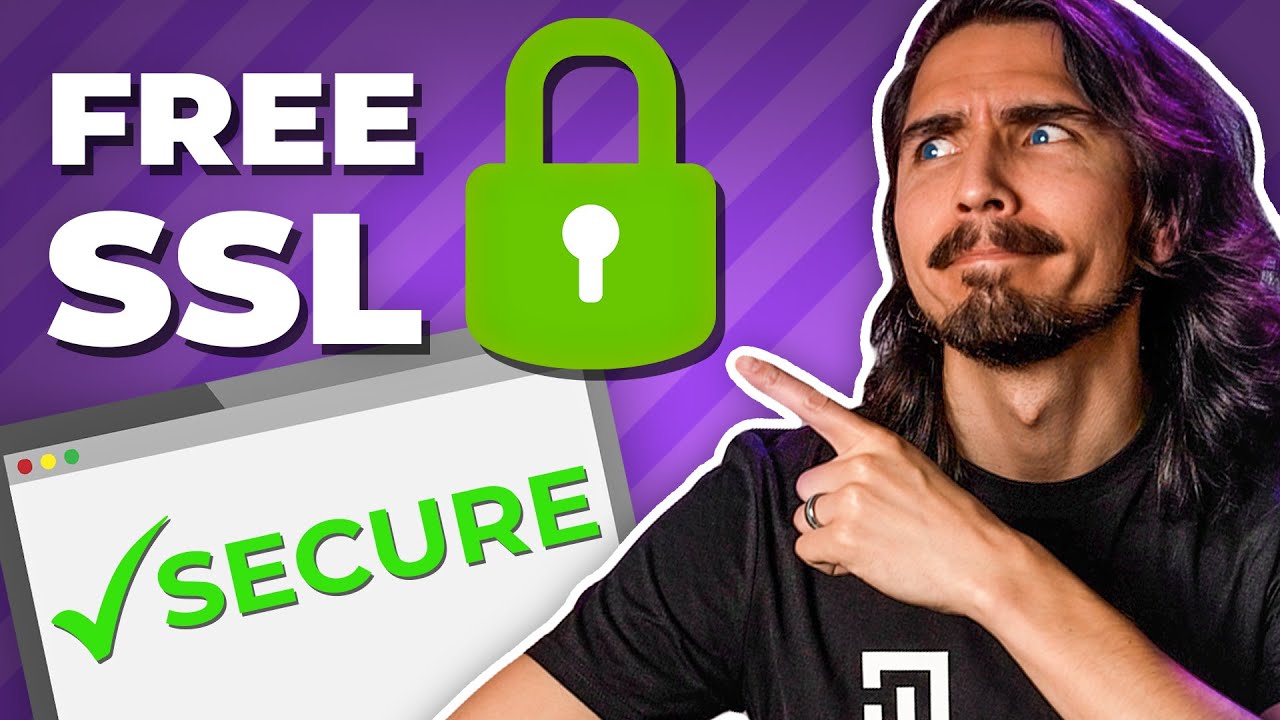
FREE SSL Certificate | Secure Your Website!
Показать описание
🧨 Choose Your Web Hosting Plan NOW | Get BLACK FRIDAY discounts 🧨
Hostinger's Black Friday offer this year is honestly one you don't want to miss. It gives you a big discount on the most popular plan, it comes with all you need to start - free SSL, free Domain name, and enough resources for all kinds of projects. Overall - great provider for all types of projects, from blogs to medium-sized eCommerce stores.
SSL is a protocol that encrypts data traveling between 2 systems so that it is protected from being freely available to unauthorized parties. SSL works by ensuring that any data transferred between users and websites, or between two systems, remains impossible to read. Thus making your website secure.
Time Table
0:00 Intro
0:24 Registering at Cloudflare
1:26 Changing nameservers
2:40 Adding plugins
3:14 Extra tips
3:50 Why do you need an SSL certificate?
Some Hosting providers offer SSL Certificates for free when you buy their hosting package. However you might not find SSL bundled with your particular plan. If that’s the case, you can either buy an SSL from your hosting provider or get a FREE alternative. This tutorial will show you just that! The only difference between paid and free SSL is the price. You’ll get the exact same product either way so don’t waste money if you’re thinking of buying one!
Tutorial summary:
2. Select FREE version
3. Copy the nameservers that CloudFlare gave you
4. Replace your hosting provider’s nameservers with CloudFlare ones
5. Install “Cloudflare Flexible plugin”
6. Install “Really Simple SSL plugin”
7. Click "Activate SSL" button
8. Refresh your website and enjoy your free SSL!
After this, your website should have a brand new SSL certificate. It will improve your security, and at least Google won't look at you as a "bad guy". The trickiest part of this was changing the nameservers since you can host your website on very different providers. I hope I solved your problems and your website is now secure. If you have any issues leave a comment and I’ll try to help you out!
#CyberNews #CyberNewsHosting #hosting #SSL #security #webhosting
We are affiliated but not sponsored by any service provider. This means we may receive a small commission when you click on the provided links, however, our reviews are based on independent research and rigorous fact-checking. Cybernews is owned by Mediatech, whose investors are the founders of Nord Security, whose products and services we may review.
 0:04:51
Free SSL Certificate for Website | How to Get Lifetime Free SSL
 0:07:25
Fix 'Site is Not Secure' Error With a FREE SSL Certificate!
 0:05:57
How To Get Free SSL Certificate For Website | Add SSL To Website
 0:00:24
How to Get an SSL Certificate Free of Cost | Free SSL in Minutes
 0:06:15
STOP Paying for SSL! | How To Get SSL Certificate On Your Website for Free
 0:04:19
FREE SSL Certificate | Secure Your Website!
 0:15:04
Let's Encrypt Explained: Free SSL
 0:04:49
Are Free SSL Certificates Really Good Enough for Your Website?
 0:05:54
How to Get Free SSL Certificate for WordPress in Infinityfree | 2024 Step-by-Step Tutorial |
 0:10:12
How to Install a Free SSL Certificate on Namecheap (with Let's Encrypt)
 0:12:08
Quick and Easy Local SSL Certificates for Your Homelab!
 0:06:12
How to Get Free SSL/TLS Certificates with Let's Encrypt
 0:08:07
How to increase the Security of website and get unlimited Free SSL certificate for your website?
 0:05:54
How to Get a Free SSL for your WordPress Website
 0:12:27
How To Get Free SSL Certificates
 0:06:56
How to Enable HTTPS Using a Free SSL Certificate from Certbot
 0:01:28
How to install free SSL Let's Encrypt certificate in Site Tools | Website Security Tutorial
 0:07:41
Install Free SSL Certificate on Godaddy | Turn HTTP into HTTPS
 0:00:58
How SSL protects your website? ✅ #ssl
 0:09:28
How To Get A Free SSL Certificate for WordPress | Beginners Guide
 0:07:20
How to Activate FREE SSL Certificate on Your WordPress Website?
 0:07:58
(2024) Easily Install Free SSL for WordPress Website
 0:06:25
How to get free SSL certificate to your website with mobile phone.
 0:06:58
Stop Paying for SSL! Guide to AWS' Free SSL Certificate Service
Комментарии