filmov
tv
Tips & Tricks: How to Install Push Connect or Sharkbite Fittings

Показать описание
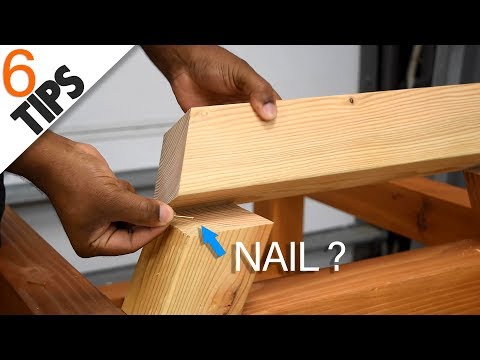
In this short video i show you the basic steps to install push-connect also known as sharkbite fittings
My name is Tony, I have been a master plumber for over 30 years! Due to a plumber shortage nationwide, it is the mission of this channel to help others learn the trade. We will be uploading tutorials on popular plumbing needs as well as tips & tricks. Like, comment, and subscribe to our channel!
Important Disclaimer:
Master Flow Plumbing Services and this YouTube channel are not responsible for anyone attempting anything shown in these videos. Plumbing repairs should always be performed by a license plumber, even the simplest plumbing repairs can cause damages in injury to you or others.
 0:07:52
19 Simple Psychological Tricks That Actually Work
 0:11:57
Samsung Galaxy A56 Tips & Tricks - YOU MUST KNOW!!!
 0:08:04
Think Like a Pro: 1v4 Clutch Game Sense Tips | BGMI Guide🔥Tips/Tricks | Mew2
 0:00:43
Pro Tips and Trick ✅ (Pt. 9) #pubgmobile #bgmi #shorts
 0:21:50
17 Powerful HIDDEN Features for Samsung Galaxy Phones - Tips & Tricks
 0:10:48
30+ TIPS & TRICKS You Wish You Knew Earlier in SCHEDULE 1
 0:10:42
12 Woodworking Tips and Tricks for Beginners
 0:19:33
Excel Tips and Tricks
 0:08:39
How To Win Every CS RANK in Free Fire☠️🔥 7 Pro Tips And Tricks || FireEyes Gaming
 0:00:12
The Police Don’t Mess Around 💀 - Schedule 1 Tips & Tricks - #schedule1 #gamingguide #gametips...
 0:25:38
Top 20 Microsoft Excel Tips & Tricks
 0:13:09
Essential Router Skills - Tips, Tricks and Buying Advice
 0:09:30
10+ Life Changing FL Studio Tips, Tricks & Features (INSANE)
 0:08:10
Top 20 Tips and Tricks to Get Rich Quick in Schedule 1
 0:12:10
6 Woodworking tips & tricks for beginners
 0:00:59
8 MORE Microsoft OneNote tips and tricks in 1 minute ⏱ #shorts
 0:13:10
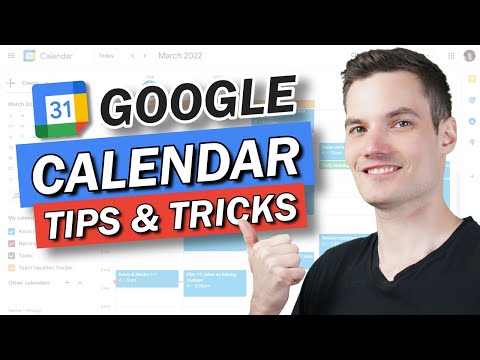
📆 Google Calendar Tips and Tricks
 0:24:13
25 Best Cricut Tips, Tricks, Shortcuts, Hacks, & Hidden Features
 0:00:10
free fire tricks and tricks video😮🤔#youtubeshorts #shortvideo #viral #gaming #freefire #man#short...
 0:08:19
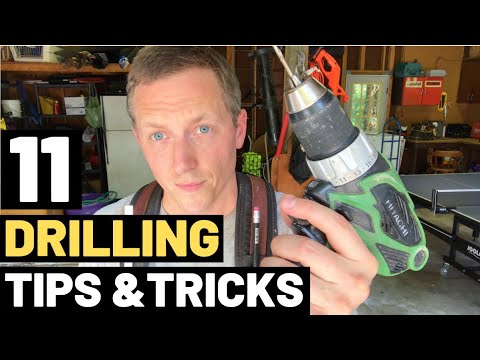
11 DRILLING TIPS AND TRICKS (And Mistakes To Avoid!)
 0:09:00
10 CSS PRO Tips and Tricks you NEED to know
 0:00:19
Granny Tips💡And tricks⚡😈 Troll Face Edit #granny #games #tips #tricks #trollface #shorts
 0:05:39
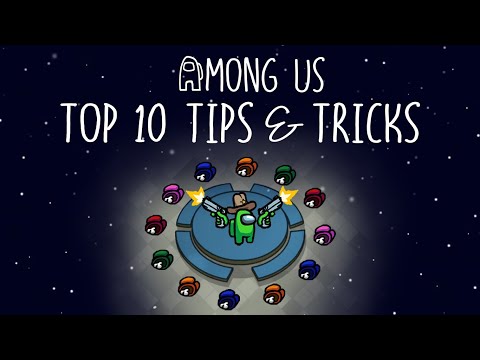
Top 10 Tips & Tricks in Among Us | Ultimate Guide To Become a Pro
 0:00:25
4 easy Subway Surfers Tricks
Комментарии