filmov
tv
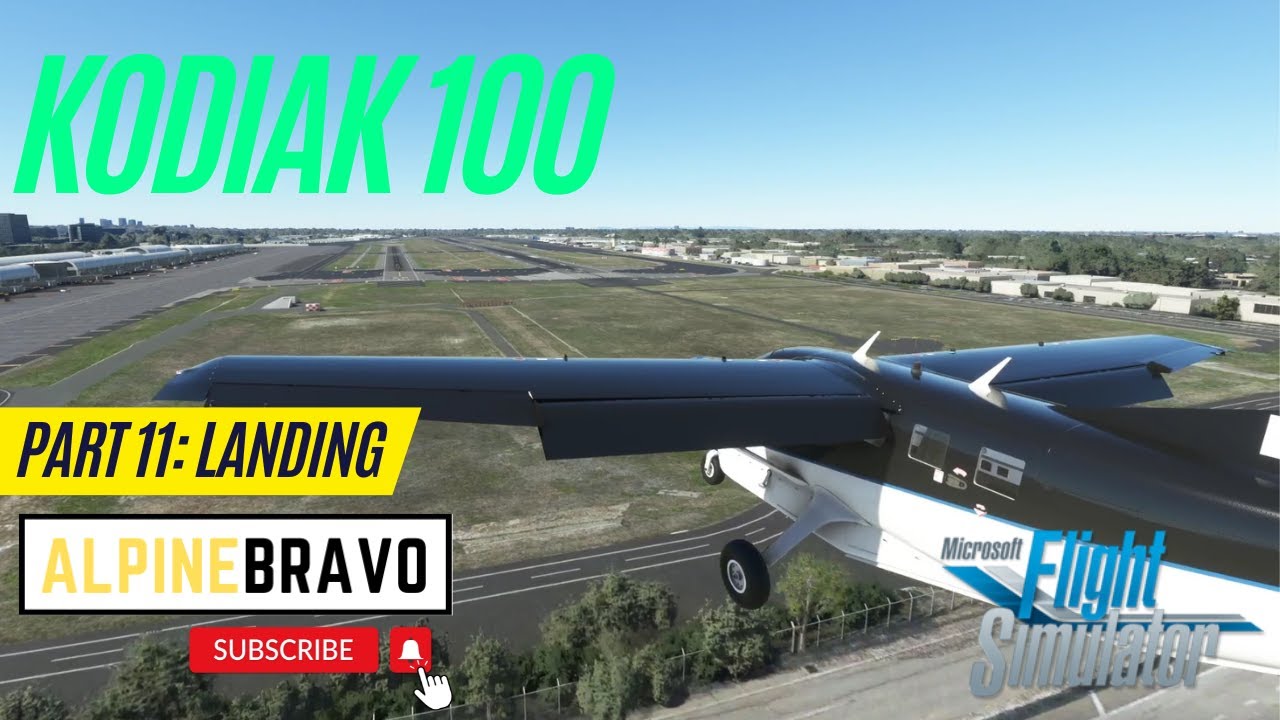
How to Fly the Kodiak 100 | Part 11: Approach and landing
Показать описание
In this tutorial, we look at the particular techniques required to land the Kodiak 100.
There are several different landings shown, including one via a descent and pattern entry, a failed landing, and the bad things that happen when you get too low and slow and a balked landing.
One of the key aspects is correct and careful power management - at full flaps a torque setting of ~1000ft-lbs will be required to maintain an approach speed.
Note that throughout the tutorial reference is made to 'landing speed' this should be taken to mean Vref, or the speed at which you should cross the threshold. During the flare and hold-off, the throttle should be fully retarded and the speed at which you land should be just above Vso or stall speed. This will happen naturally if you arrived at the correct speed. If too fast, you may bounce or land heavy. Too slow and you may stall onto the runway with a heavy landing despite the slow speed.
Personally, I find it hard to hold a constant or target speed in the Kodiak on approach - this is one area of the model that I think needs more work by SWS as its clearly not so hard in the real aircraft to pitch and trim for a particular airspeed and then hold that. They have however done a great job modeling the drag from the prop: 'like hitting a wall'.
Note also on the input viewer you may see that there is still power indicated - that's because I have the throttle axis set to manage the beta range also and the input viewer is simply showing the position of the axis. You never engage beta in the air - it is for ground use only.
IF IN DOUBT - GO AROUND!
Crosswind and short-field landings will be considered in separate tutorials.
And you will see I made the fairly major error of landing on the wrong runway! I decided to leave this embarrassment in as it underscores the importance of not getting distracted (ie thinking about what next to say for a video you are recording!) and also the danger of habit: I'd spent about an hour flying circuits from 20R just before recording that segment and so landing on 20R was what my brain was expecting. So distraction + habit = error. This is why all approaches and landings should be briefed and briefed again.
00:00 Introduction
01:28 Max landing weight
02:09 Landing field required
04:29 Wind limits
04:48 Landing speeds
07:48 Landing field orientation
10:36 4 key things about landing the Kodiak
19:30 Entering the pattern
22:05 Turing to downwind
24:52 Base
26:05 Final
29:24 Landing 20L
32:54 Failed landing
35:53 Balked landing
36:49 Stable approach
 0:15:57
How To Fly The SWS Kodiak 100 | Microsoft Flight Simulator Tutorial
 0:23:22
Learn to Fly the Kodiak Airplane For Your Flight Simulator
 0:02:50
KODIAK 100 TUTORIAL - How To Start The Engine - MSFS2020
 0:18:44
How to fly the Kodiak 100 | Part 1: Set-Up
 0:17:30
Starting the Kodiak without destroying the engine in Microsoft Flight Simulator
 0:01:40
LEARN HOW TO FLY the Simworks Kodiak 100 for Microsoft Flight Simulator 2020 | e-Course
 0:13:00
How to Fly the Kodiak 100 | Part 4: Pre-Flight Cabin and before Engine Start Checklists
 0:26:06
How to Fly the Kodiak 100 | Part 7: Normal Take Off
 2:35:28
Virtual Pilot Career Mode using FSEconomy, MSFS 2020 & Say Intentions AI
 0:24:03
How to fly the Kodiak 100 | Part 8: Max Performance and Cruise Climbs
 0:18:14
How to Fly the Kodiak 100 | Part 3: Cockpit layout
 0:19:52
Daher Kodiak 900 Demo
 0:18:22
How to Fly The Kodiak 100 | Part 5: Engine Starts
 0:40:05
How to Fly the Kodiak 100 | Part 11: Approach and landing
 0:17:12
How Do You Get Trained To Fly a Kodiak & What’s Next?
 0:22:25
How to fly the Kodiak 100 | Part 9 | Cruise Management
 0:25:11
Mountain Runway to Mountain Runway in the Kodiak Airplane | Bush Pilot Flight Vlog
 0:33:40
How to Fly the Kodiak 100 | Part 6 - Taxi and Before Take-off
 0:31:24
How to Fly The Kodiak Part 13: Crosswind take-off & landing
 0:20:42
How to fly the Kodiak 100 | Part 10: Descent & initial approach planning
 0:06:25
G1000 Tutorial MSFS - A Kodiak 100 Mission in the Mountains
 0:18:38
On the Job Flying the Mighty Kodiak! - IFR Flight VLOG
 0:14:37
How to Fly the Kodiak 100 | Part 2: Payload management
![[MSFS] Quest Kodiak](https://i.ytimg.com/vi/49_r7CIDVoI/hqdefault.jpg) 0:37:54
0:37:54
[MSFS] Quest Kodiak 100 Water Operations Tutorial Flight / New Zealand
Комментарии