filmov
tv
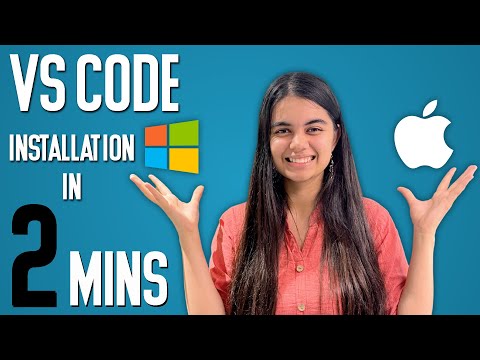
How to Install Visual Studio Code on Mac | Install VSCode on macOS (2024)

Показать описание
🚀🍏 **Elevate Your Coding Experience: Installing Visual Studio Code on Mac! (M1, M2, M3, MacBook Pro, MacBook Air)** 💻💡
Ready to kickstart your coding journey on macOS? Follow our straightforward guide on "How to Install Visual Studio Code on Mac | Install VSCode on macOS" and embrace the power of one of the most popular code editors.
🌟 **Installation Highlights:**
- 🖥️ **Downloading Visual Studio Code:** Get the latest version from the official website.
- 📦 **Installing VSCode on macOS:** Utilize a simple and user-friendly installation process.
🔗 **Step-by-Step Guide:**
1. **Download Visual Studio Code:**
2. **Get the macOS Installer:**
- Click on the macOS download button to get the installer package.
3. **Open the Installer Package:**
- Locate the downloaded `.dmg` file and open it.
4. **Drag VSCode to Applications:**
- Drag the Visual Studio Code icon to the "Applications" shortcut to install it.
5. **Access VSCode in Applications:**
- Open the "Applications" folder and launch Visual Studio Code.
6. **Optional: Add to Dock (if desired):**
- Right-click on the VSCode icon in the Dock and choose "Options" - "Keep in Dock" for quick access.
7. **Install Additional Tools (Optional):**
- Explore VSCode extensions and tools to enhance your coding environment. Access the Extensions view using the icon on the sidebar.
8. **Update VSCode (if needed):**
- Visual Studio Code regularly receives updates. Check for updates under the "Help" menu.
🚀 **Congratulations! You're now ready to code with Visual Studio Code on your Mac!**
🖥️ **Hashtags:**
#VSCode #MacOS #CodingOnMac #TechTutorial #VisualStudioCode #DeveloperTools #TechHowTo #CodingEnvironment #DigitalLearning #CodingTips #MacOSDevelopment #CodeEditor
 0:06:20
 0:08:57
 0:02:31
 0:08:03
 0:08:22
 0:06:23
 0:05:43
 0:07:32
 0:03:37
 0:08:03
 0:08:01
 0:08:13
 0:03:37
 0:04:14
 0:01:46
 0:03:25
 0:04:56
 0:08:48
 0:05:20
 0:06:53
 0:08:16
 0:09:00
 0:02:58
 0:07:14