filmov
tv
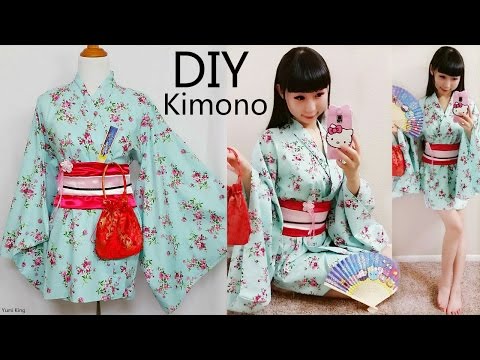
DIY: Beautiful & Easy Kimono

Показать описание
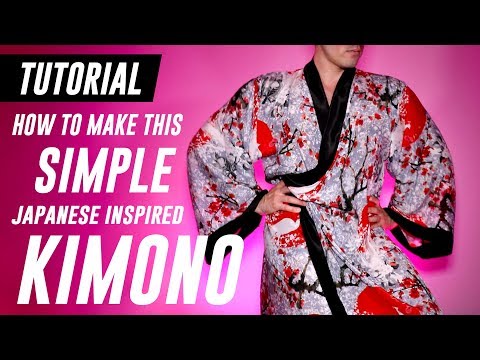
How to make a Kimono!
Super flowy and fun to wear - look fab with minimal effort!
Requires basic use of a sewing machine - still a pretty easy project.
Chapters and times;
(What you'll need - 2:42)
Chapter 1 - Working out how much fabric you'll need - 3:17
Chapter 2 - Cutting your fabric - 4:13
Chapter 3 - Piecing the panels together - 6:24
Chapter 4 - Edging the sleeves - 8:17
Chapter 5 - Closing the kimono - 9:12
Chapter 6 - Edging the front of the kimono - 10:09
Chapter 7 - Finishing the kimono - 11:12
 0:12:18
DIY: Beautiful & Easy Kimono
 0:08:02
DIY QUICK AND EASY KIMONO | HOW TO MAKE A KIMONO
 0:00:15
Cotton voile Yukata pure and beautiful #kimono #fashion #sewing #kimonostyle #japanesefashion #diy
 0:11:02
Easiest Kimono DIY/ How To Make A Beautiful Cardigan Kimono In 10 Minutes/Handmade Kimono Tutorial
 0:00:16
KIMONO #diy #dress #japan #costume #diy #fashiondesigner #diydress #dress #designer #costume
 0:05:25
DIY Kimono Robe (Feel Luxurious!)
 0:05:39
DIY Easy Kimono/Yukata with Easy Pattern | DIY Cosplay Costume | Designed by me
 0:00:50
DIY kimono made from scarfs . #shorts #fashion #lifestyle, like and subscribe.
 0:11:29
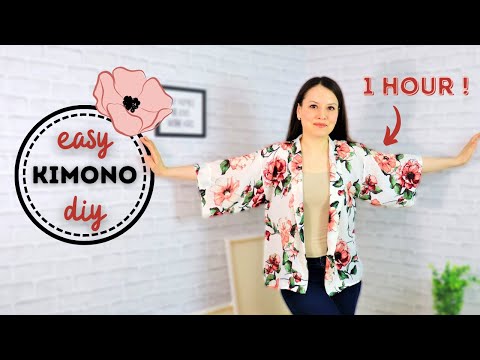
DIY a Kimono-style cardigan in just 1 hour 😍 - beginner friendly tutorial!
 0:00:10
kimono dress set easy DIY #sewing #short #shorts #diy #kimono
 0:00:48
👘 Did You Know Kimono Are Made From 1 Giant Strip Of Fabric!?!? 👘👘 #kimono #fashion #sewing
 0:09:32
DIY KIMONO SEWING (Kanye West & John Mayer inspired)
 0:07:39
DIY easy silk kimono | wedding on a budget ep. 2
 0:17:00
DIY Kimono (Part One) - Pattern | Ty Kent
 0:00:23
DIY how to make barbie clothes | Handmade barbie accessories #shorts #29 barbie clothes sewing
 0:04:25
【VLOG】Easy & Beautiful Kimono DIY Tutorial - Cosplay Costume
 0:00:14
Custom Made Kimono (Part 1) #diy #kimono #sewing #fashion #fashiondesigner #madebyme #ankarakimono
 0:00:20
Simplified Hanfu: A Modern Twist on Traditional Attire. #costura #sewing
 0:00:14
diy kimono cloth without pattern.it's good for beginner
 0:06:39
How to sew a DIY kimono cardigan with a fringe
 0:00:15
2 minutes Easy Hairstyle for Girls #shorts #viral #hairstyle #glamreel
 0:00:25
Era uma Camisa masculina e virou um Kimono Estiloso - @SandraTedesco #Shorts
 0:08:48
DIY: HOW TO CUT AND SEW AN OVERSIZED KIMONO JACKET WITH LONG SLEEVES.
 0:00:49
DIY gift wrapping, easy double kimono model gift wrapping technique #kimono #inshoter #giftwrapping
Комментарии